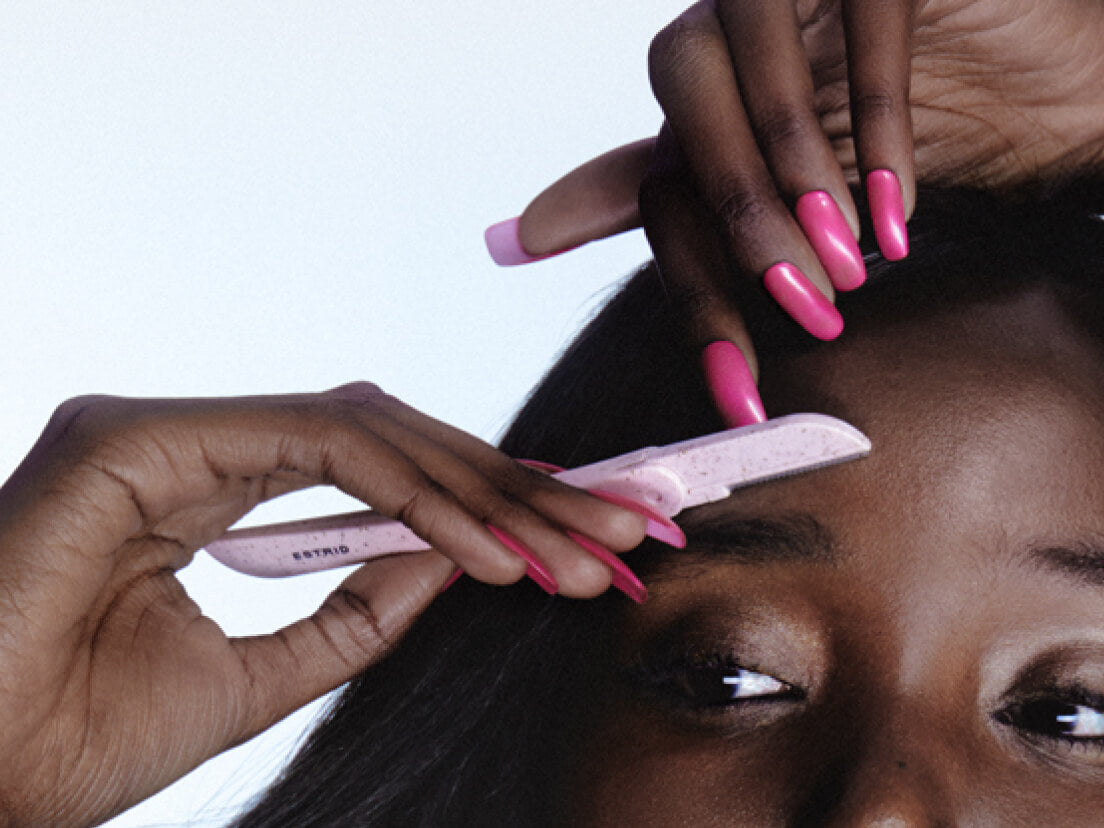
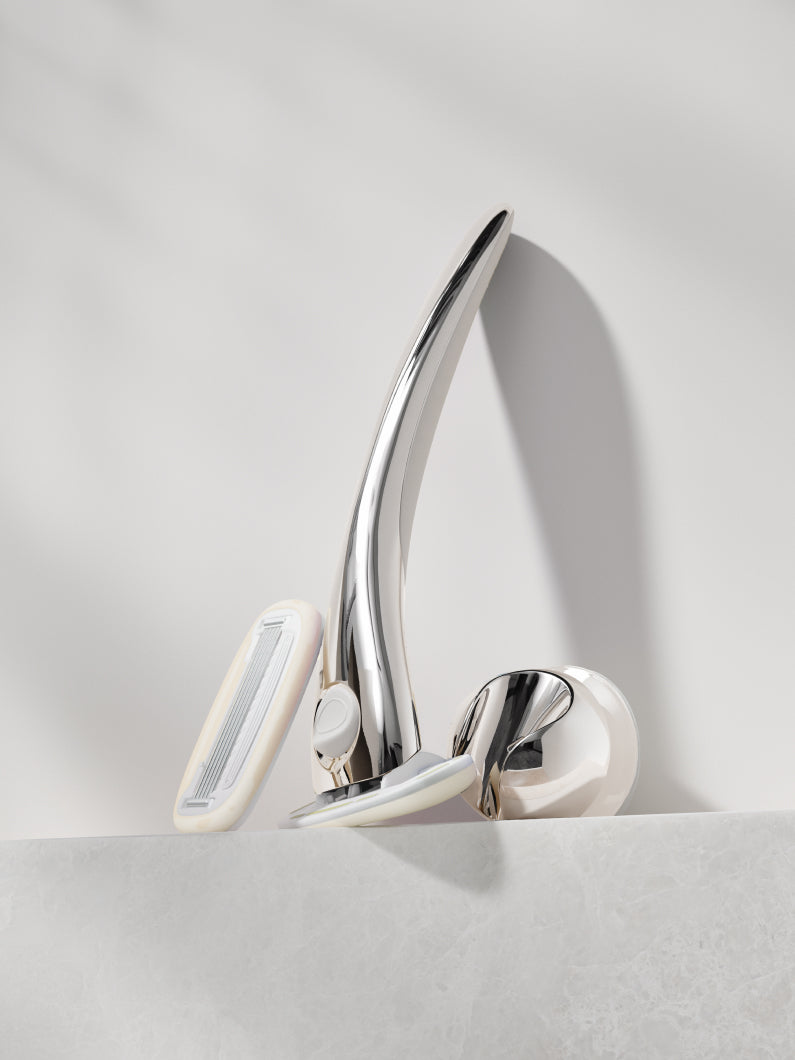
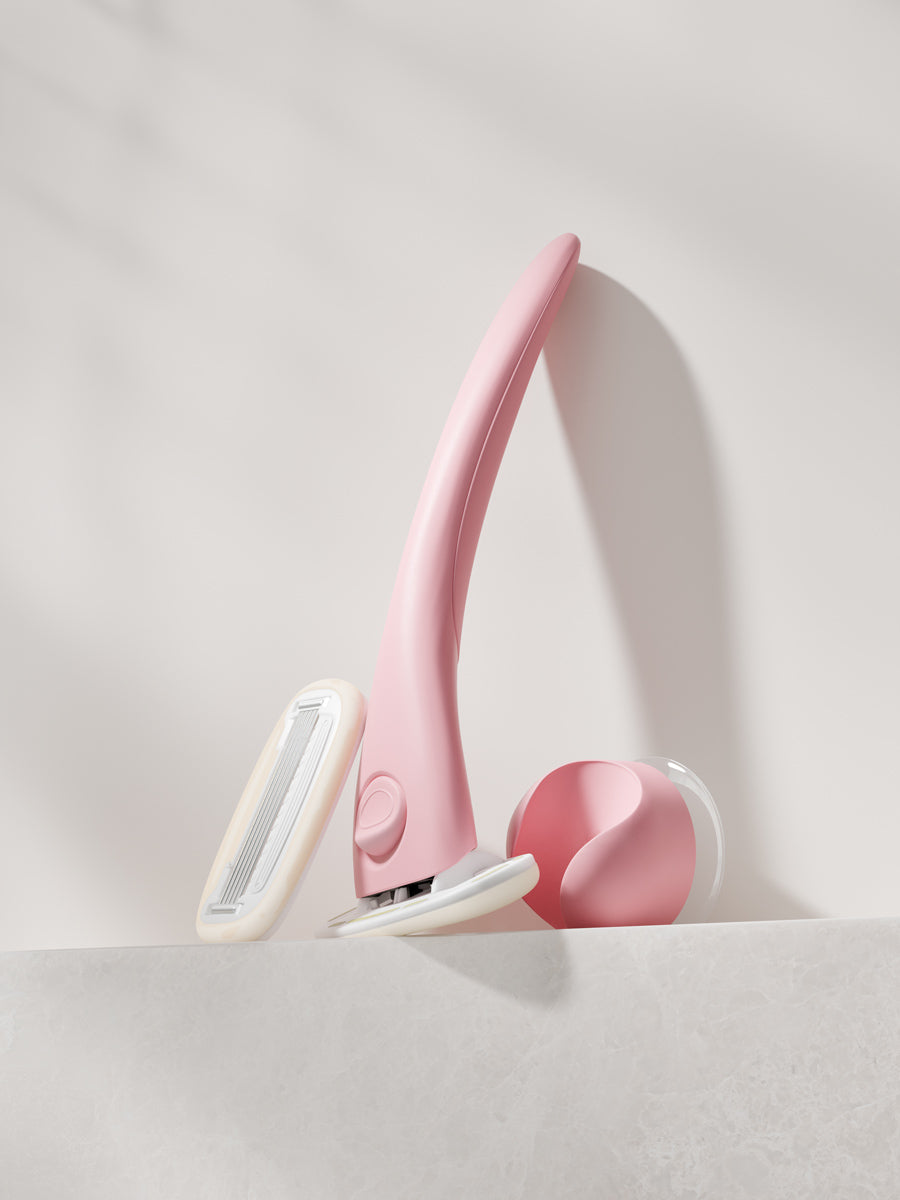
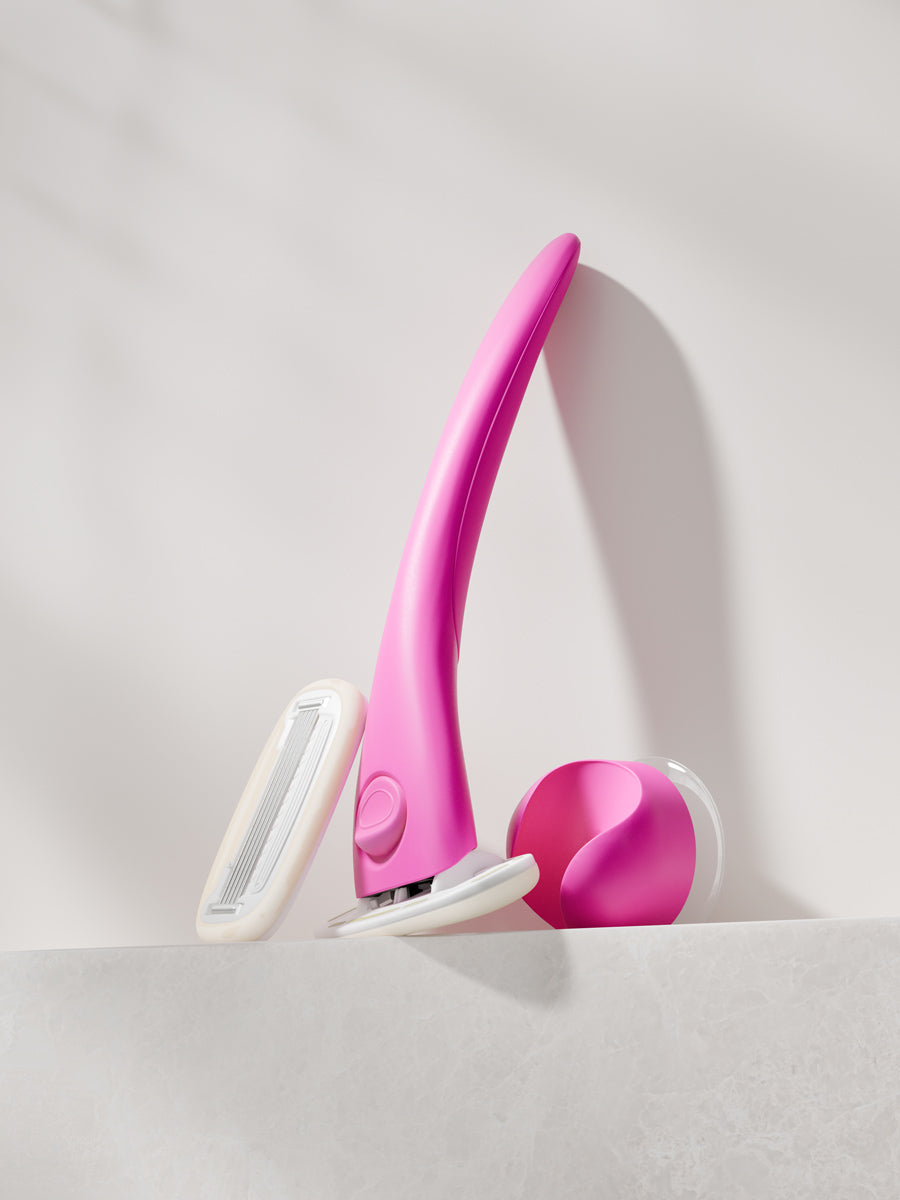
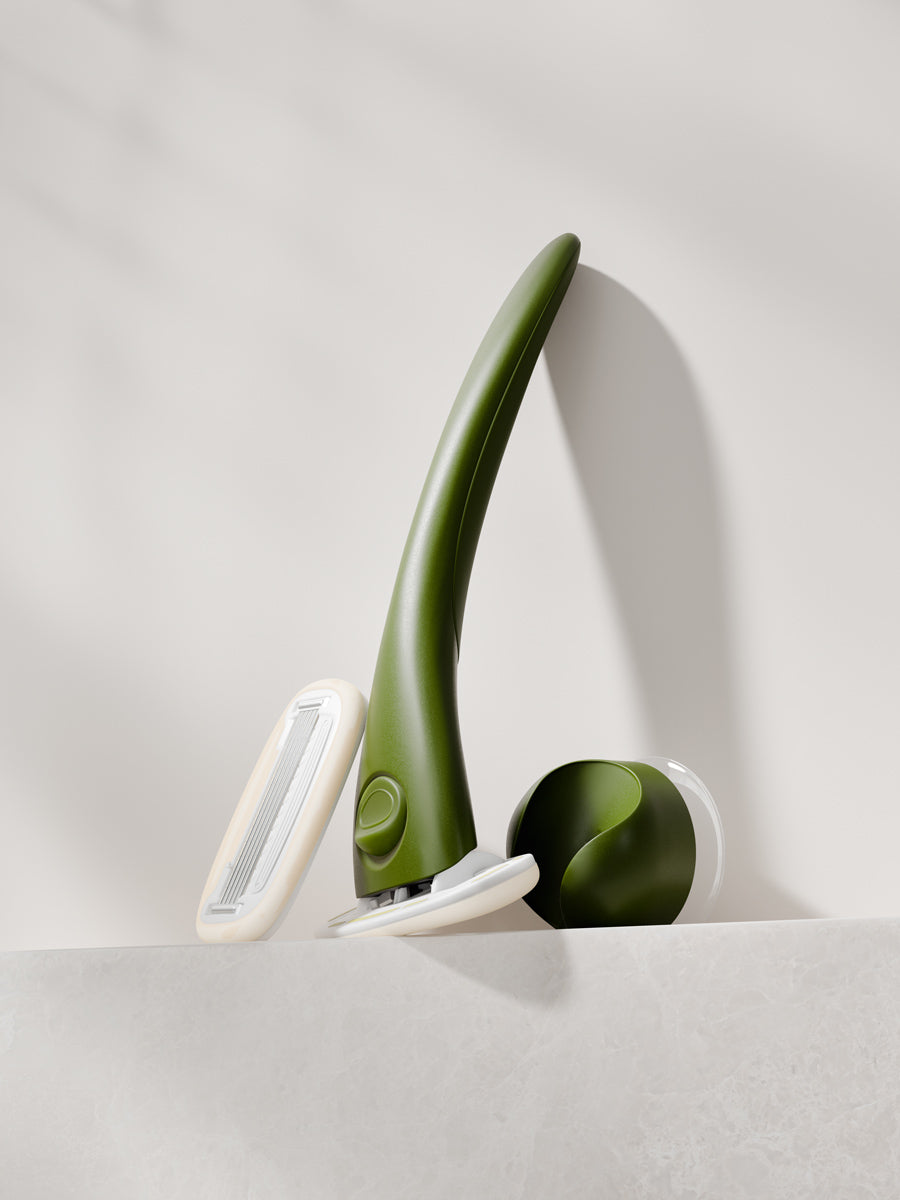
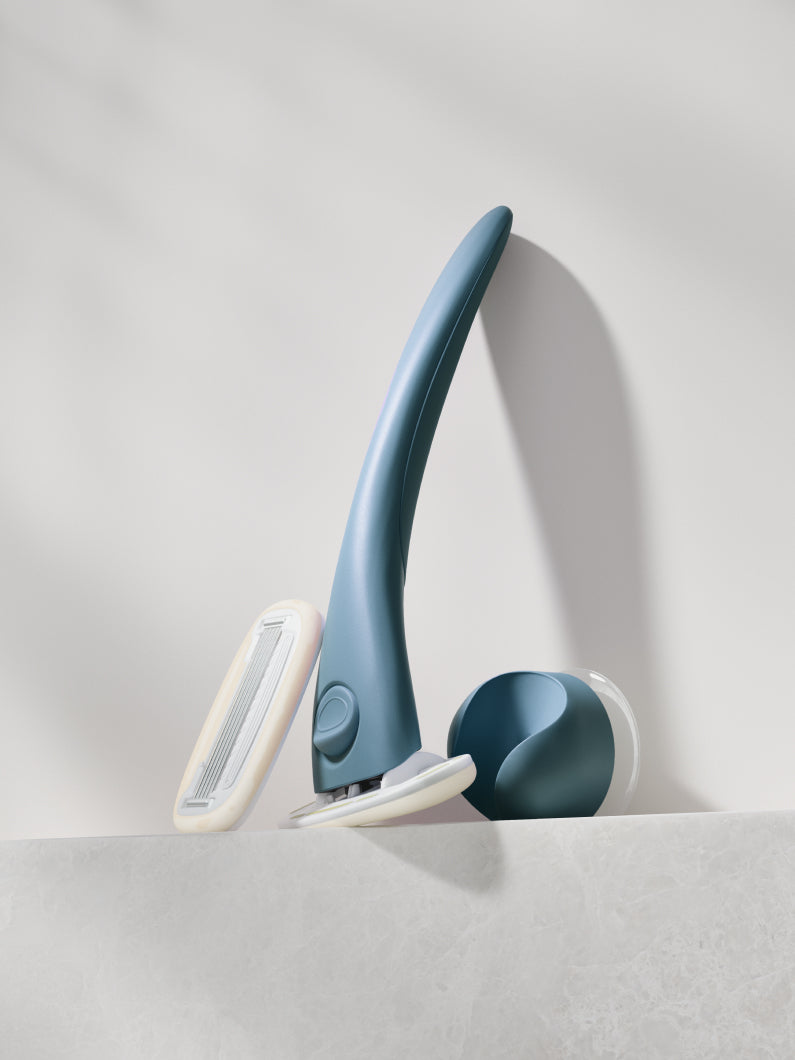
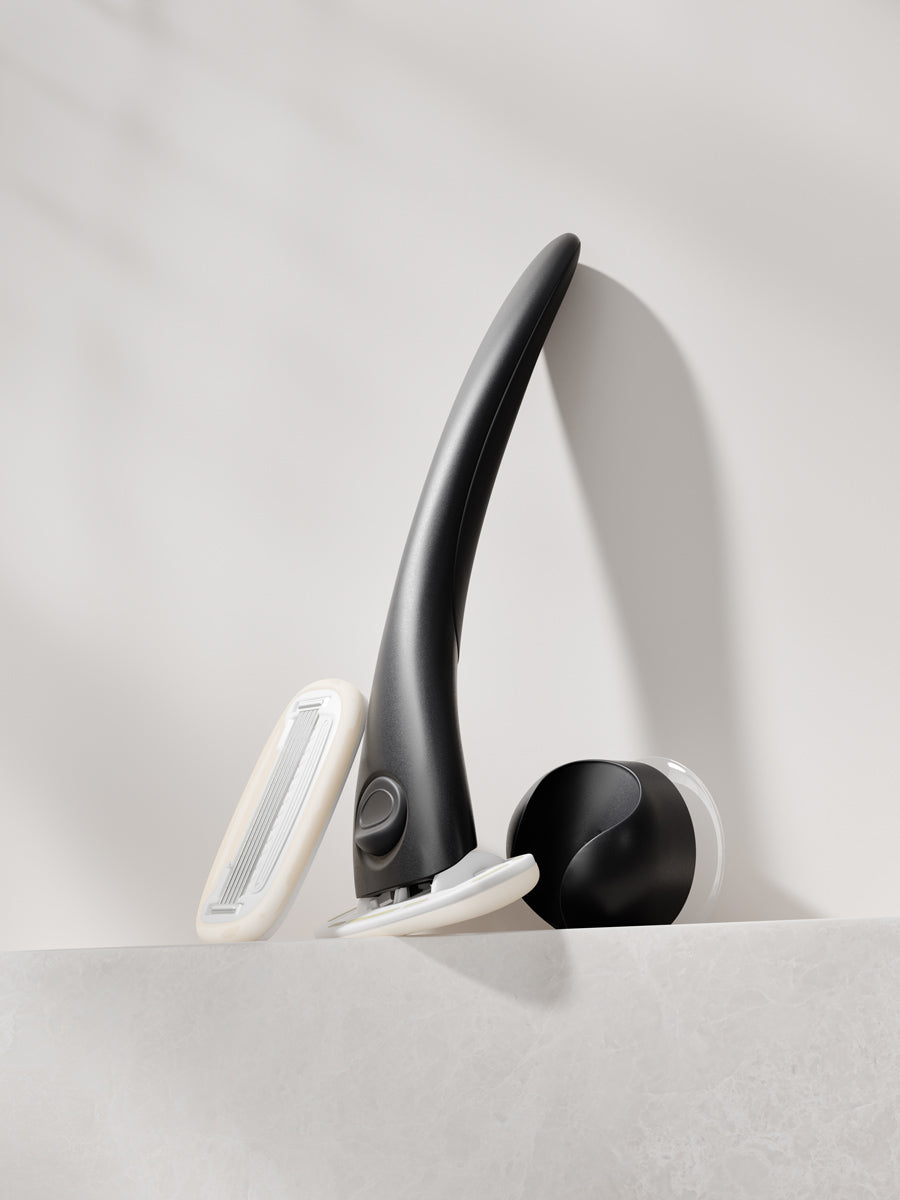
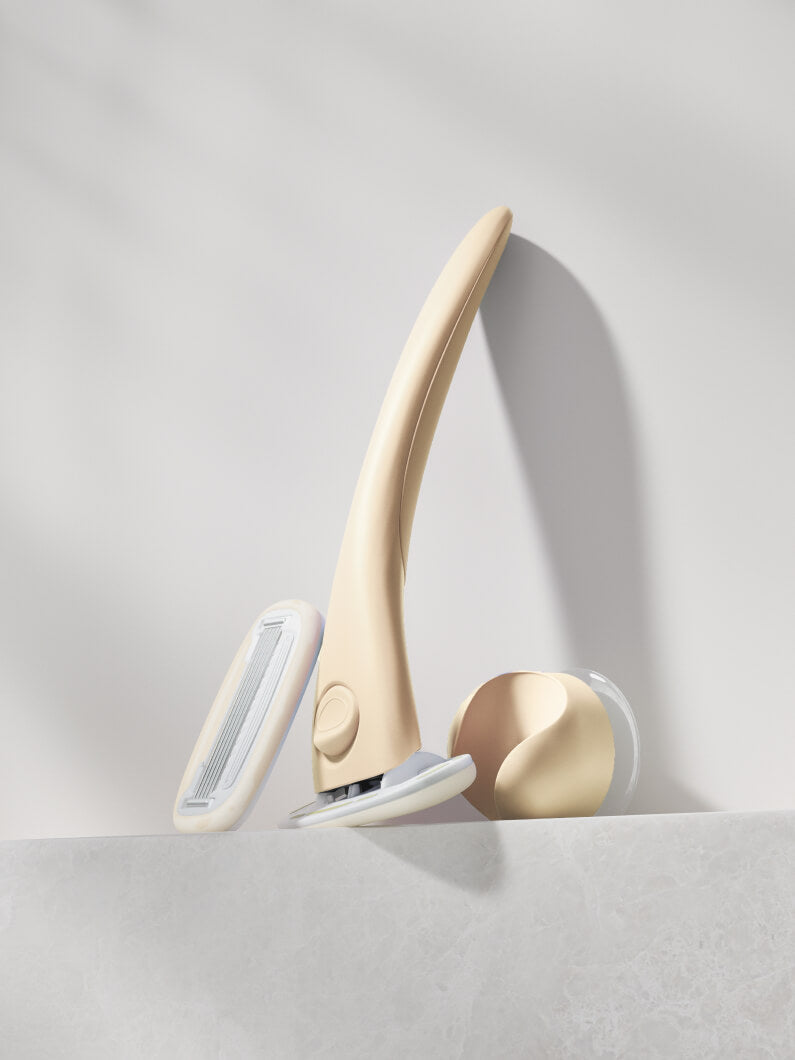
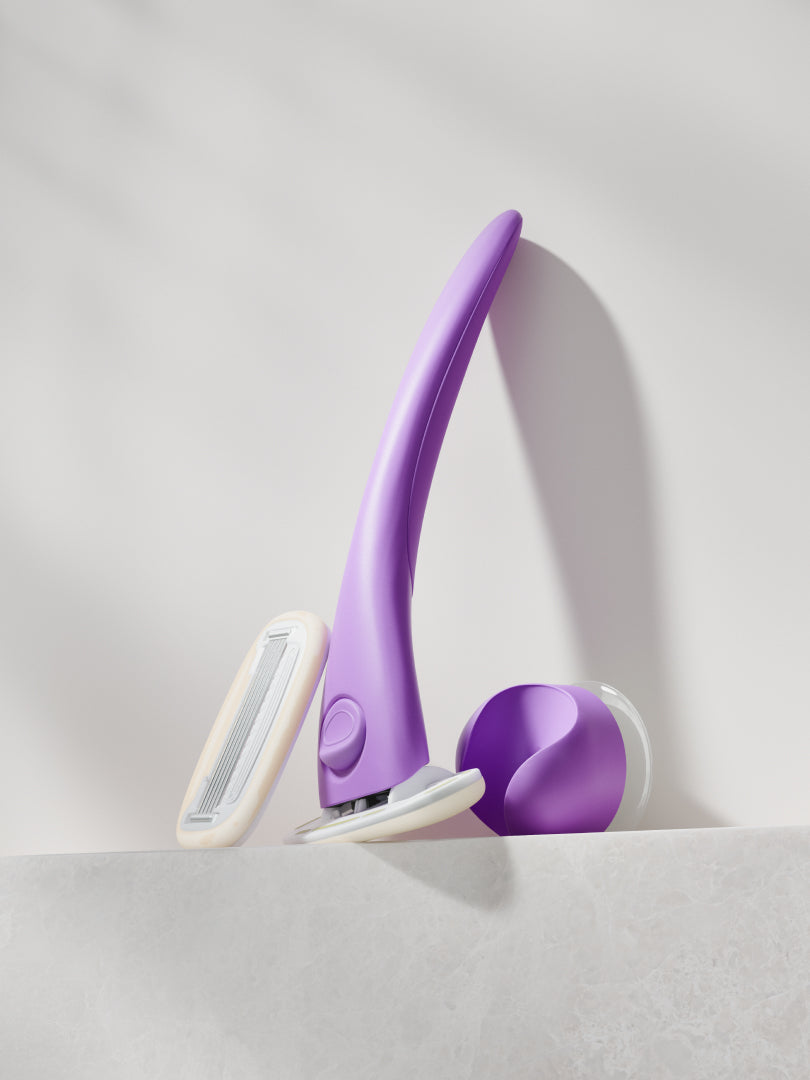
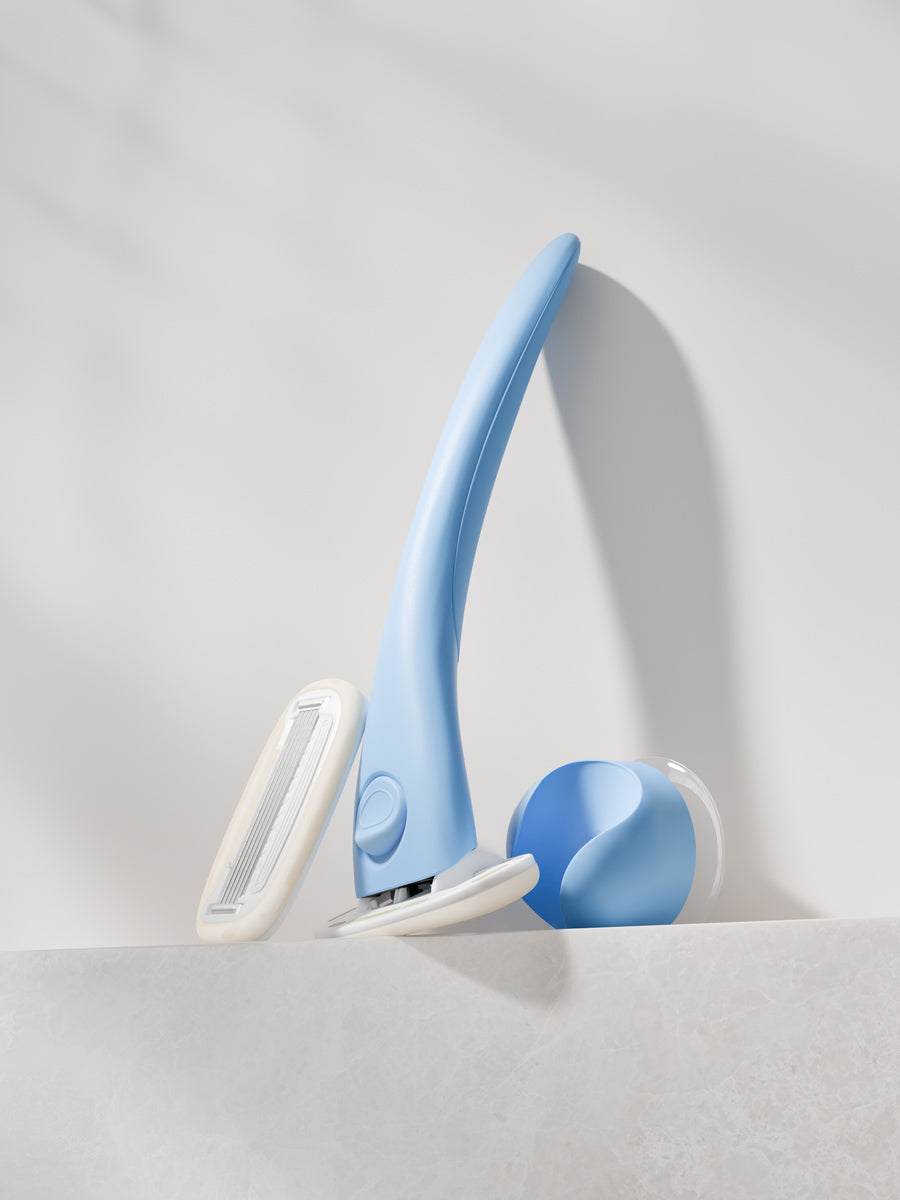
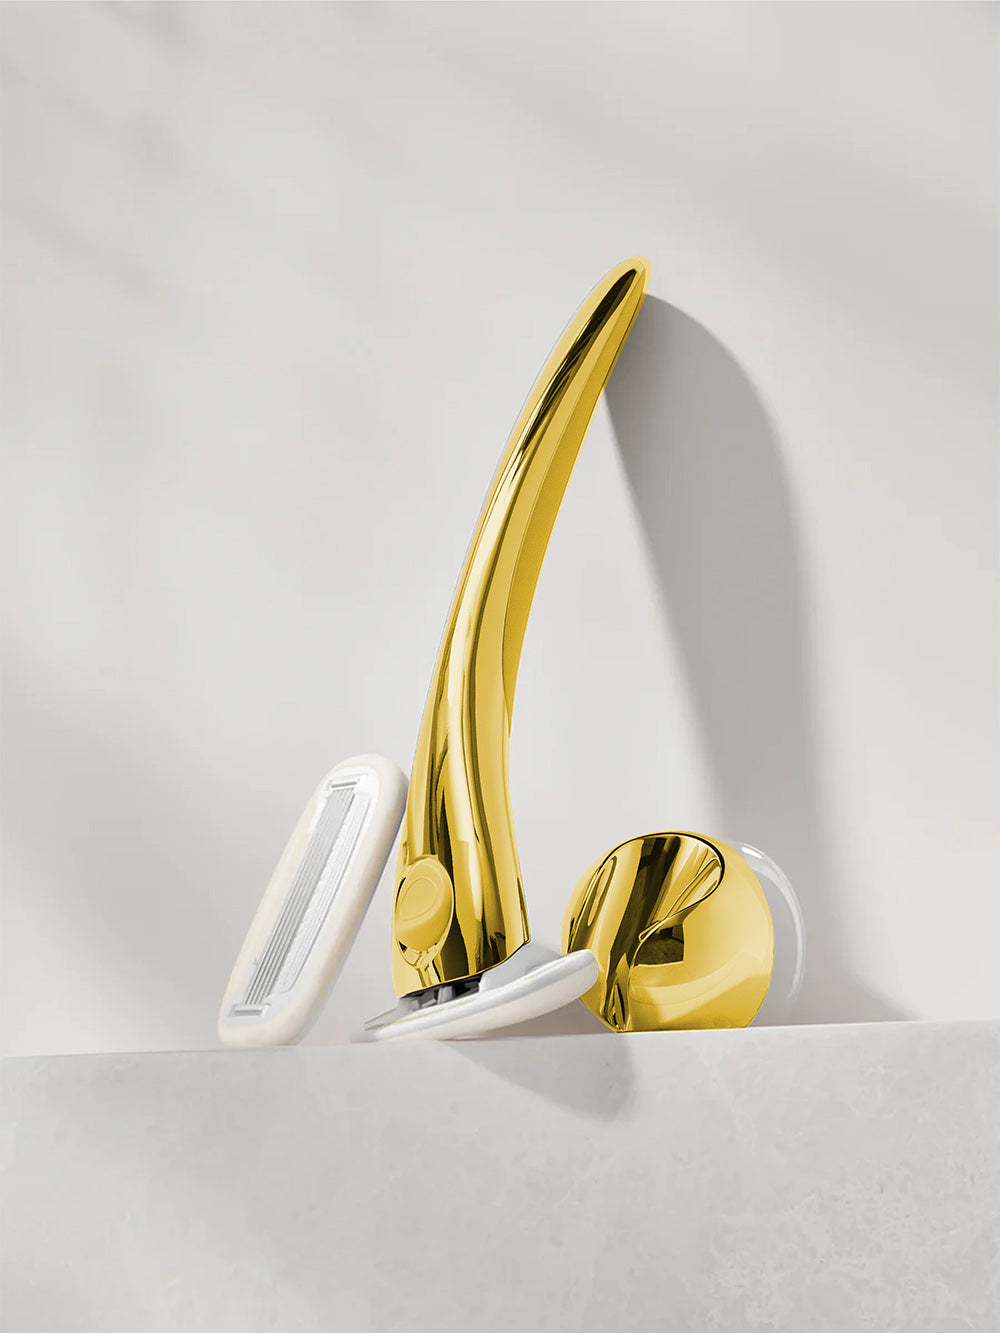
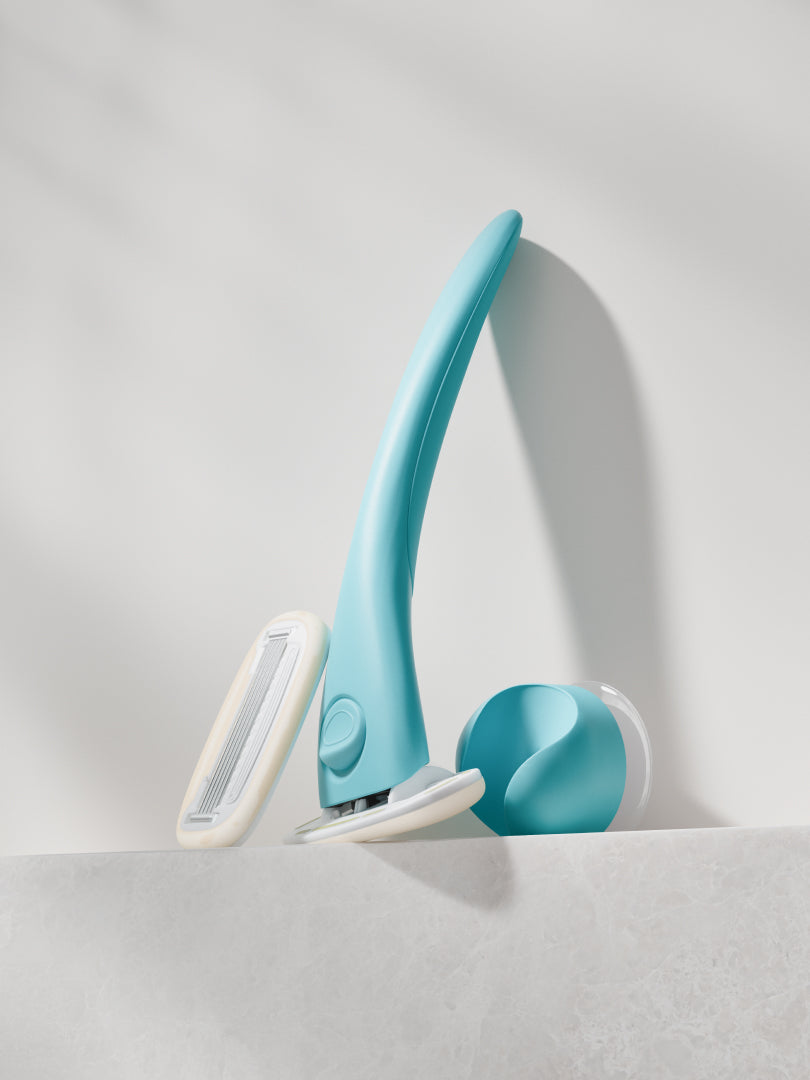
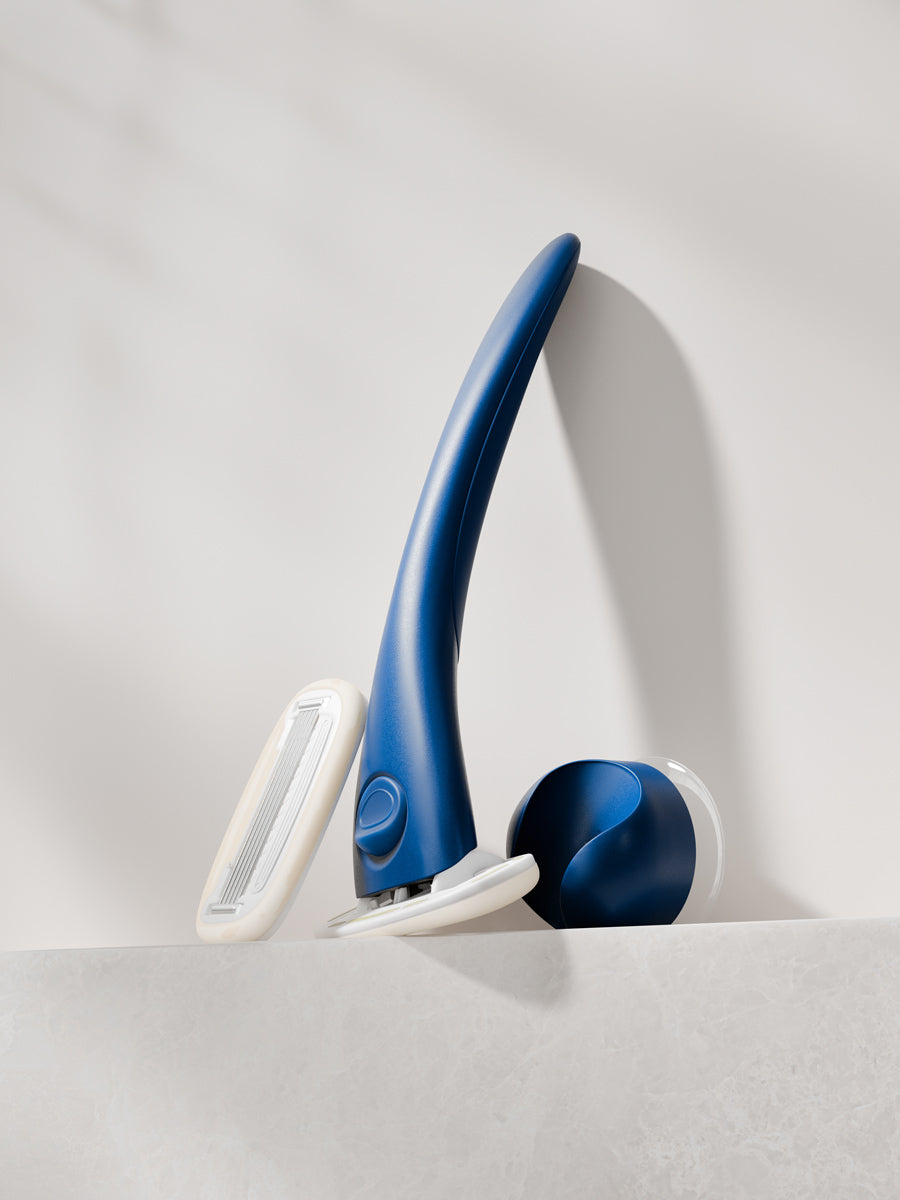
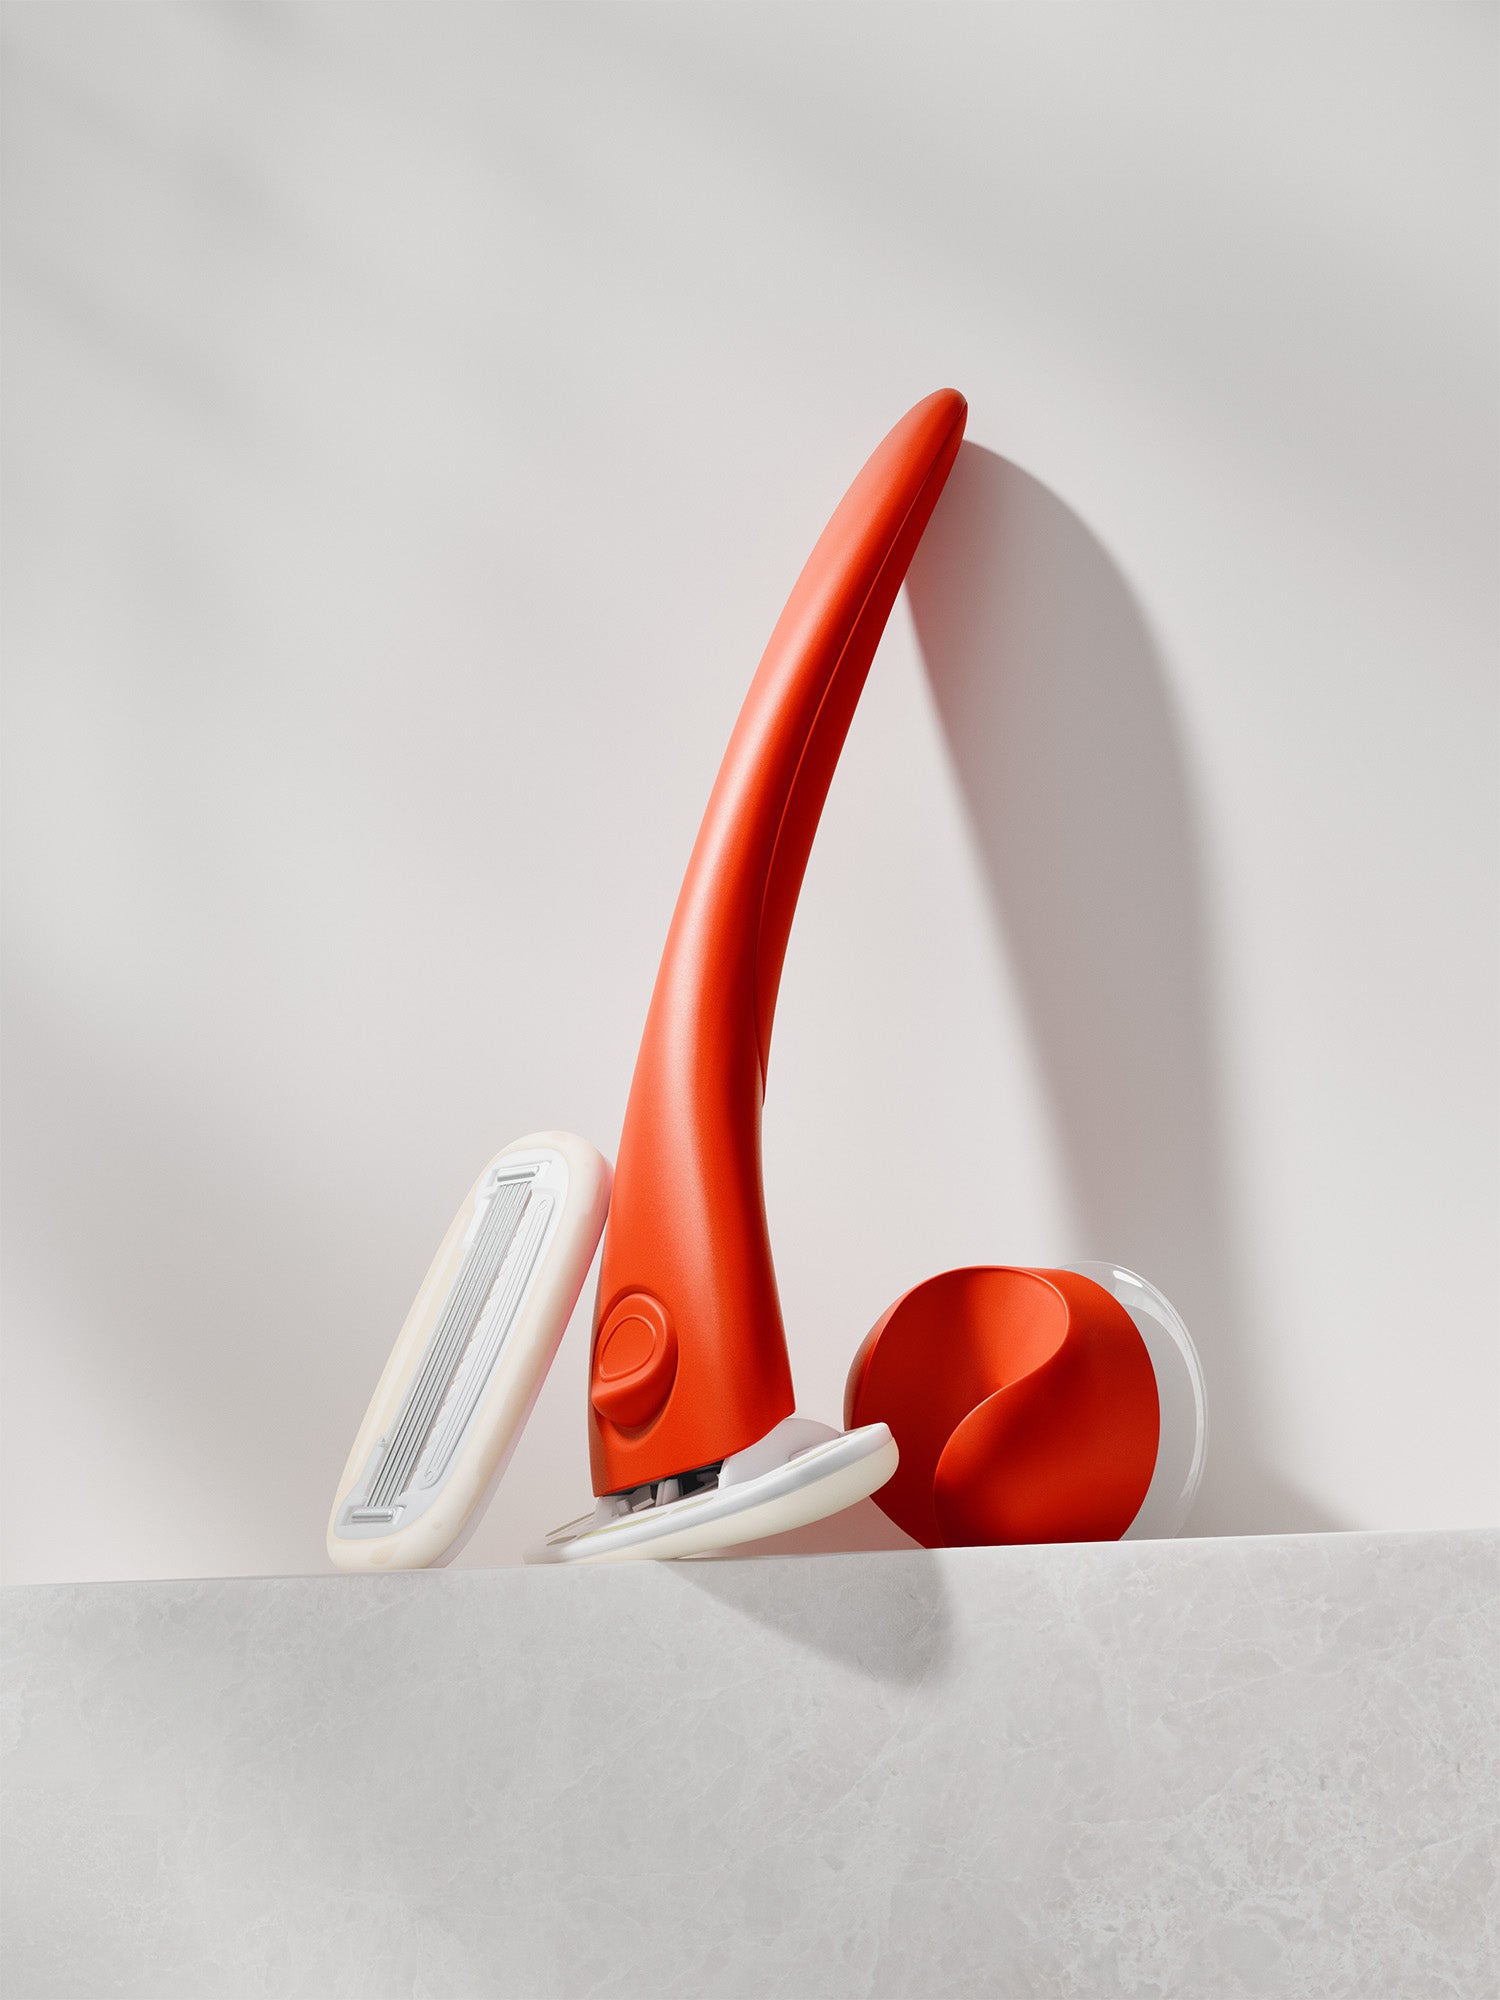
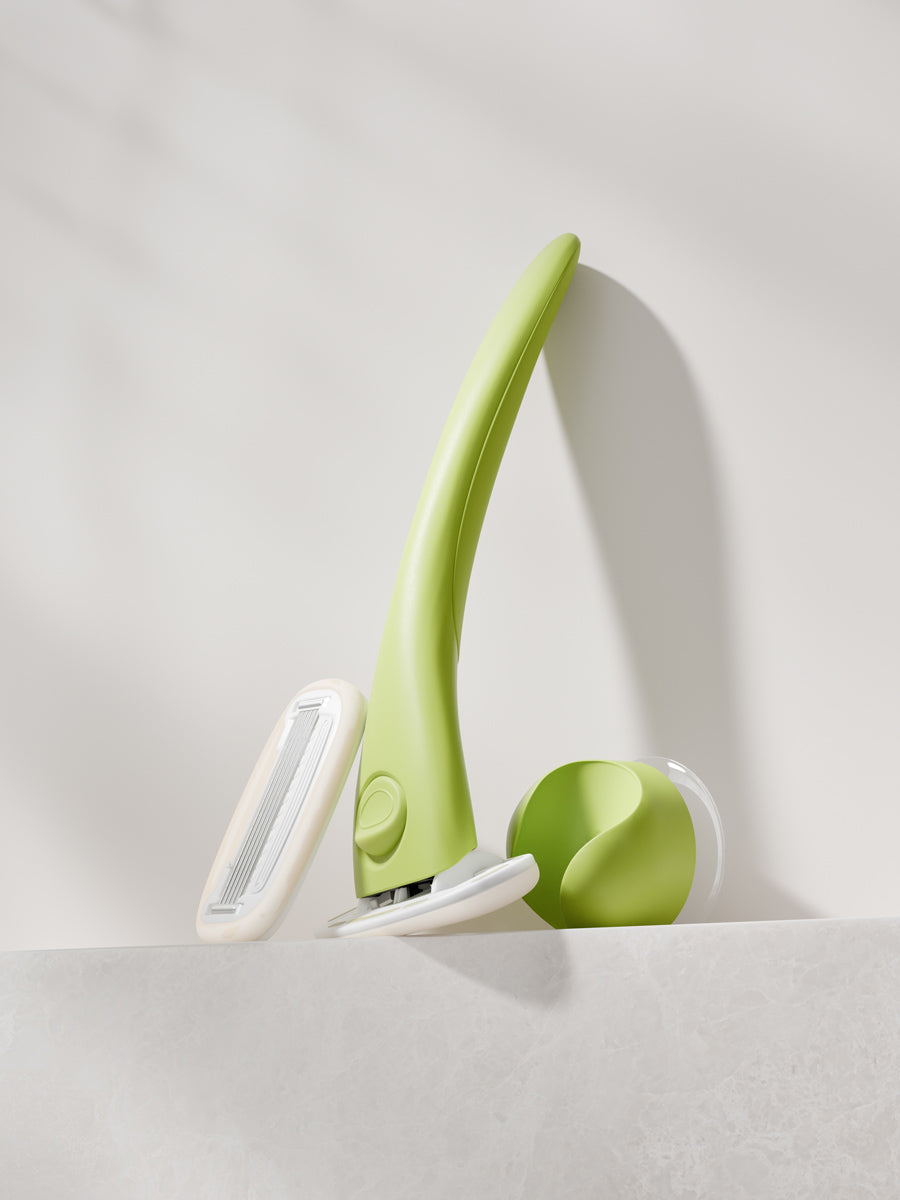
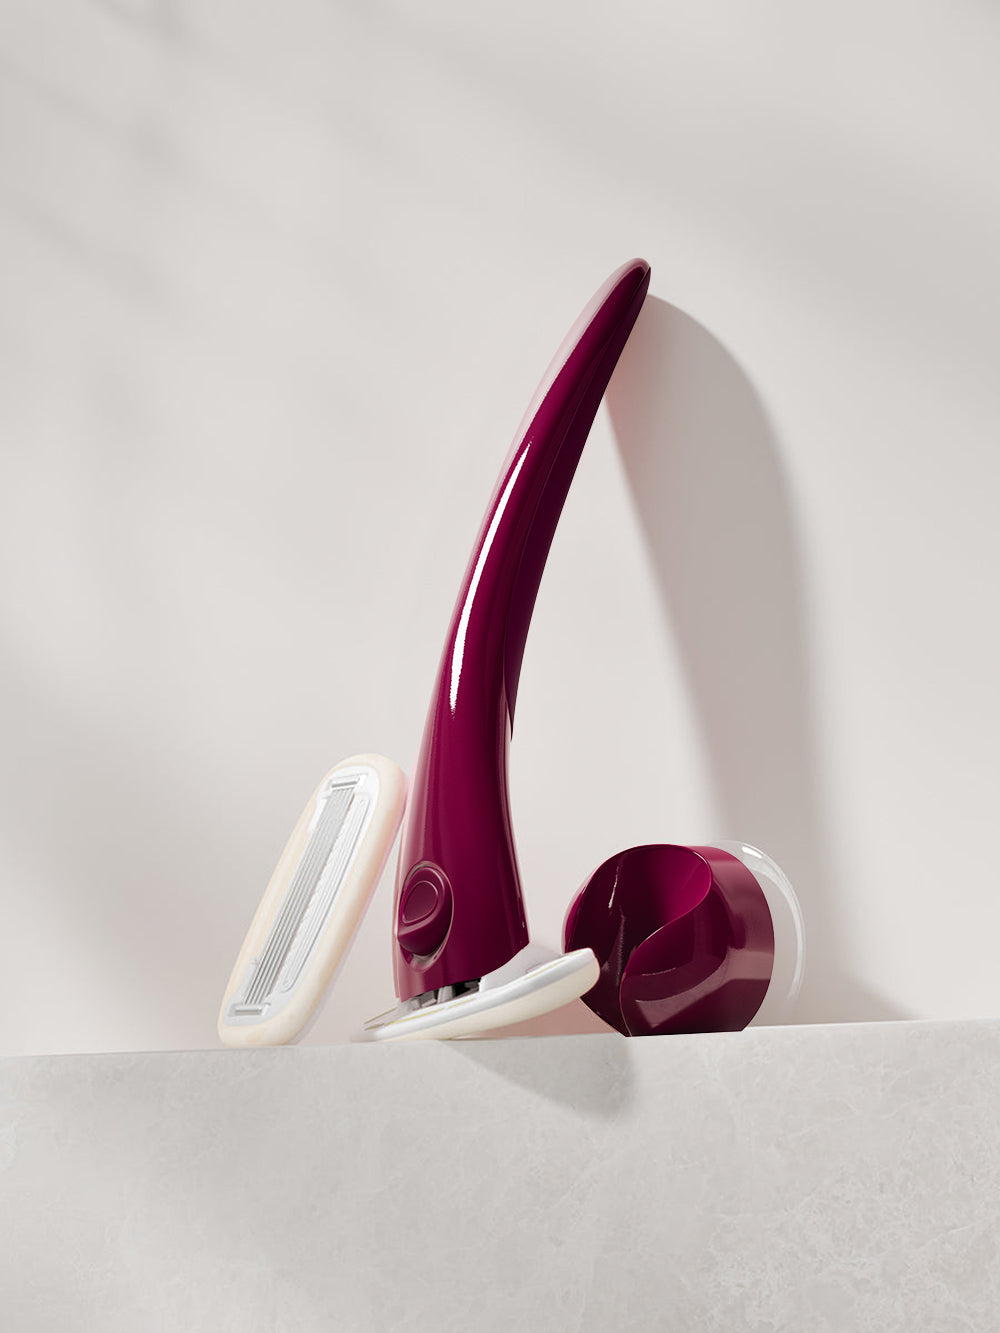
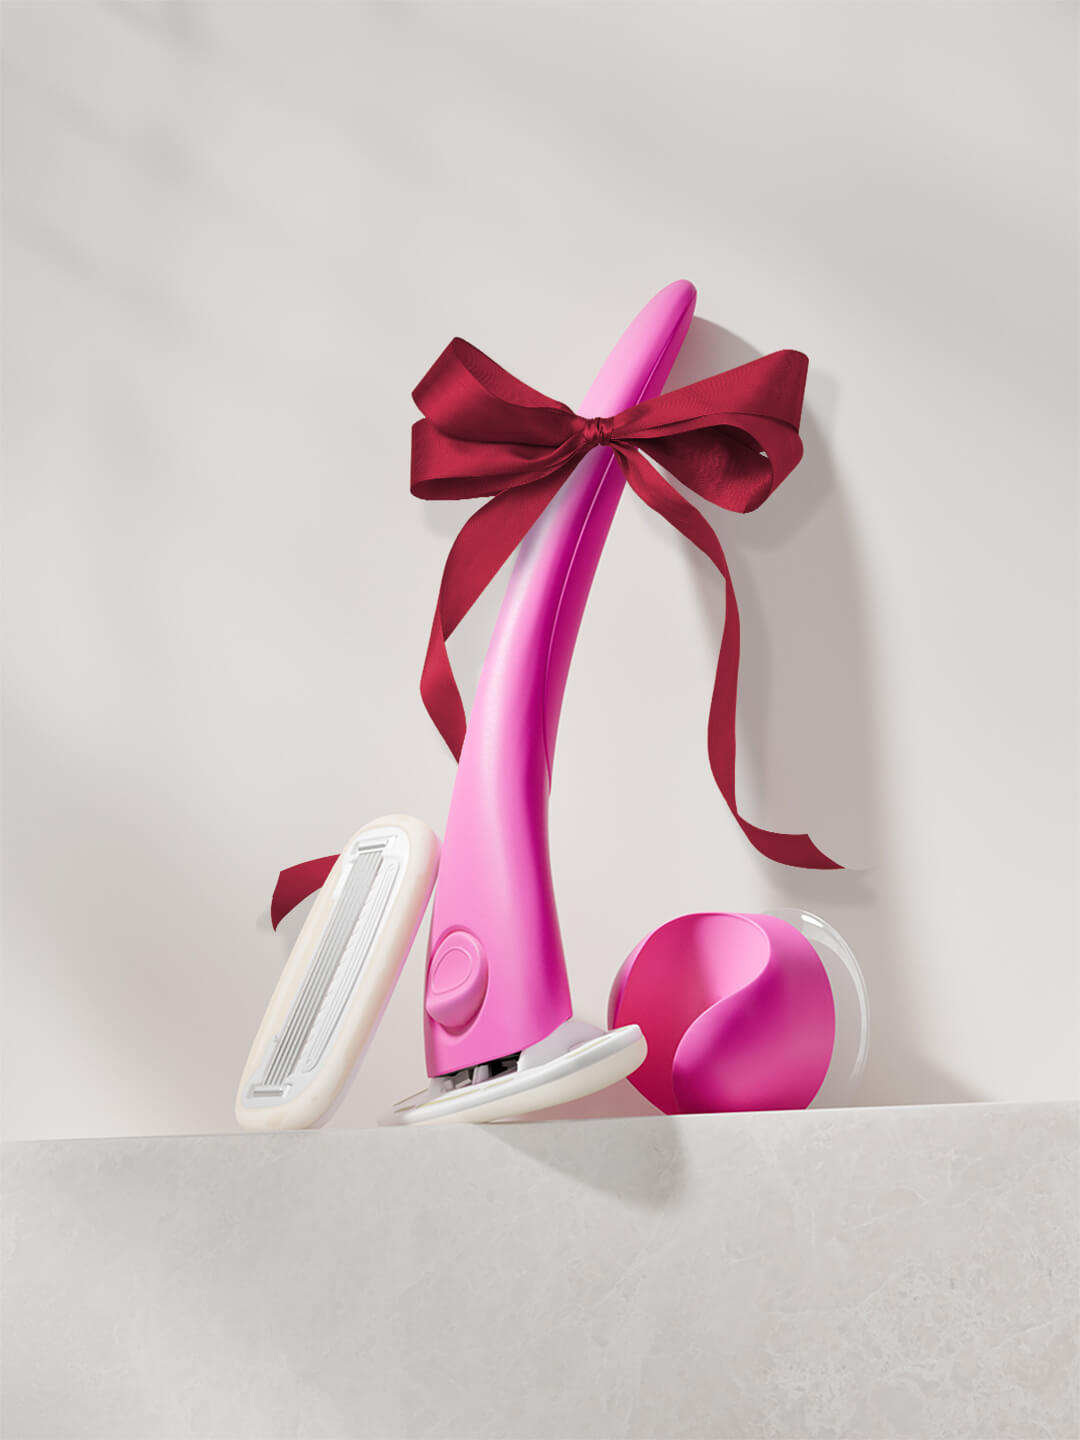
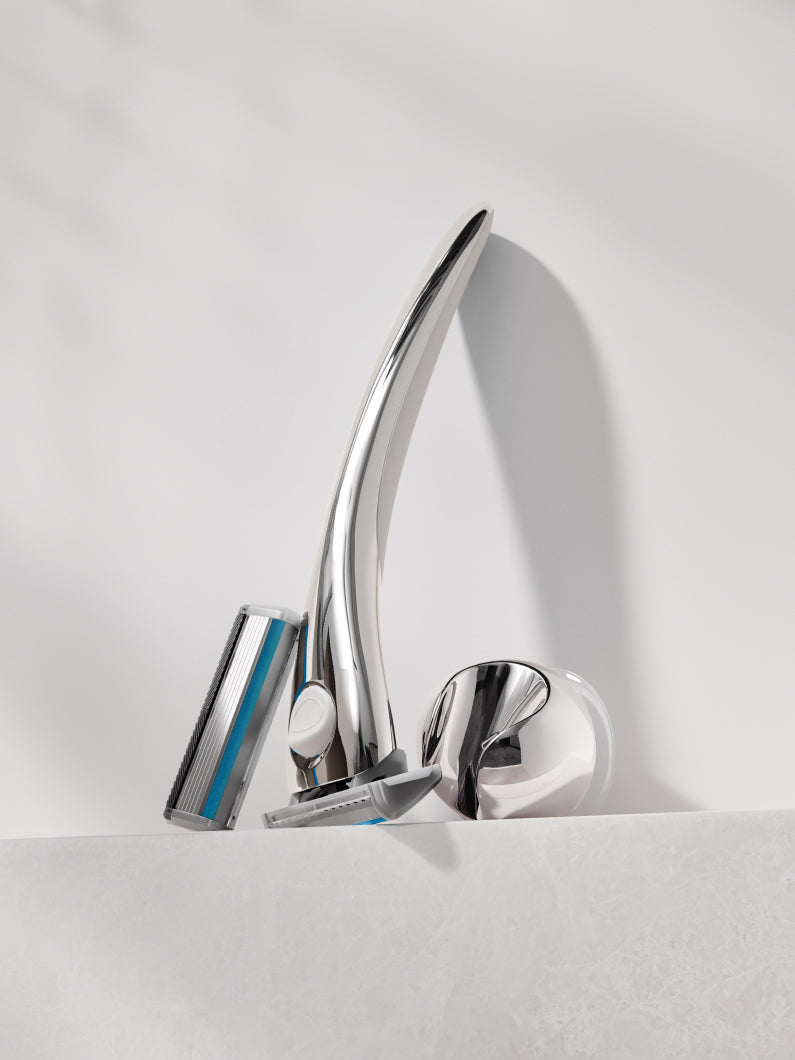
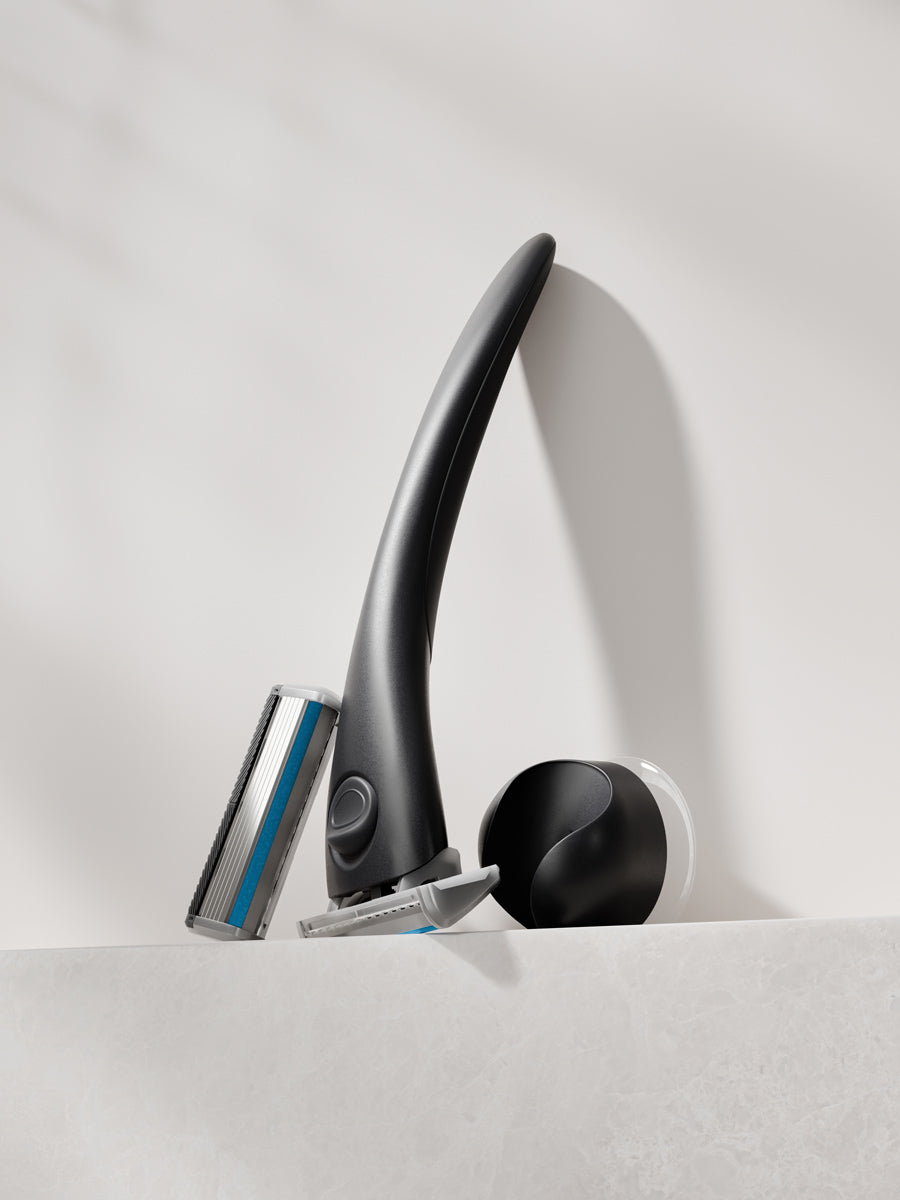
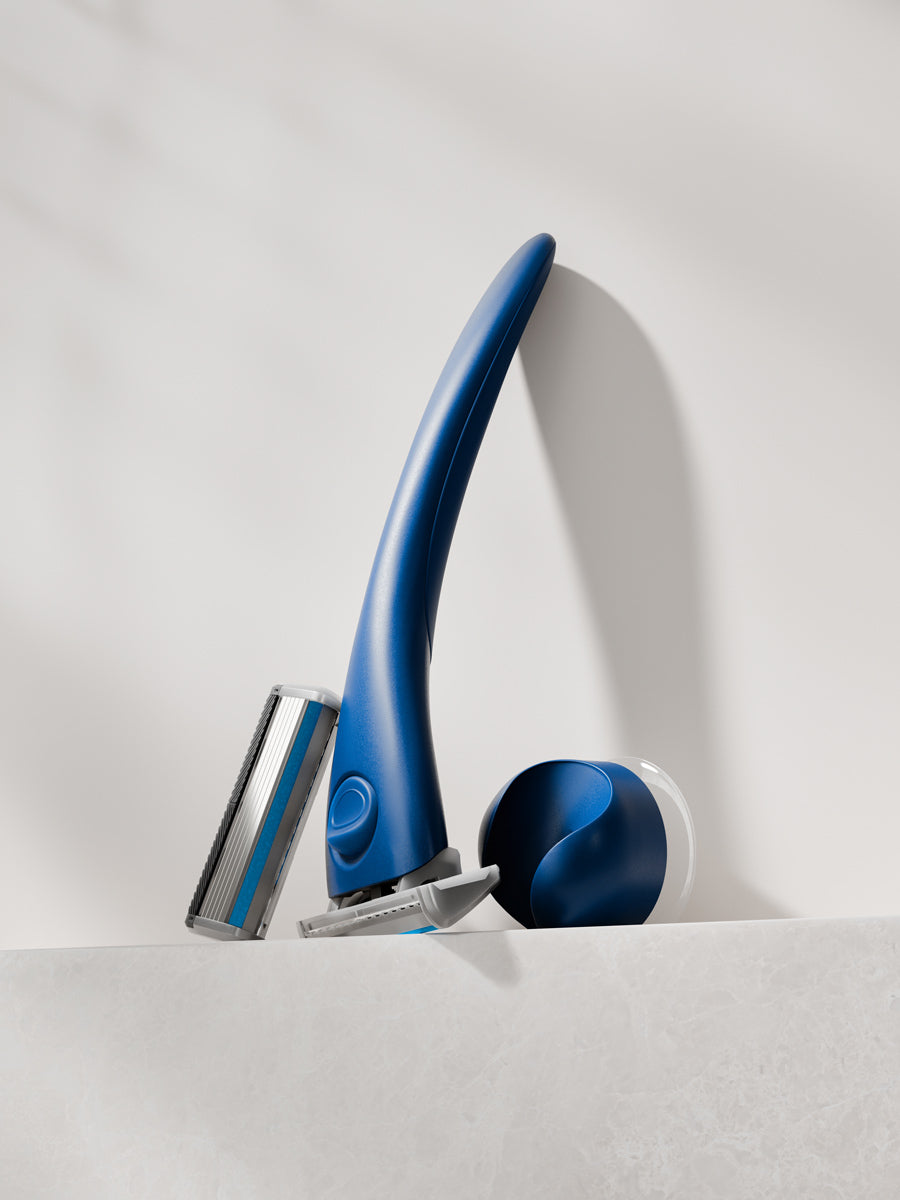
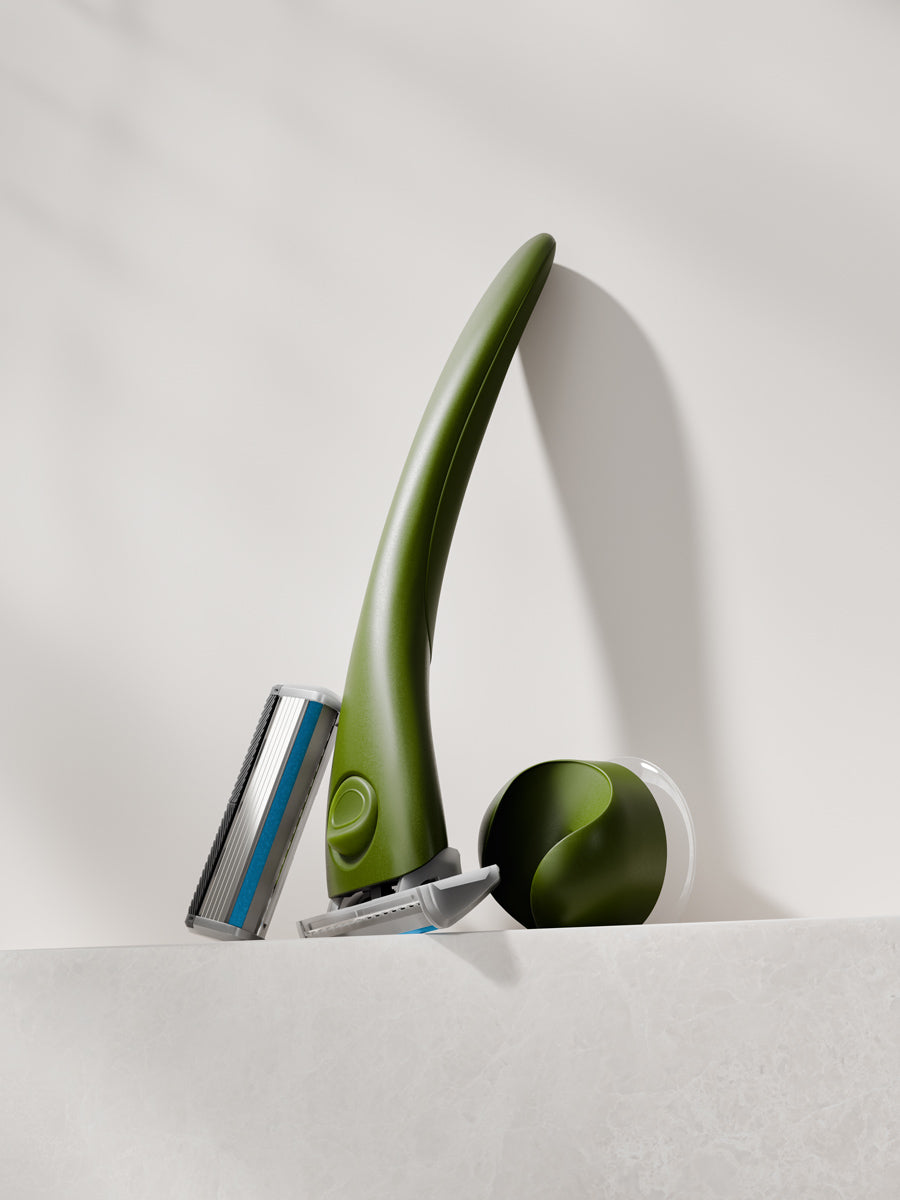
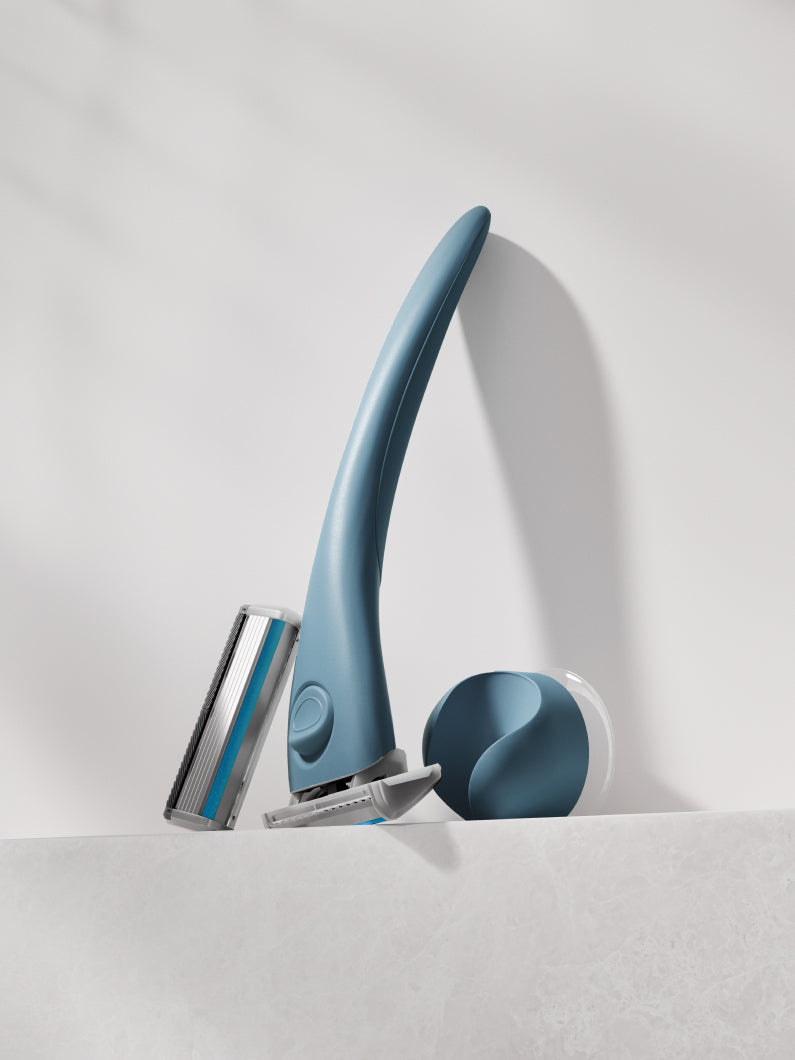
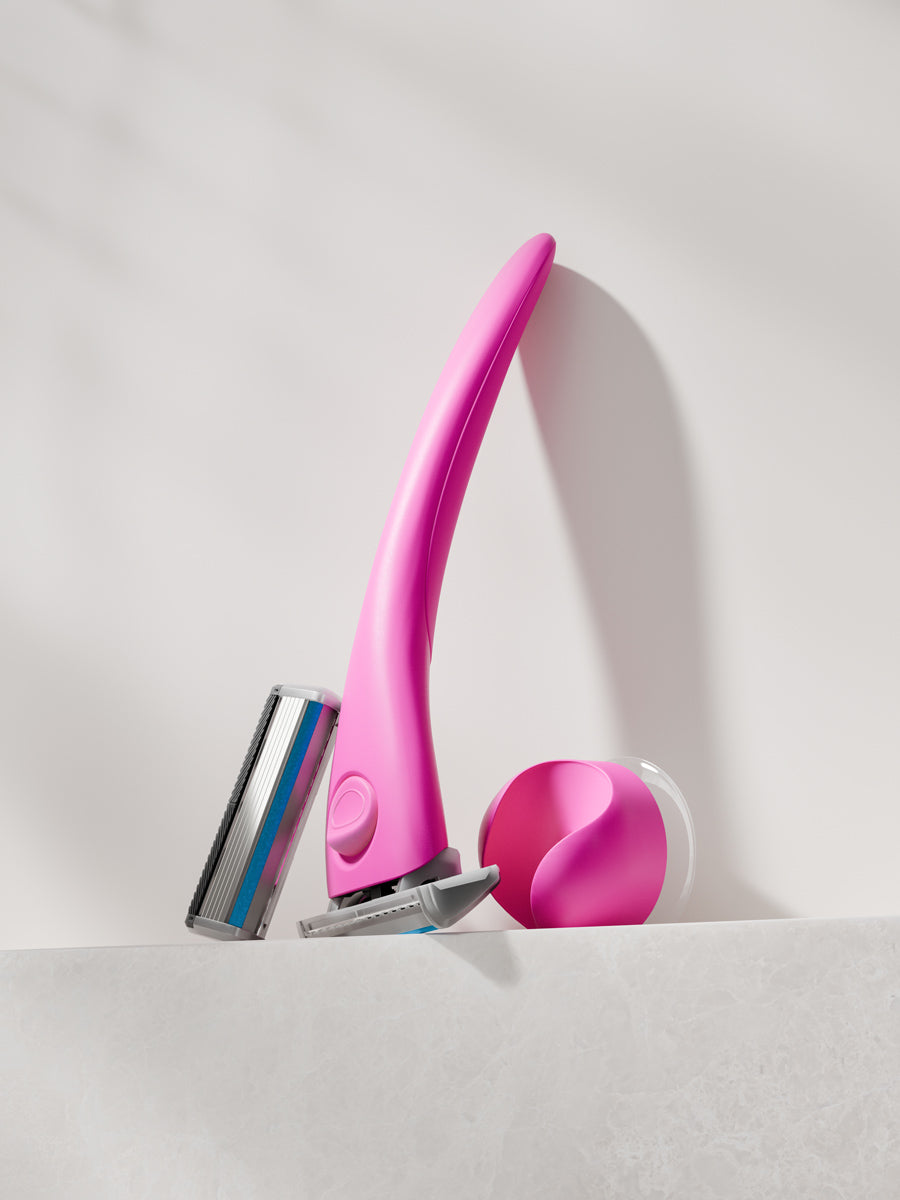
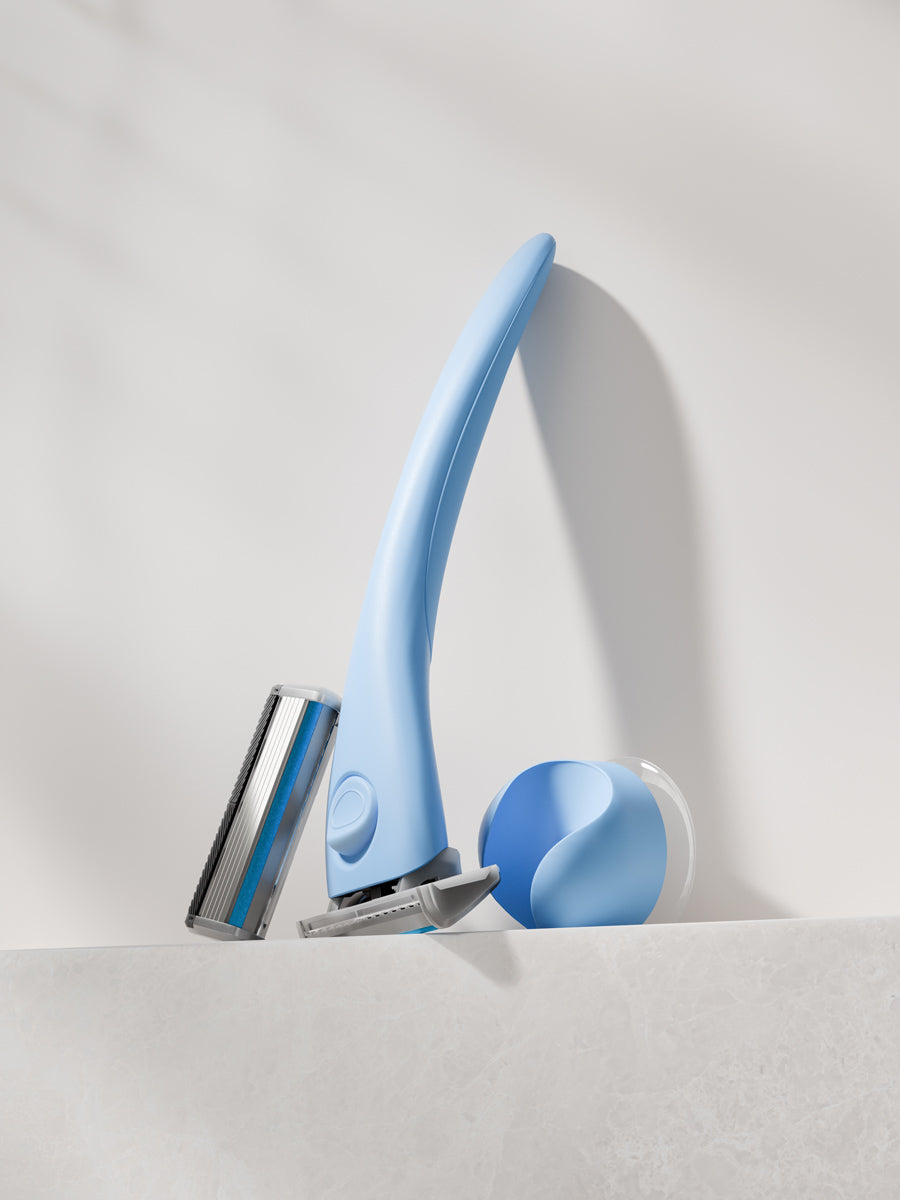
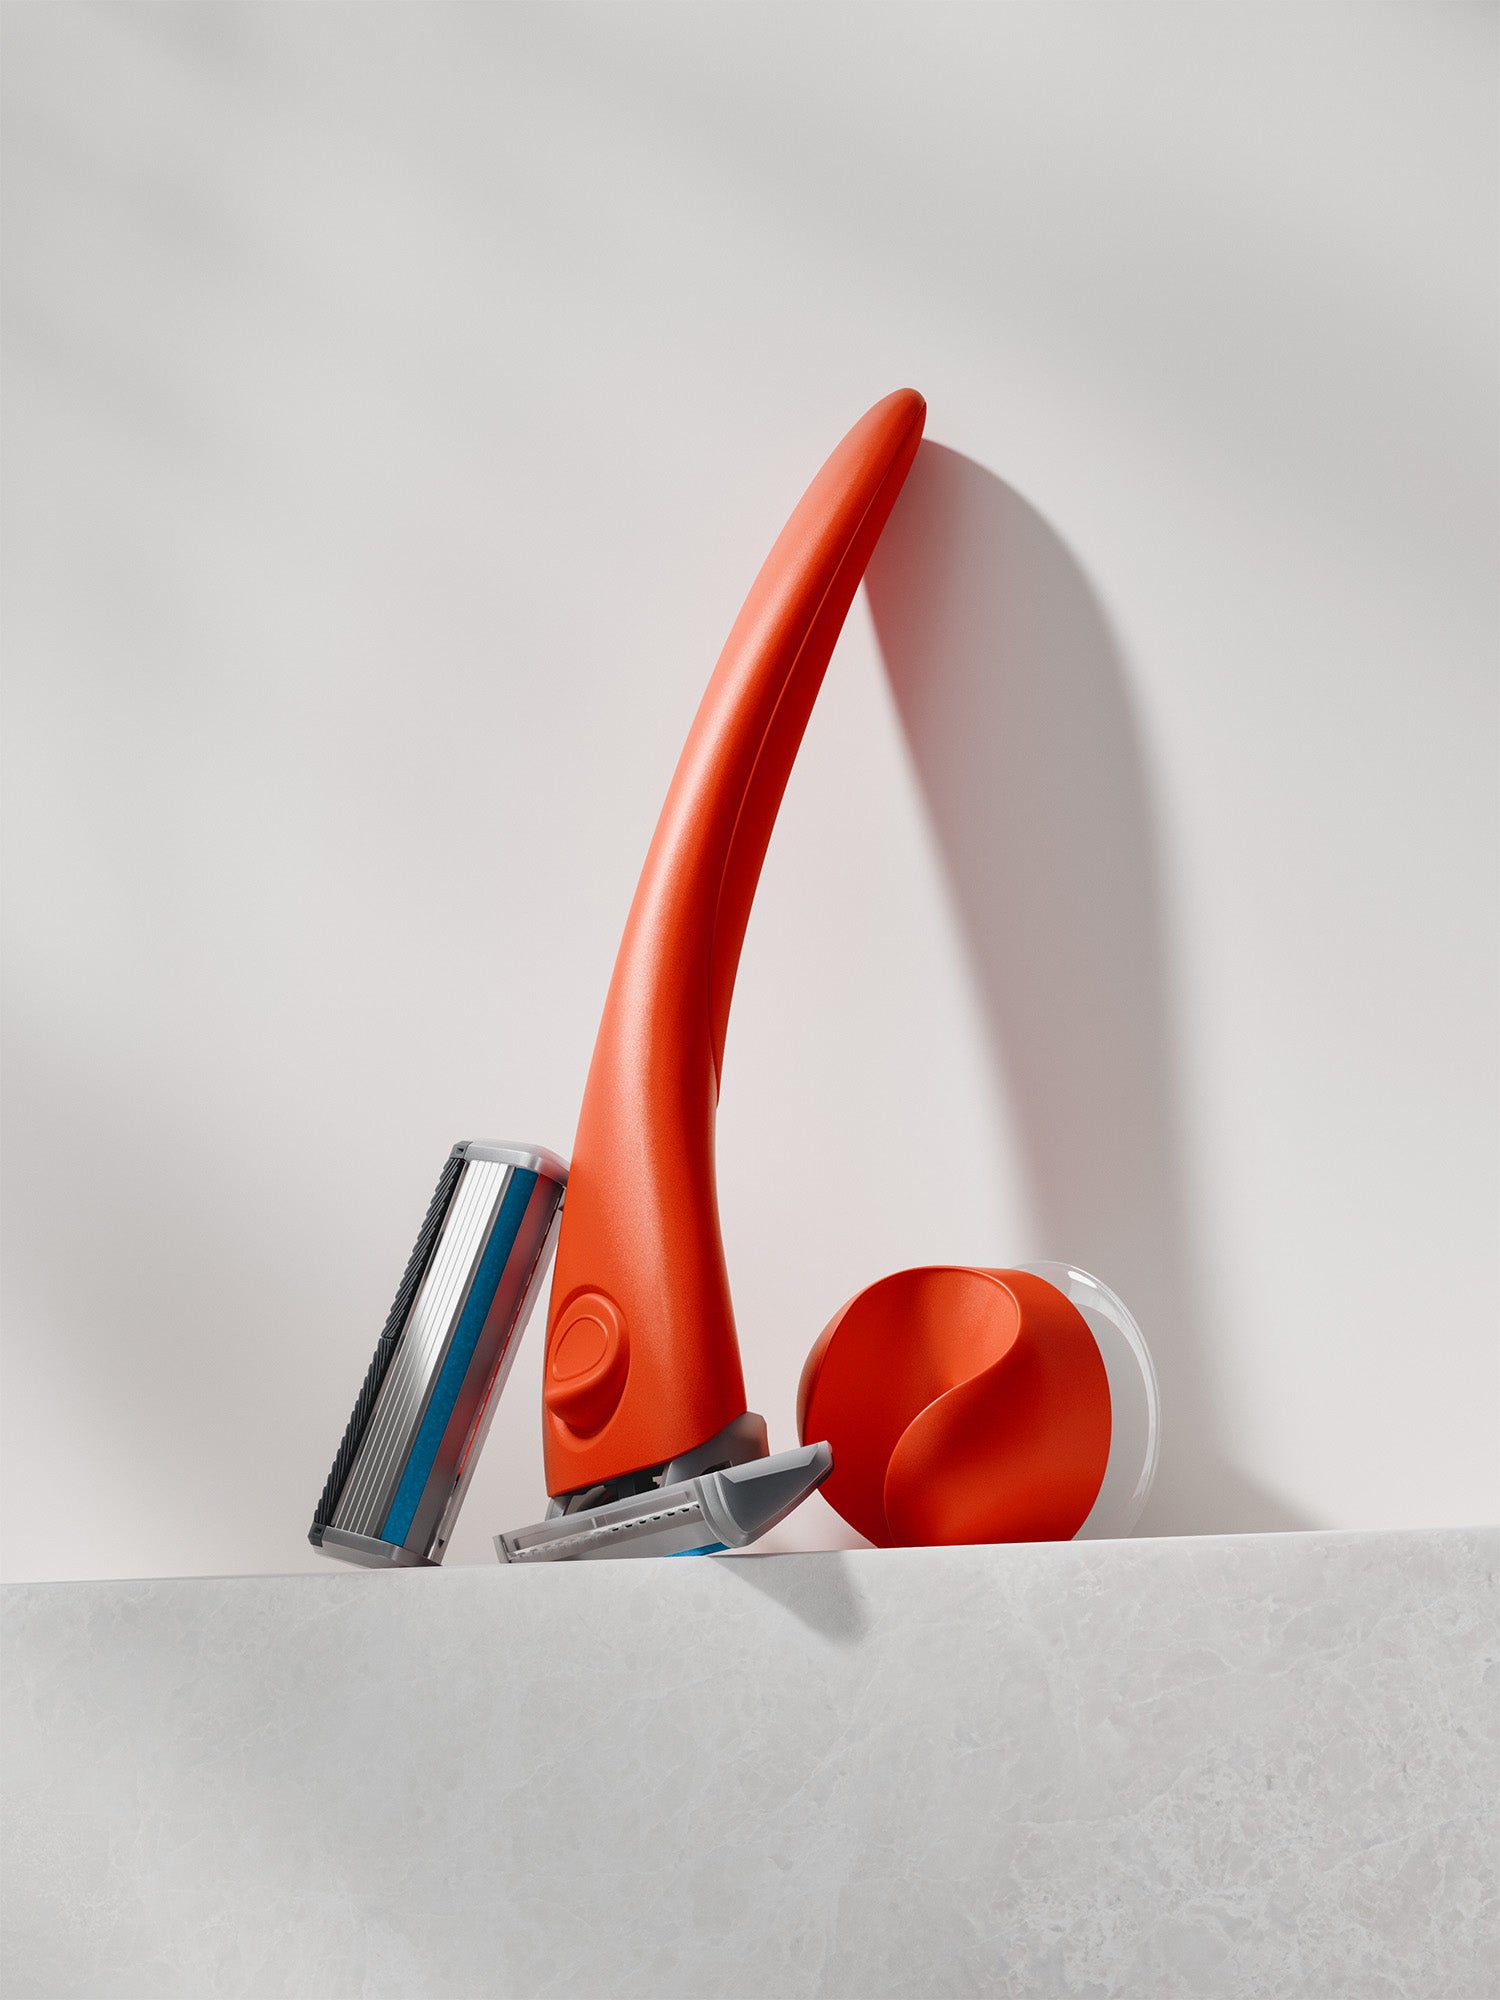
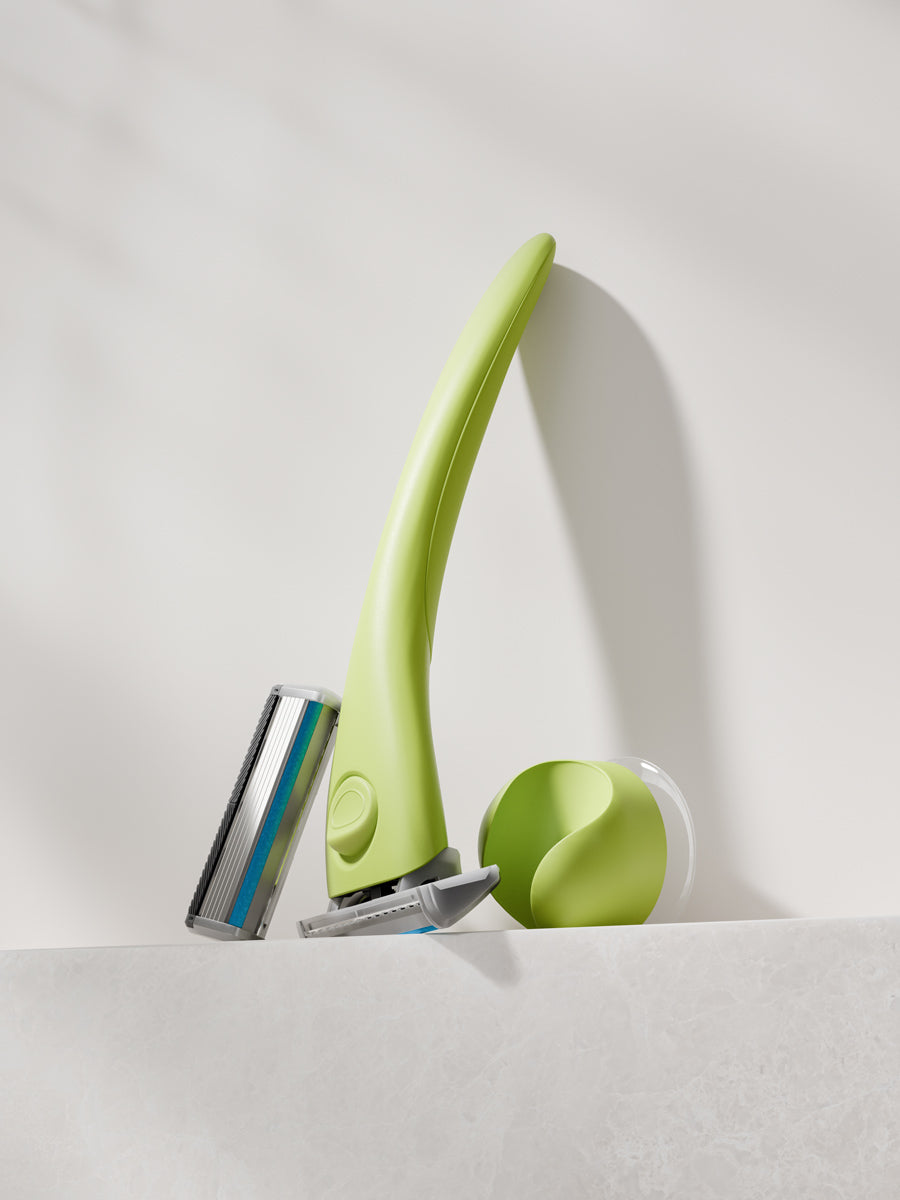
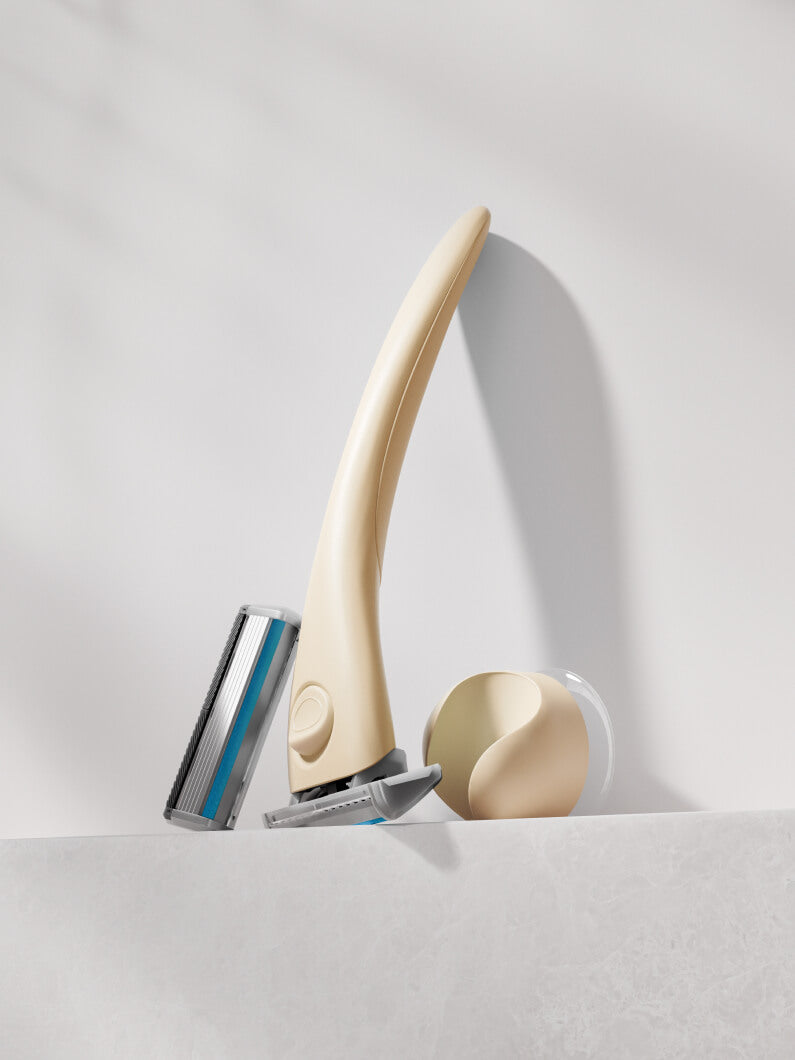
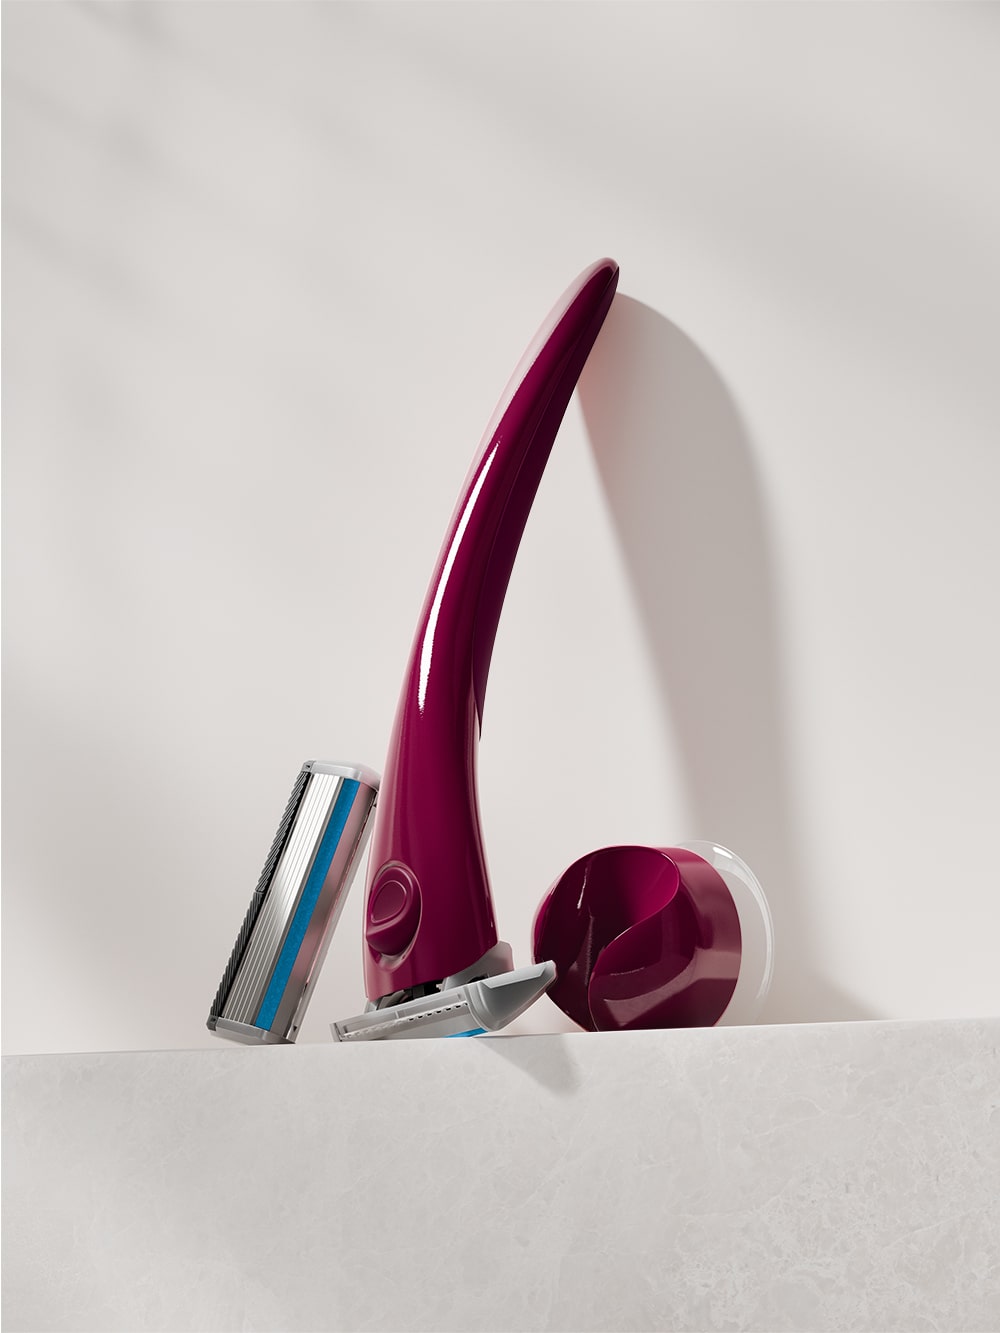
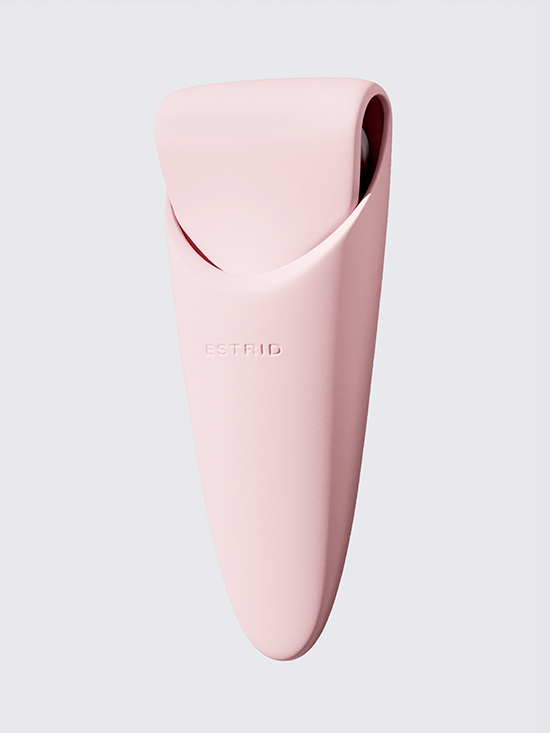
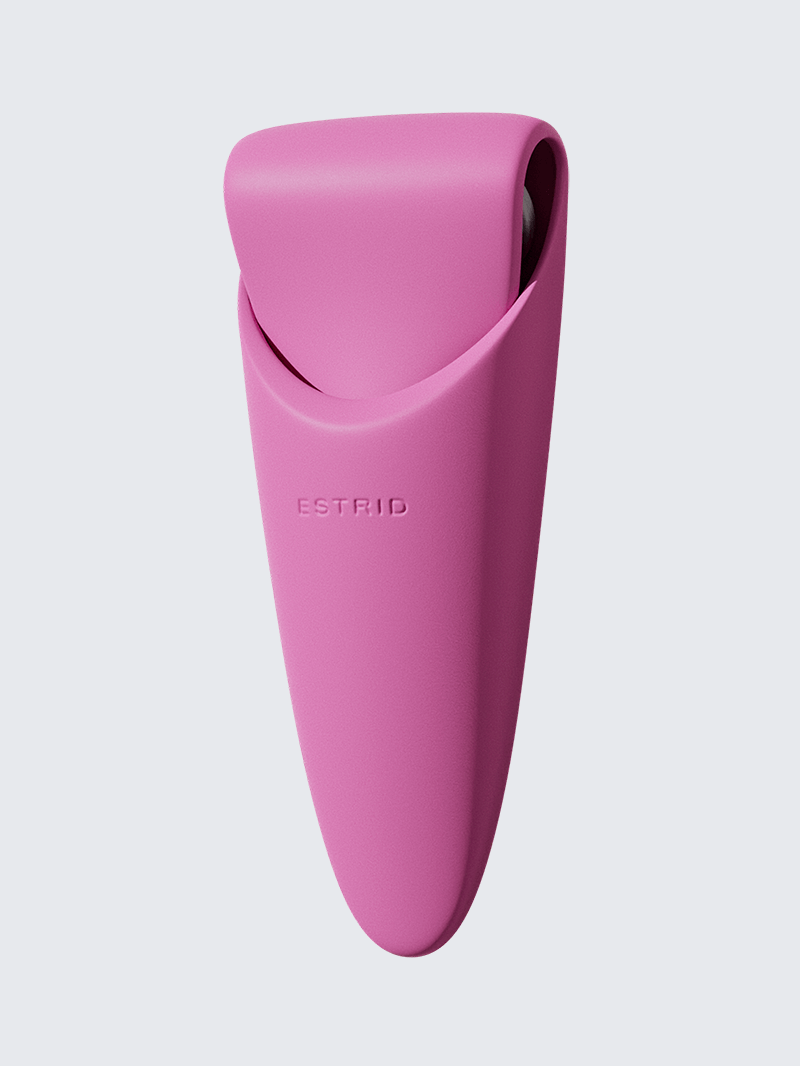
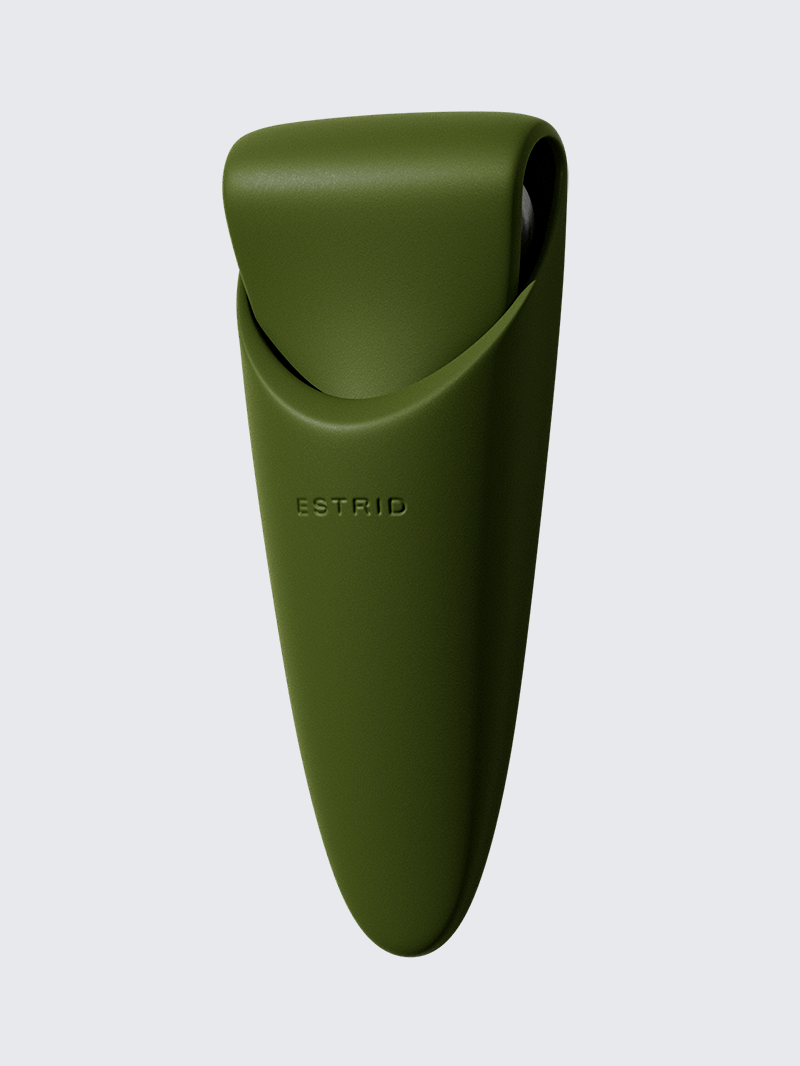
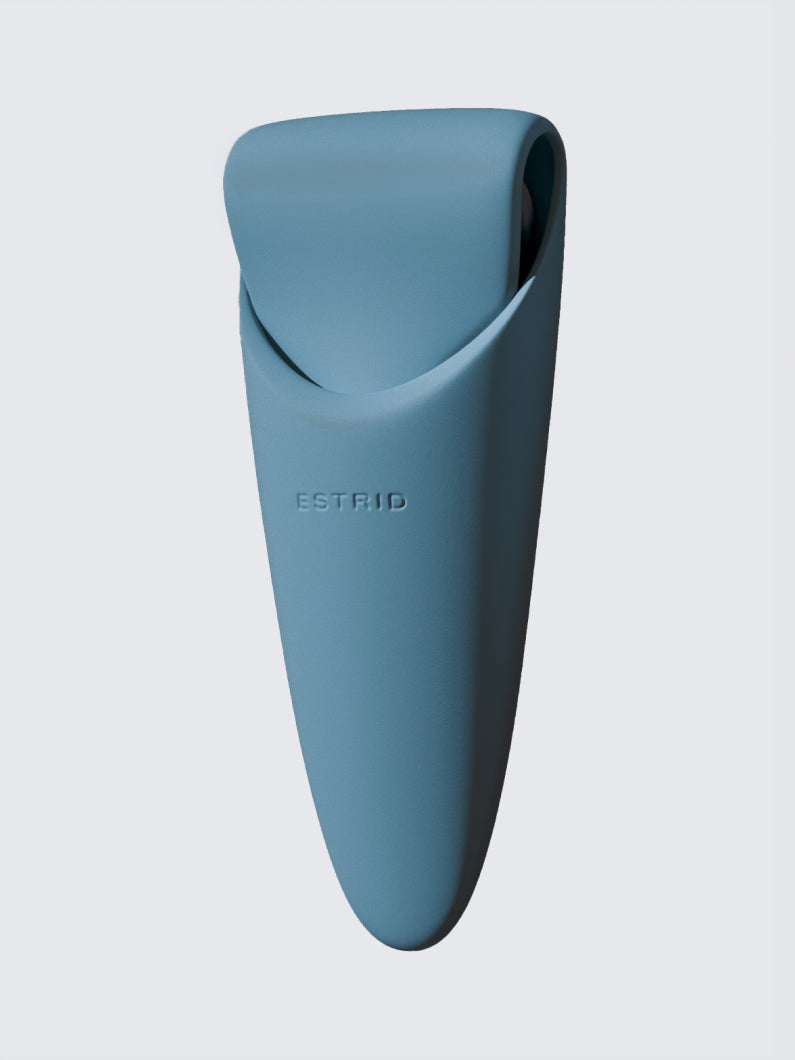
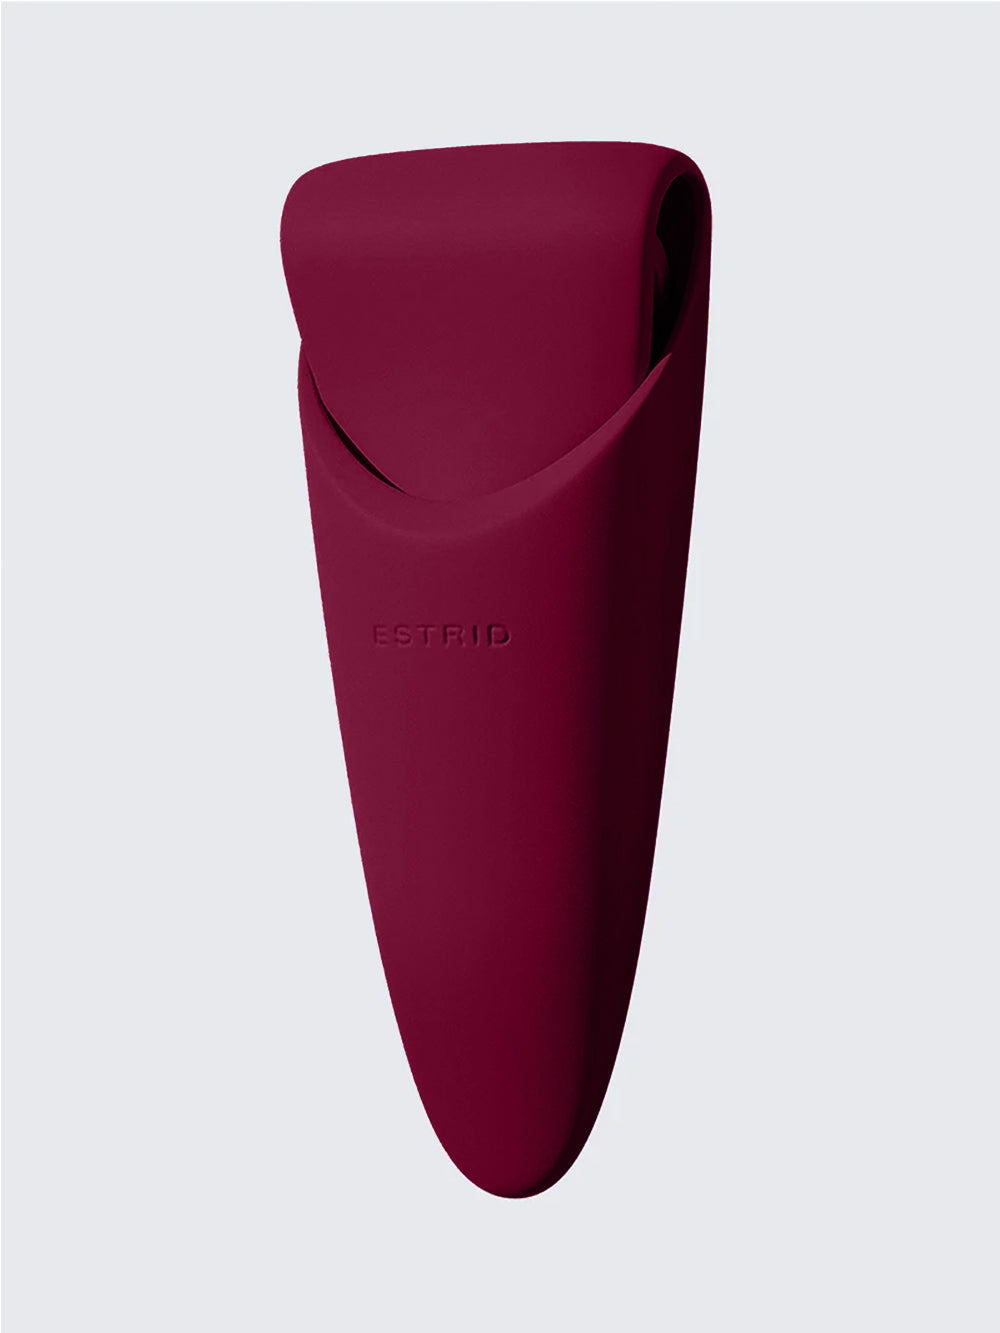
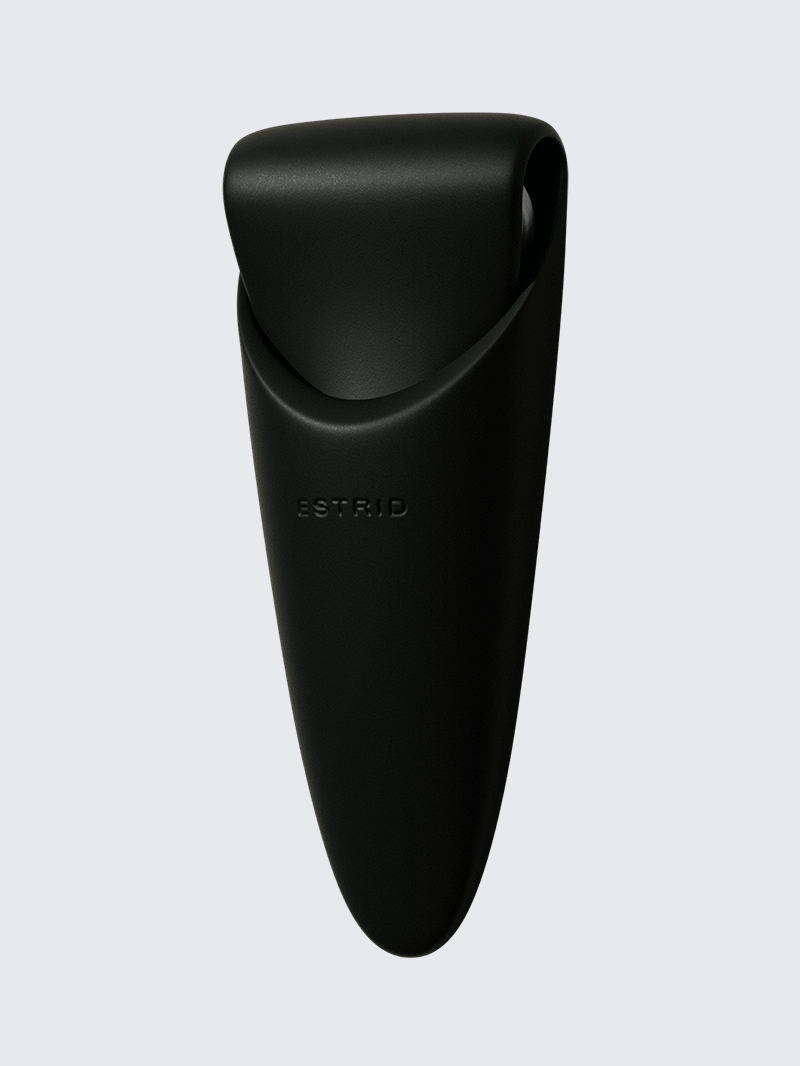
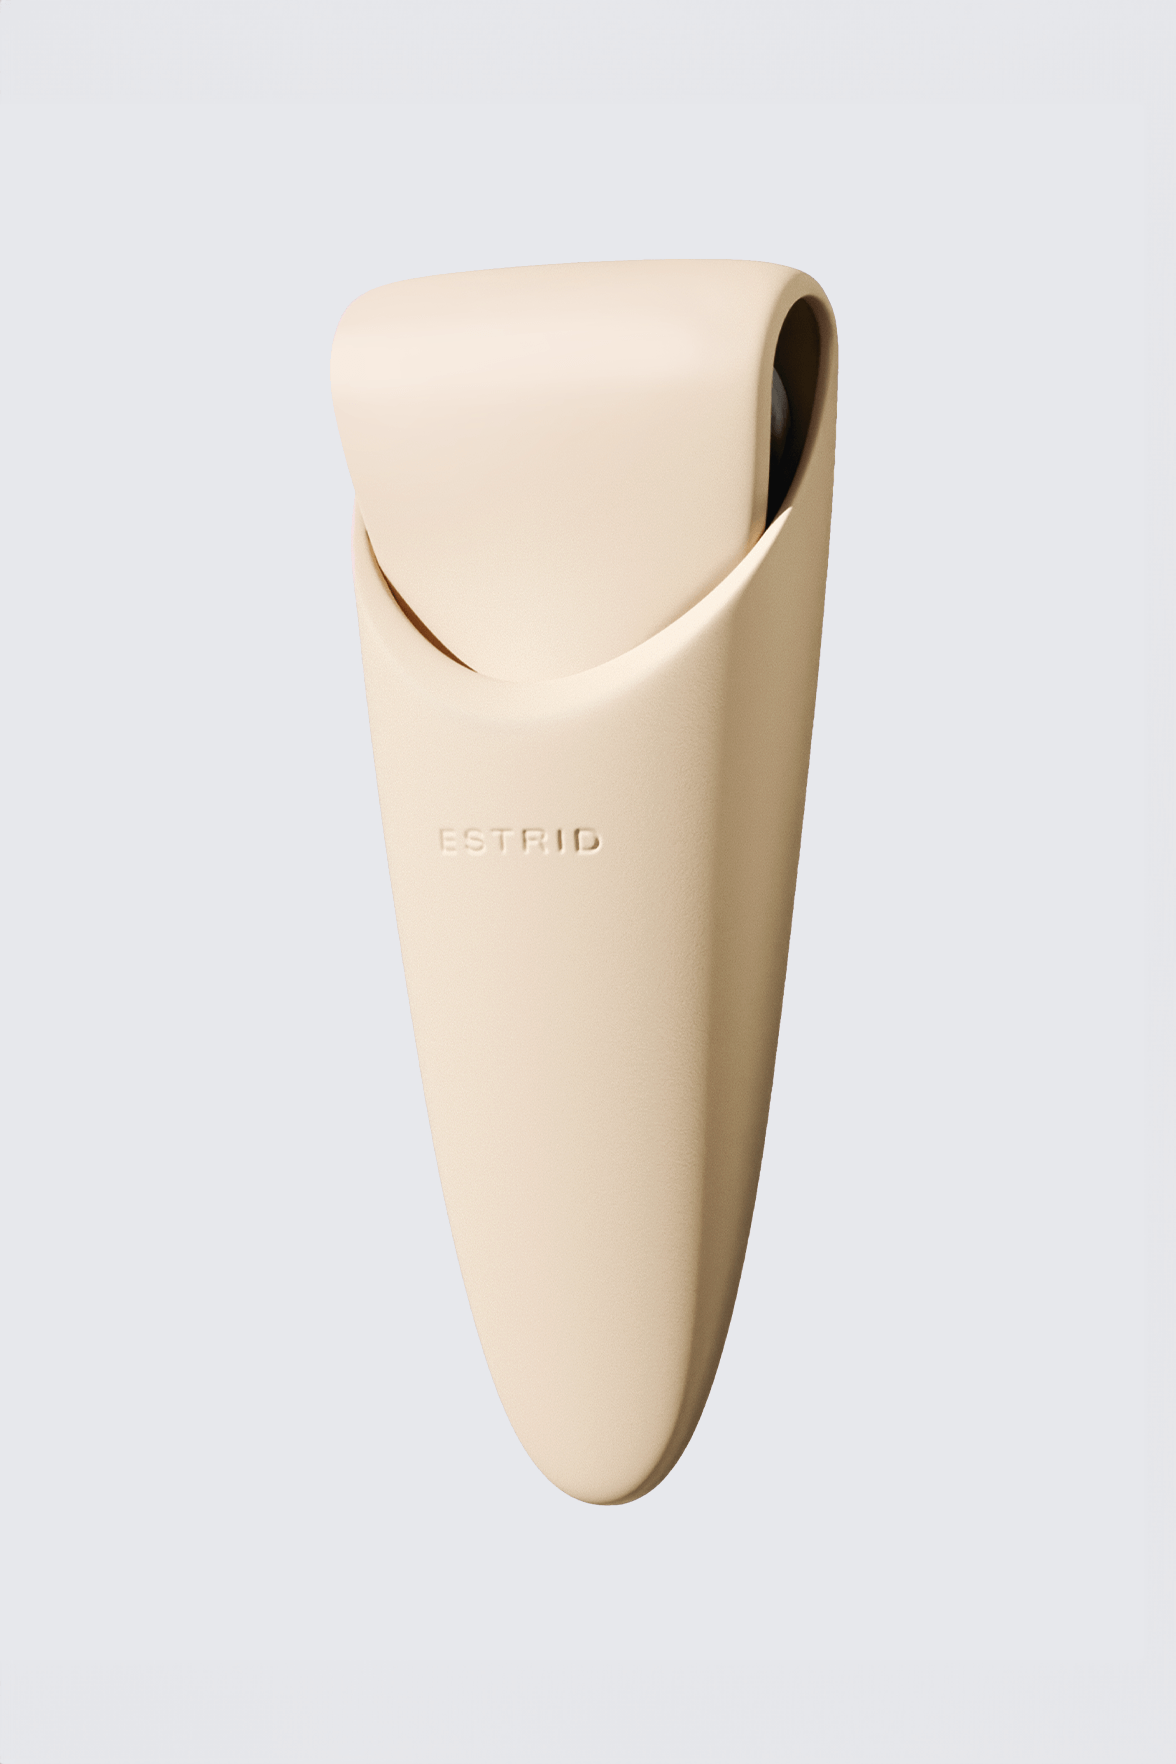
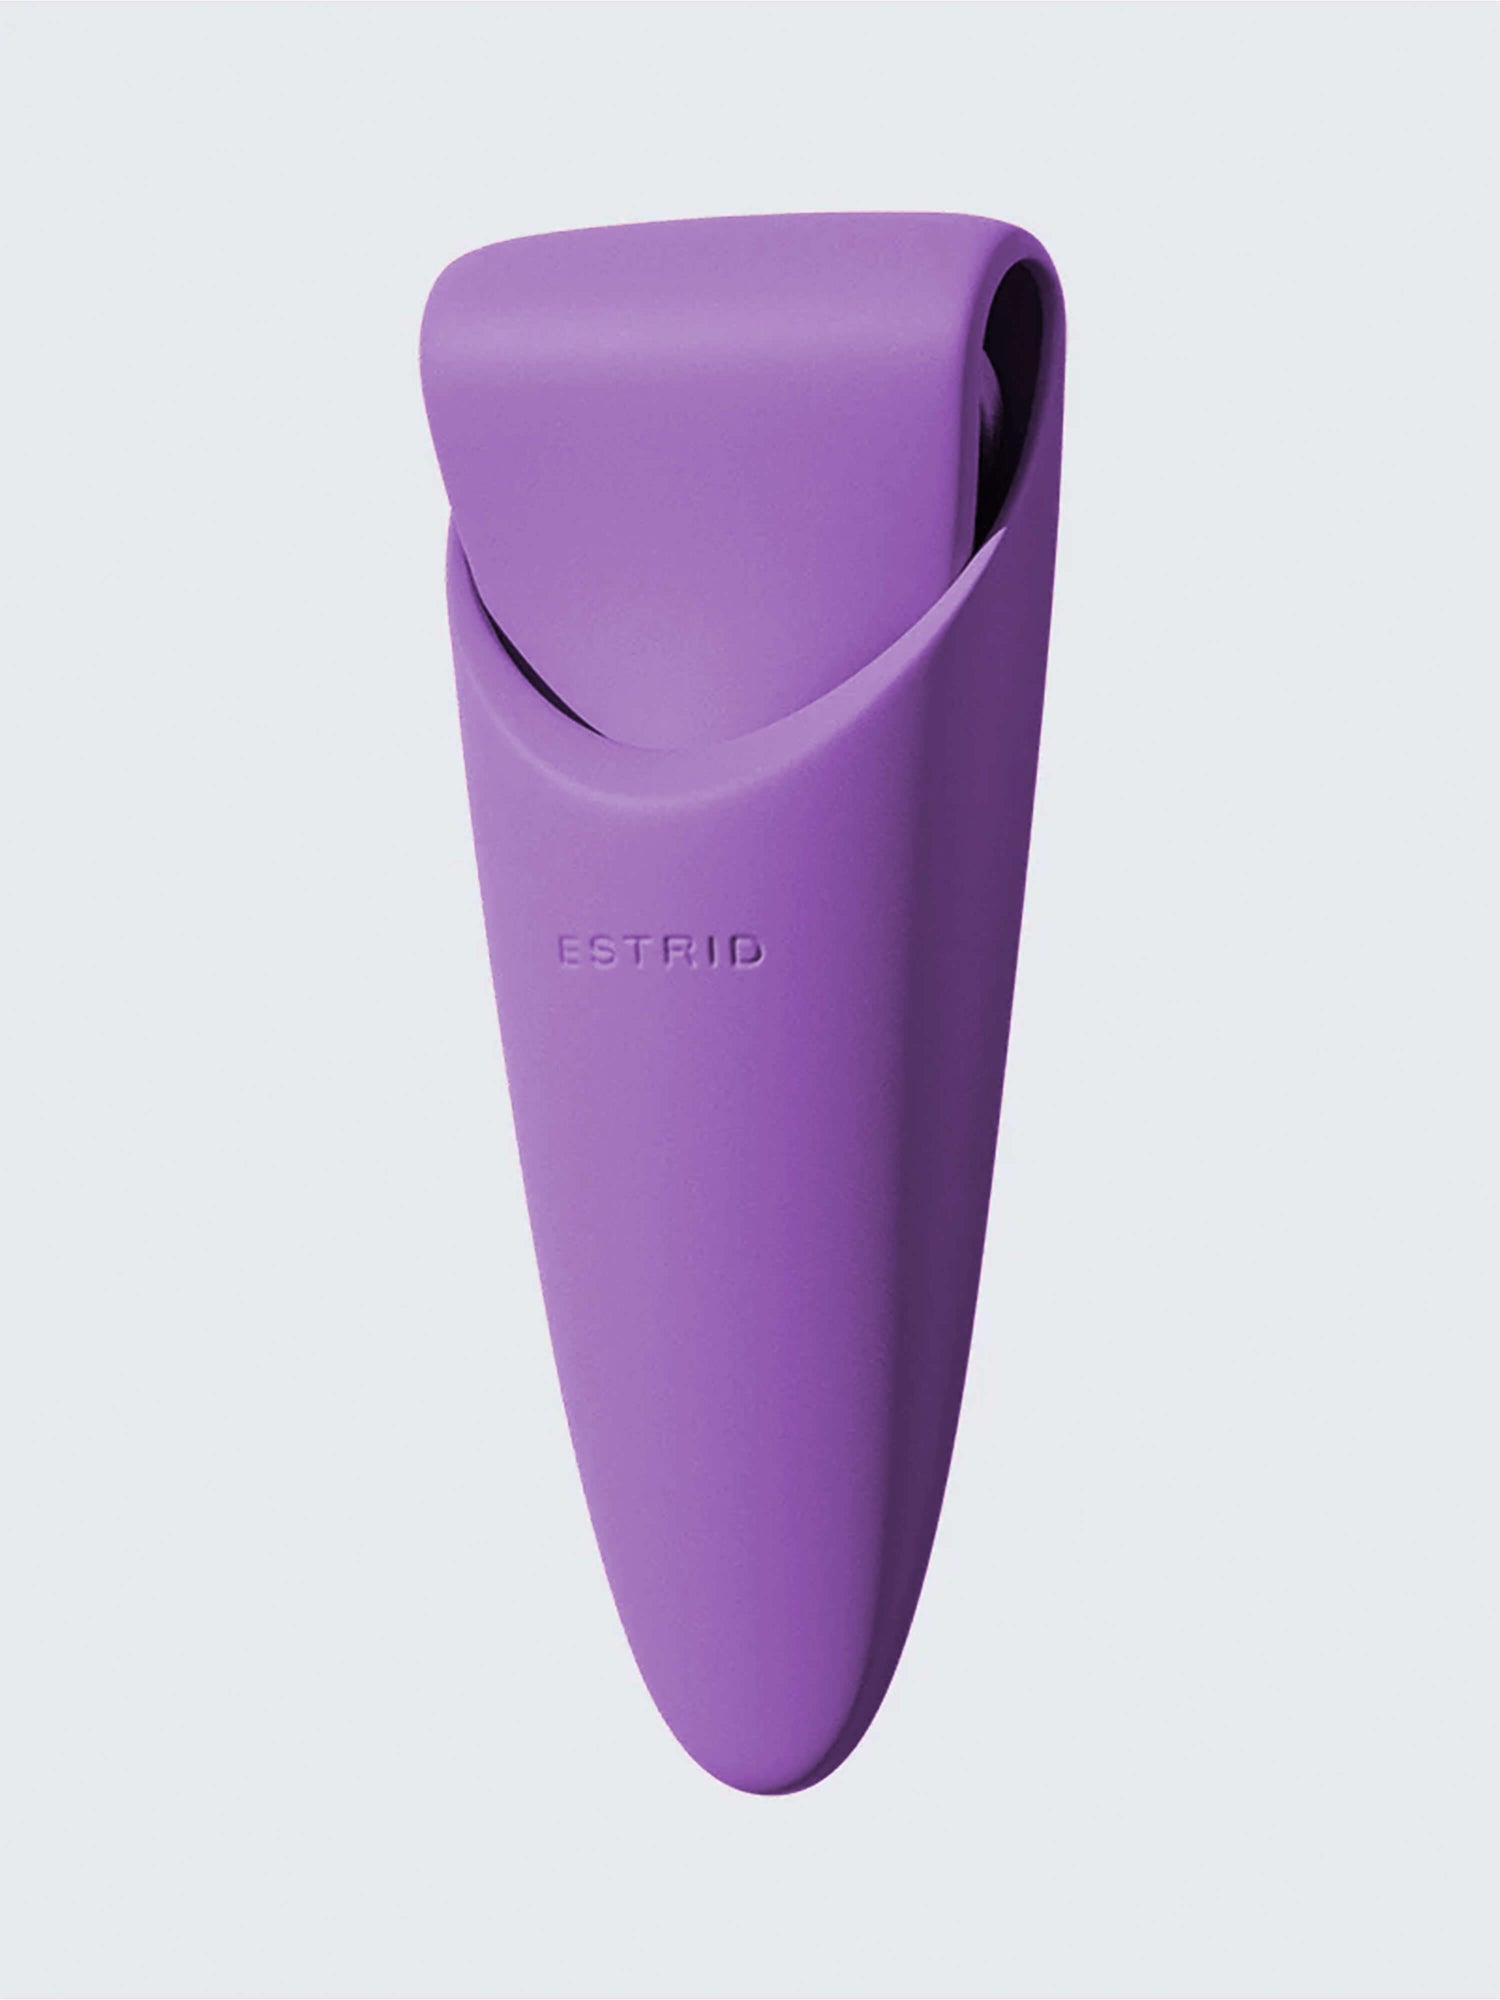
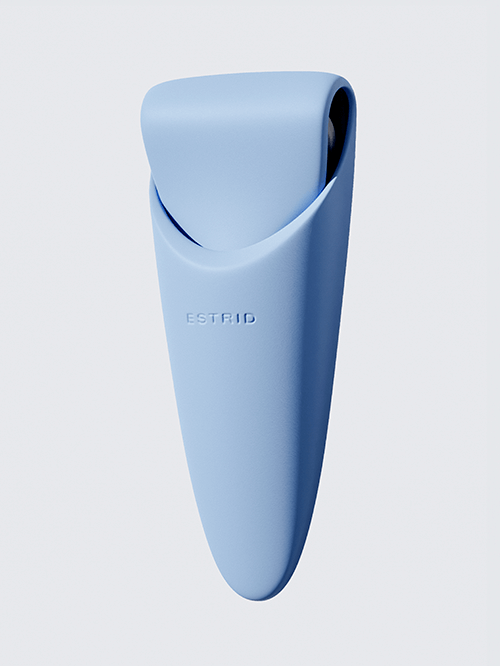
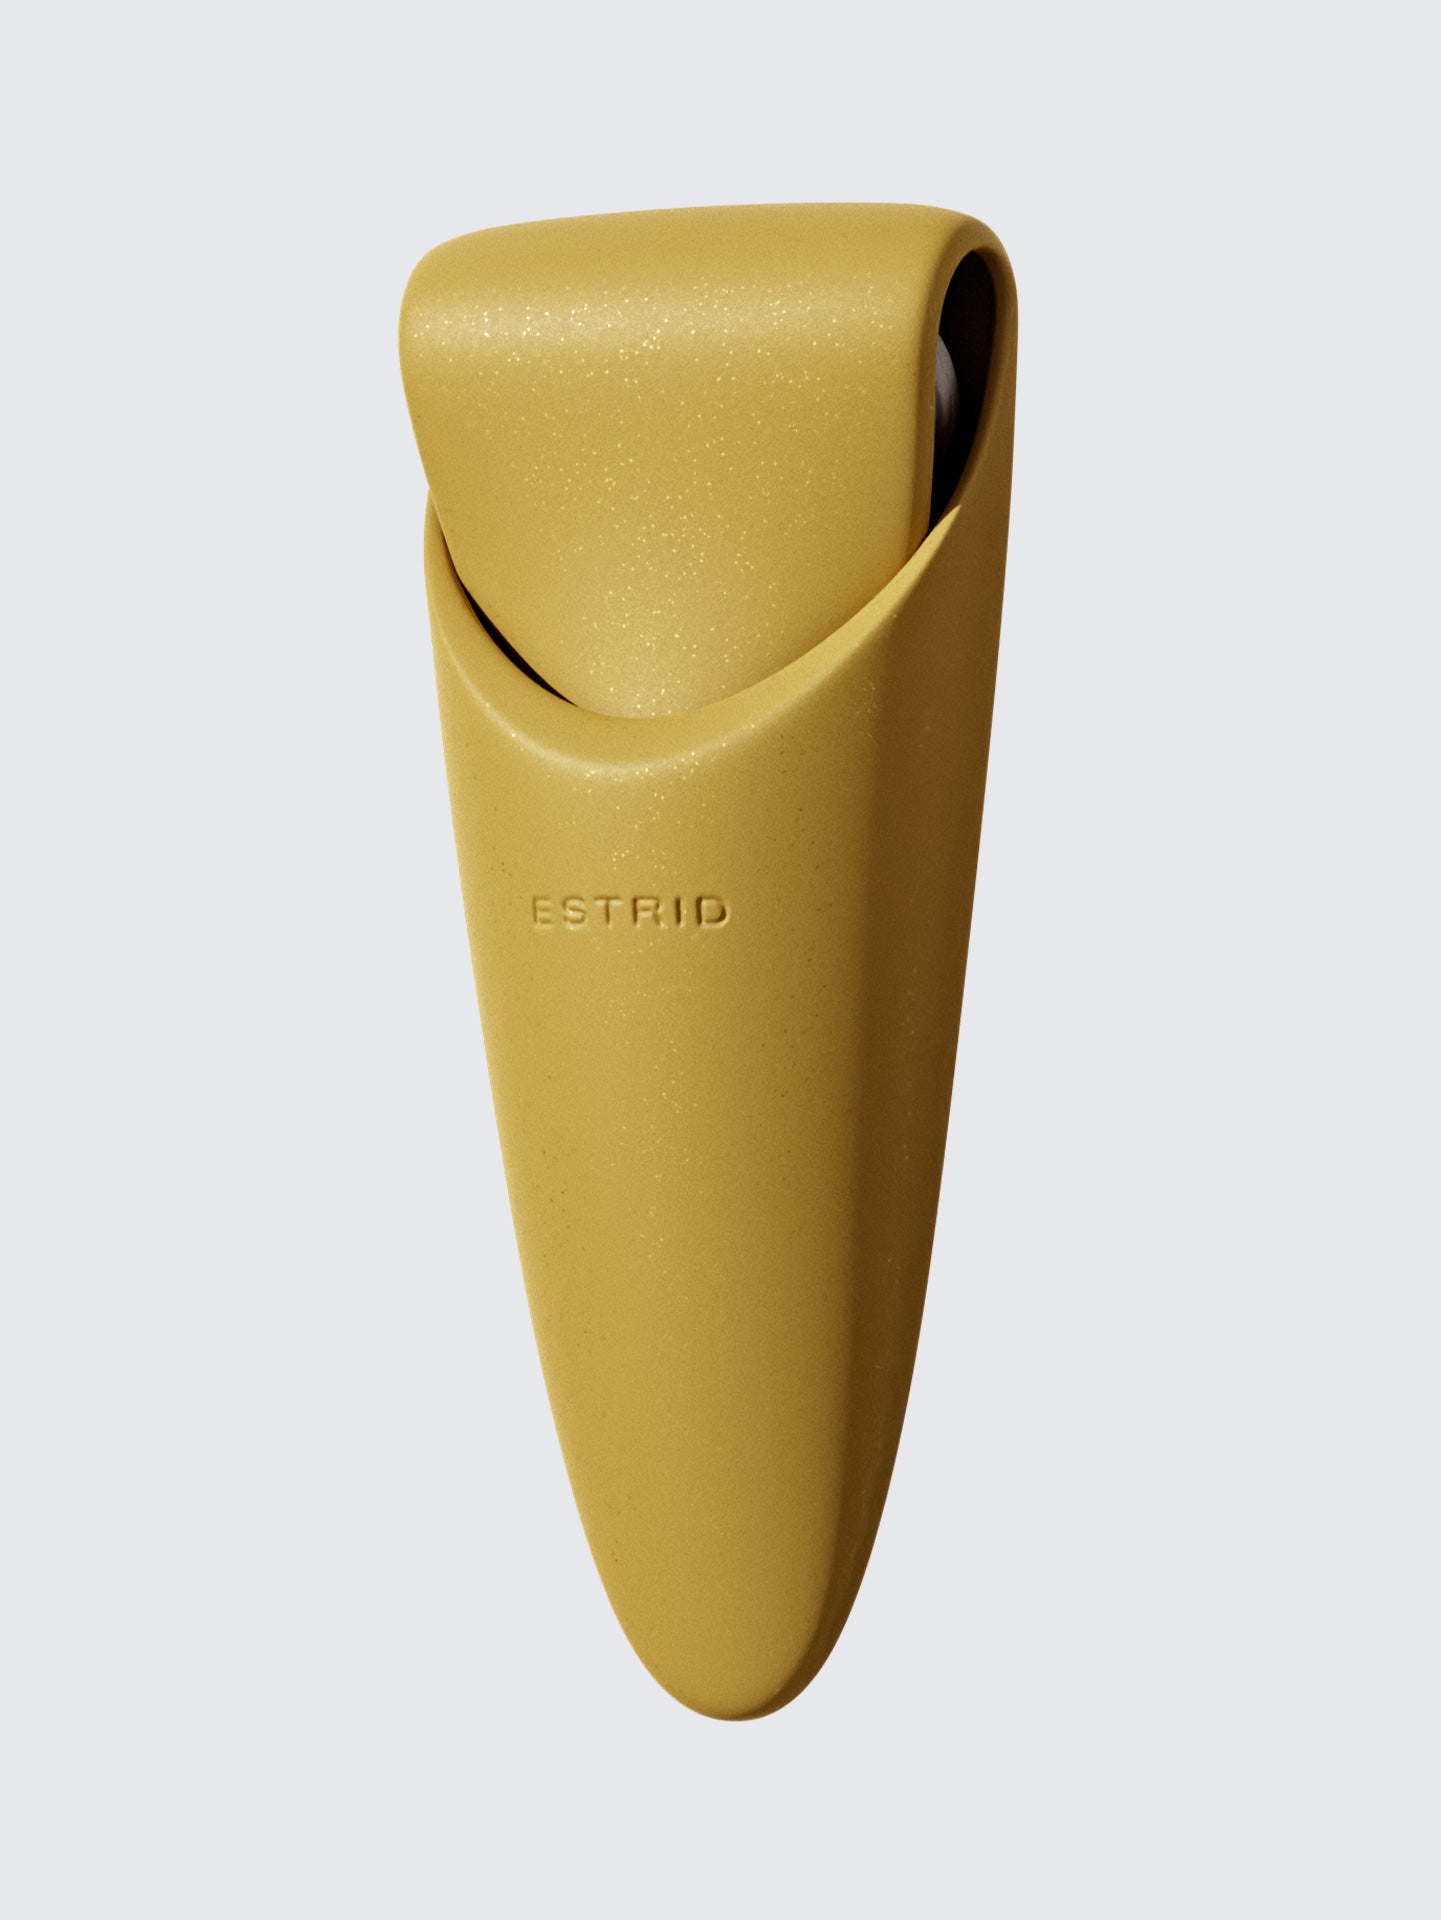
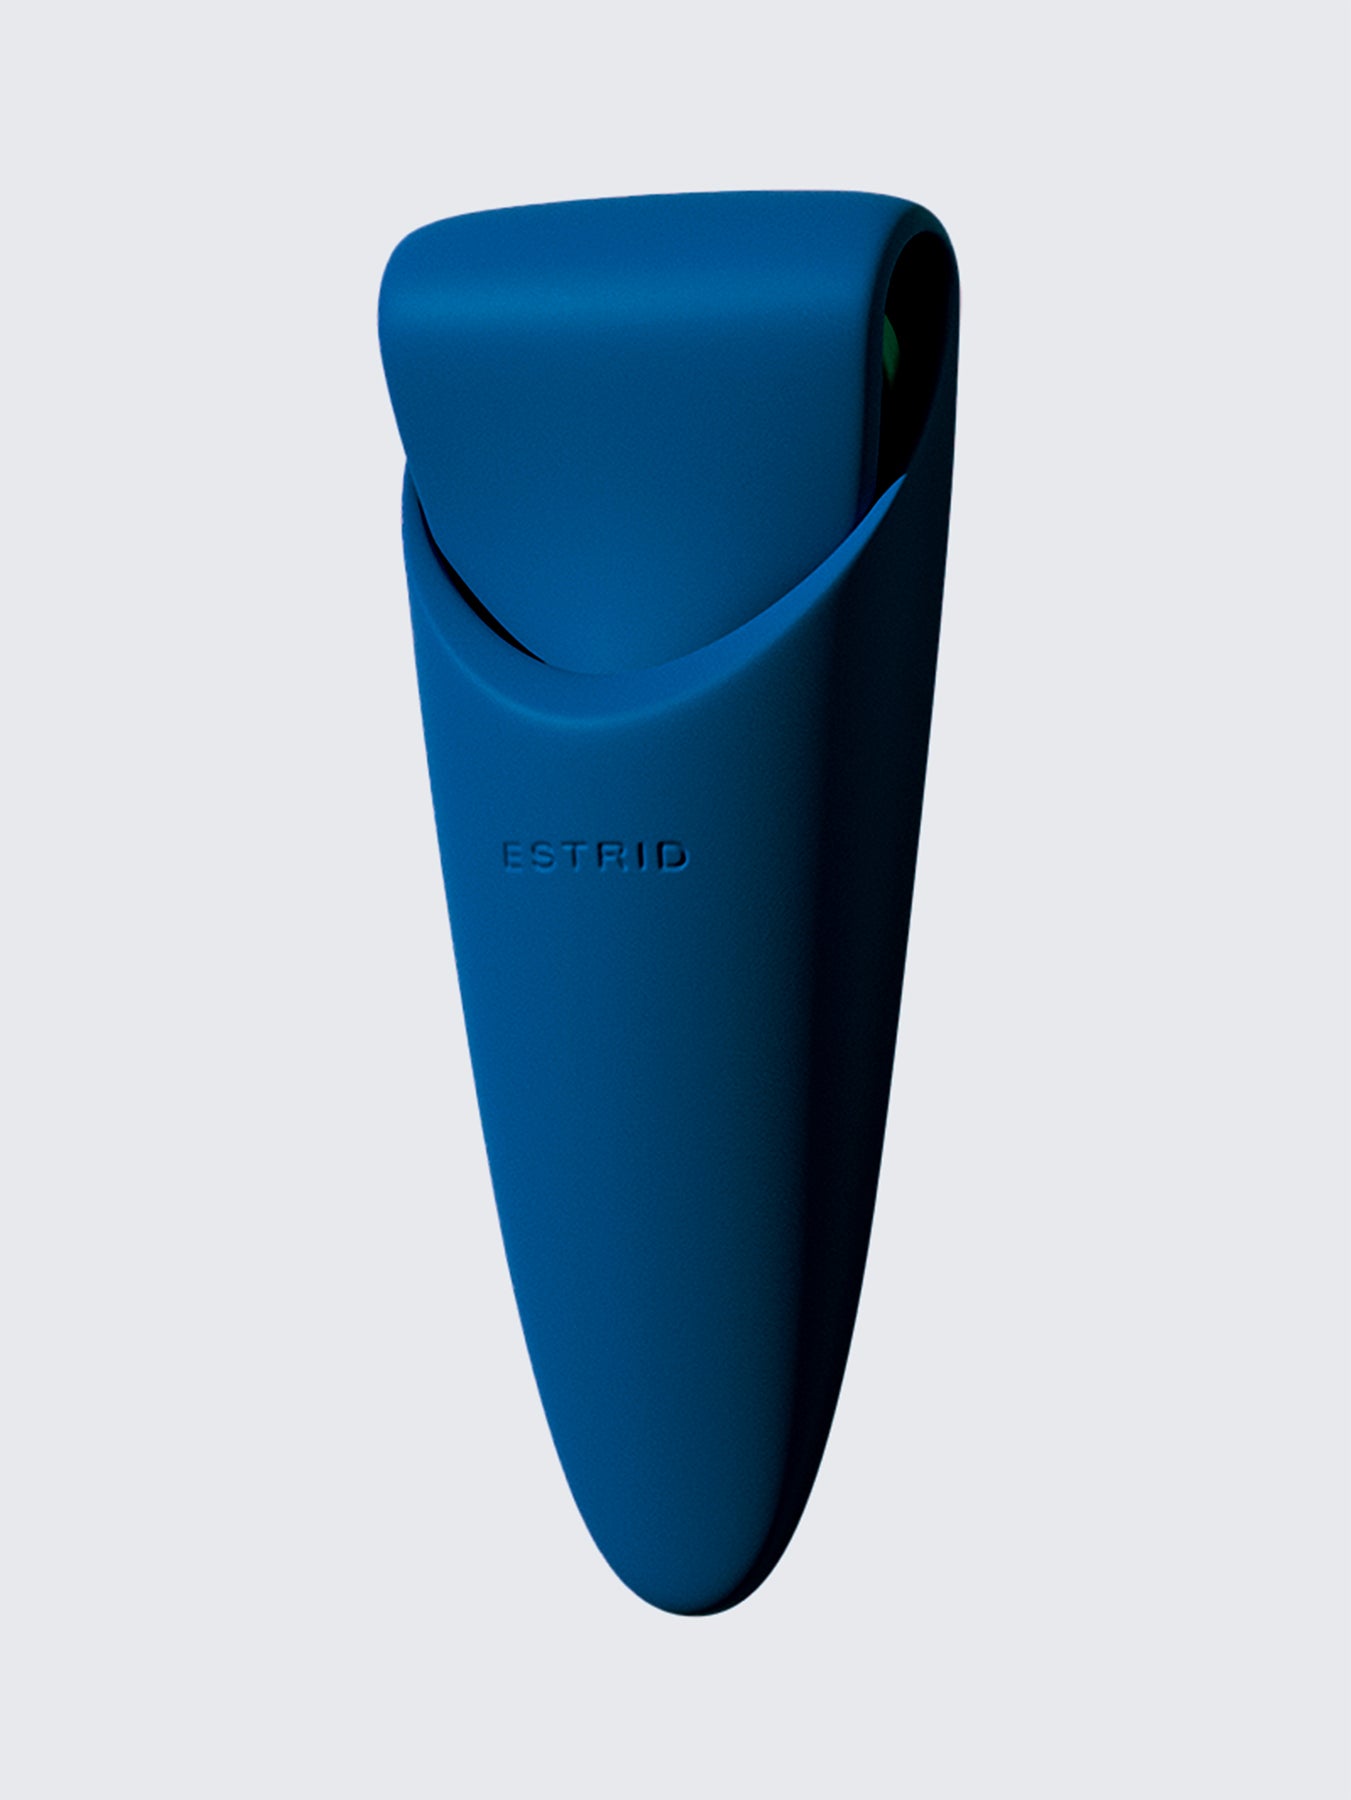
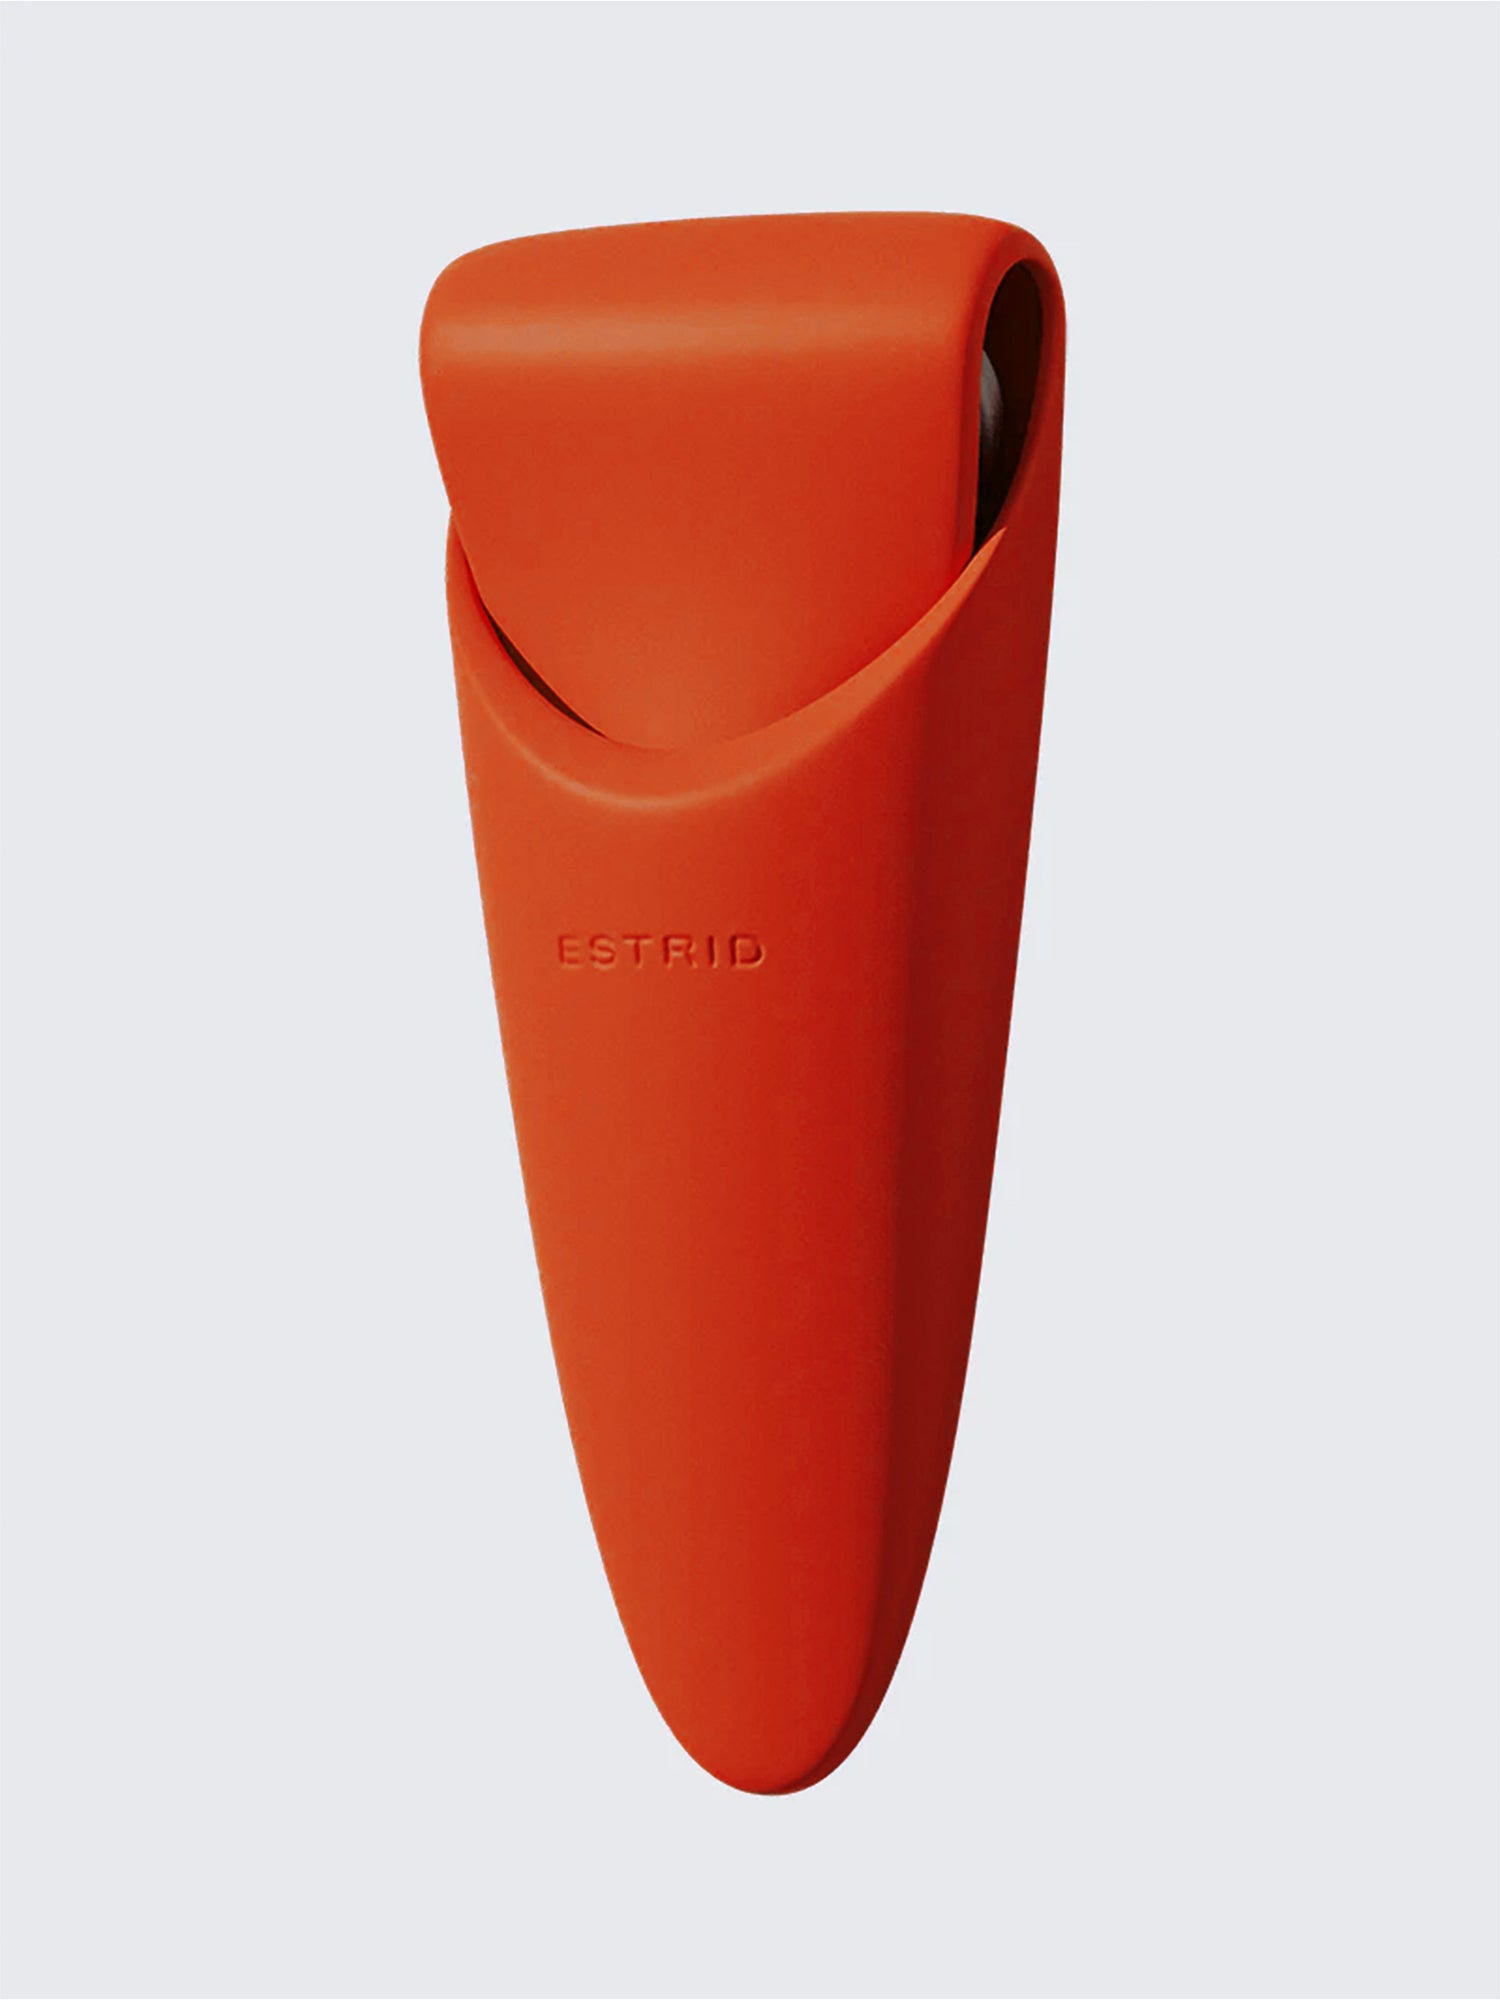
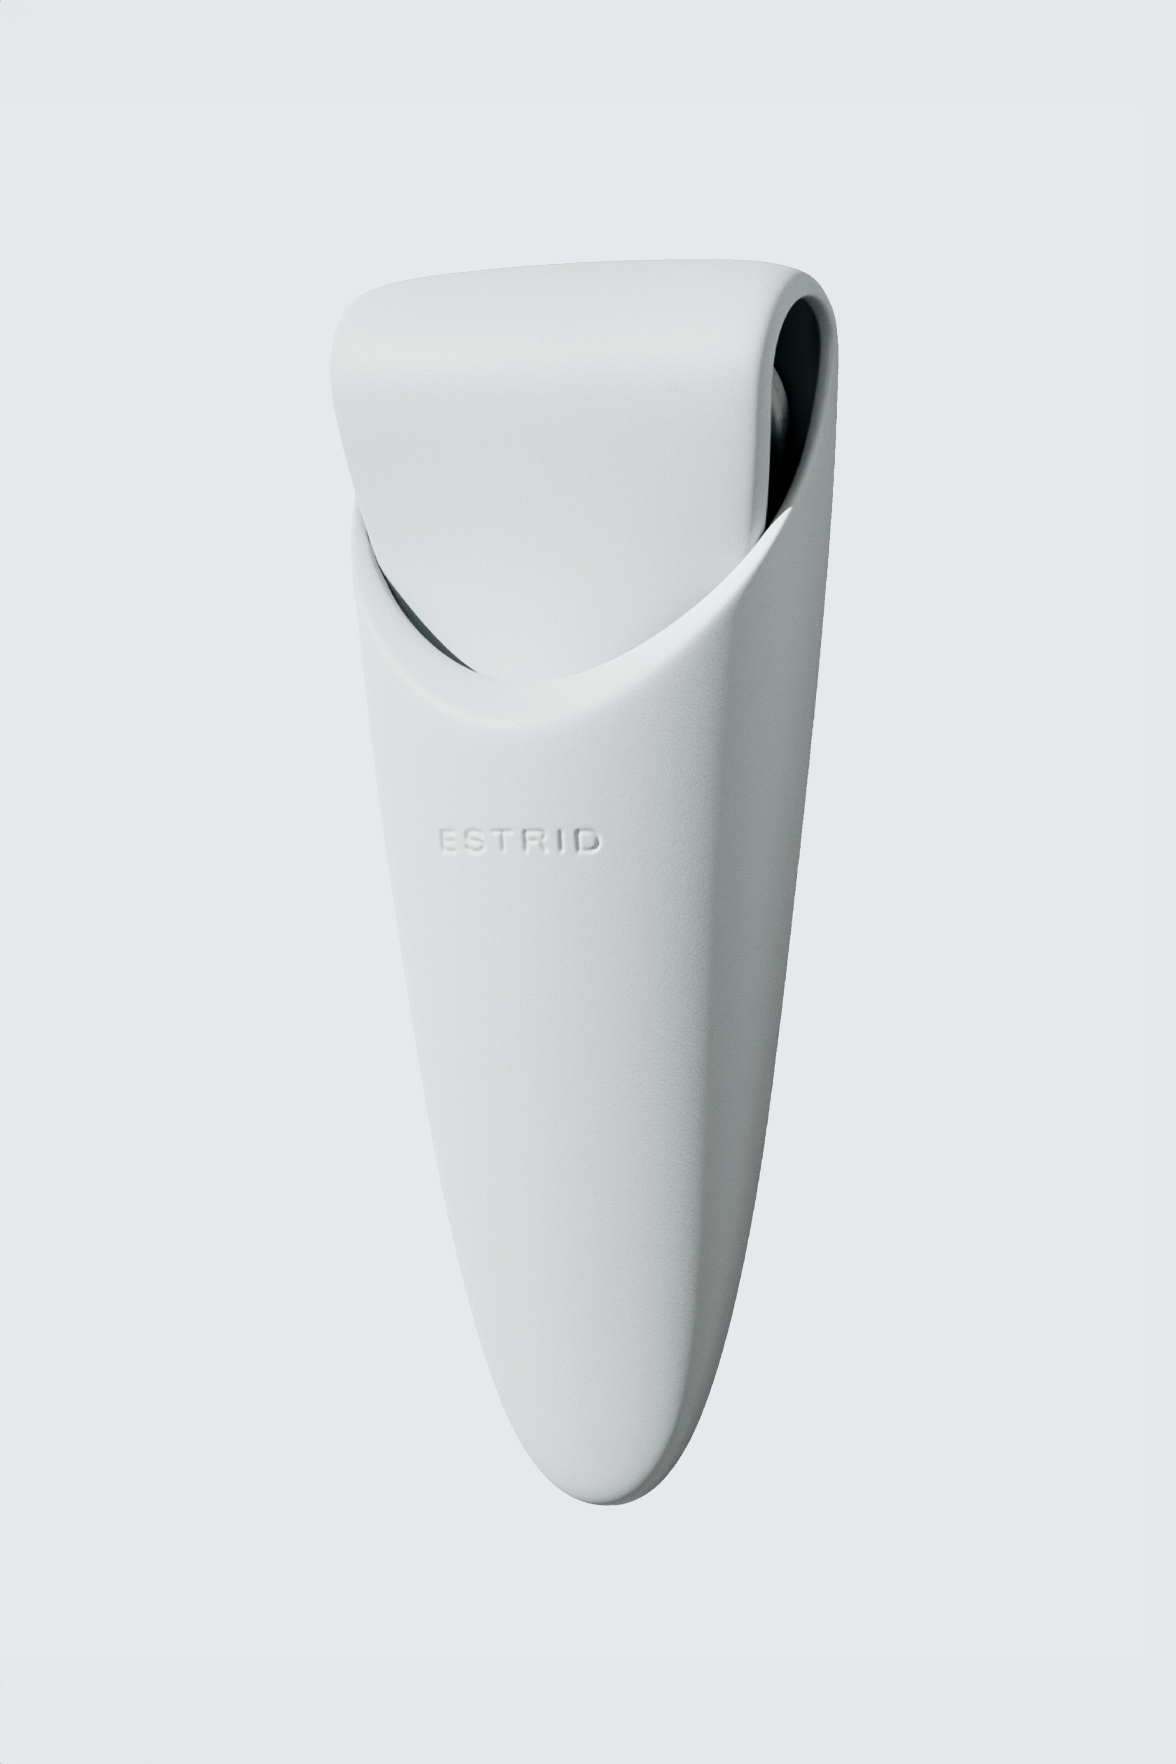
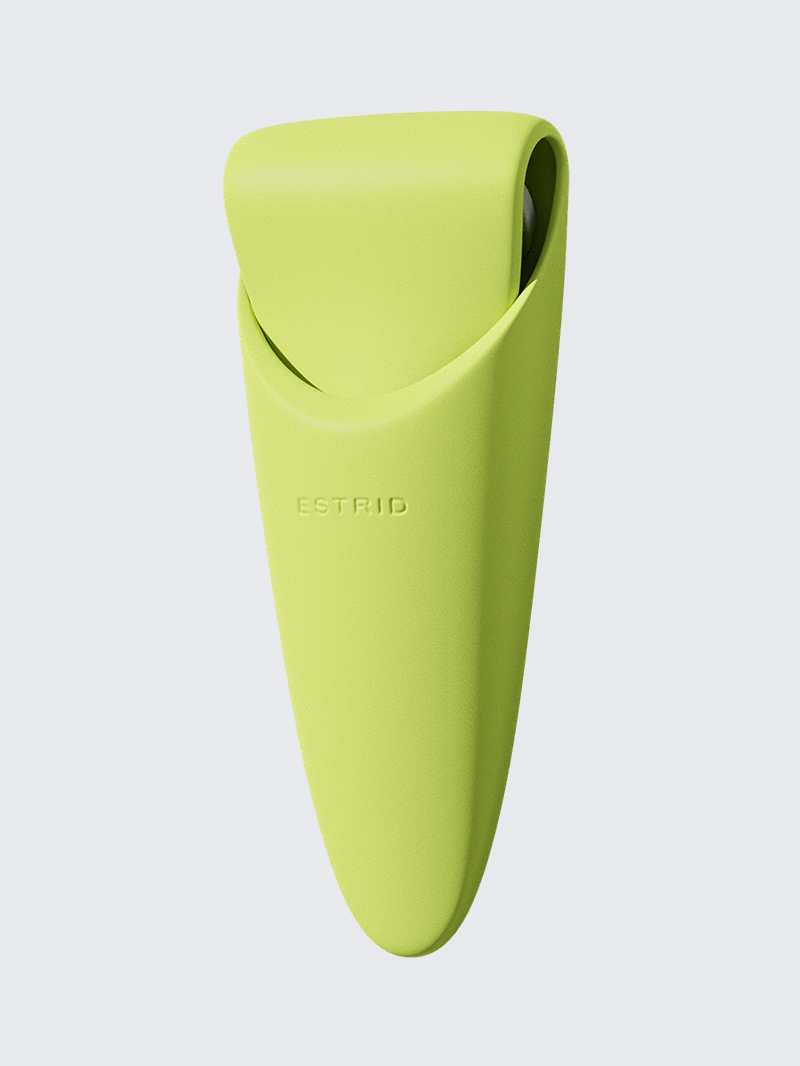
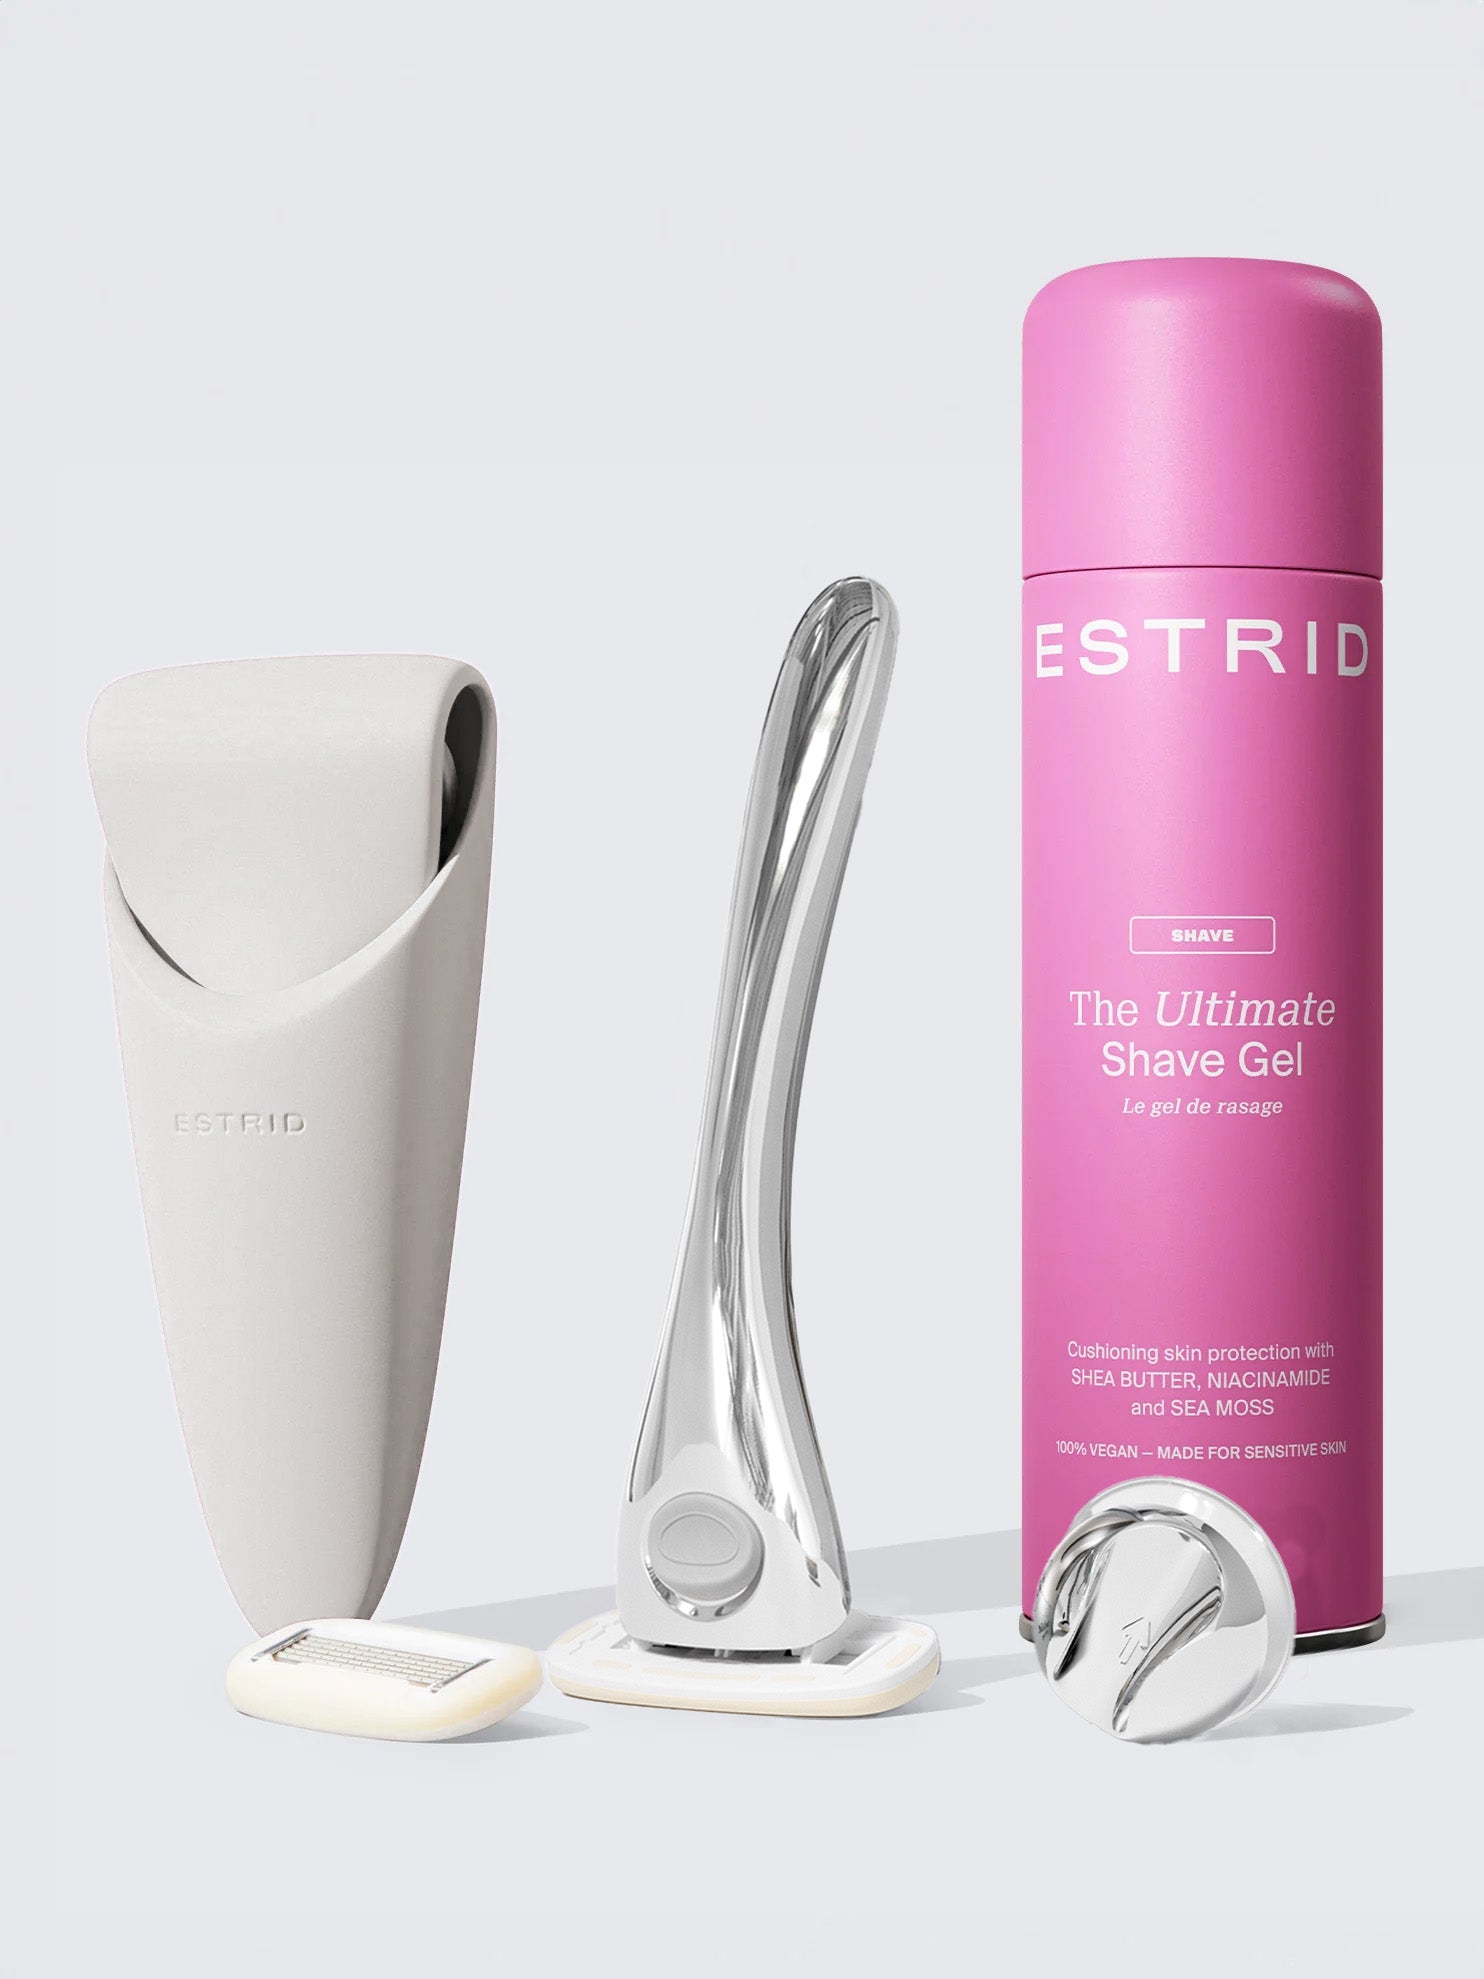
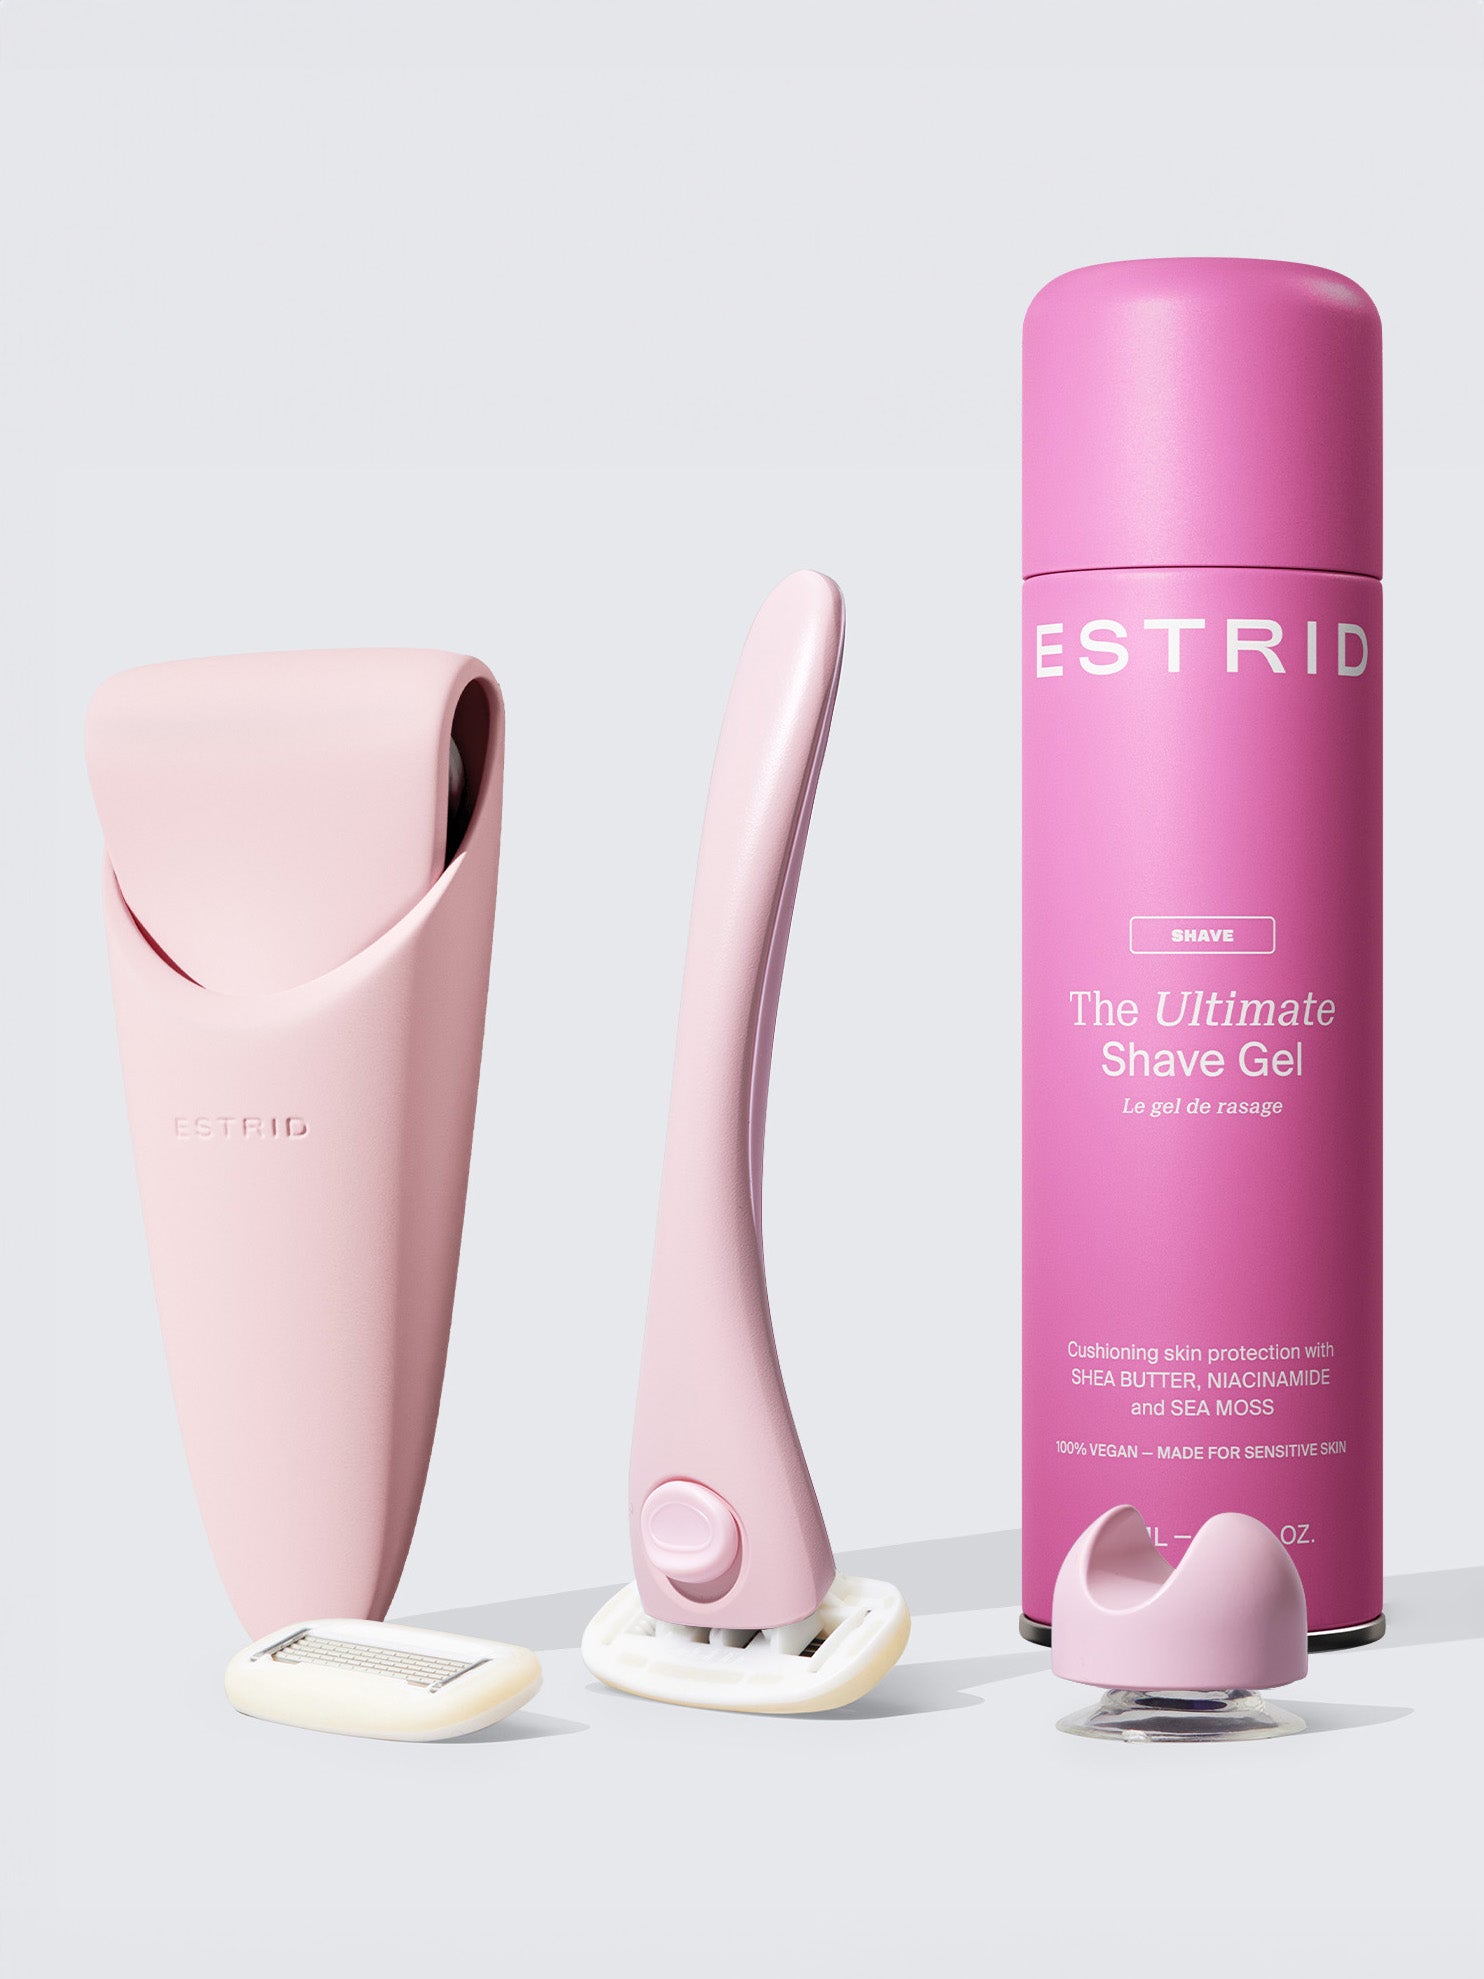
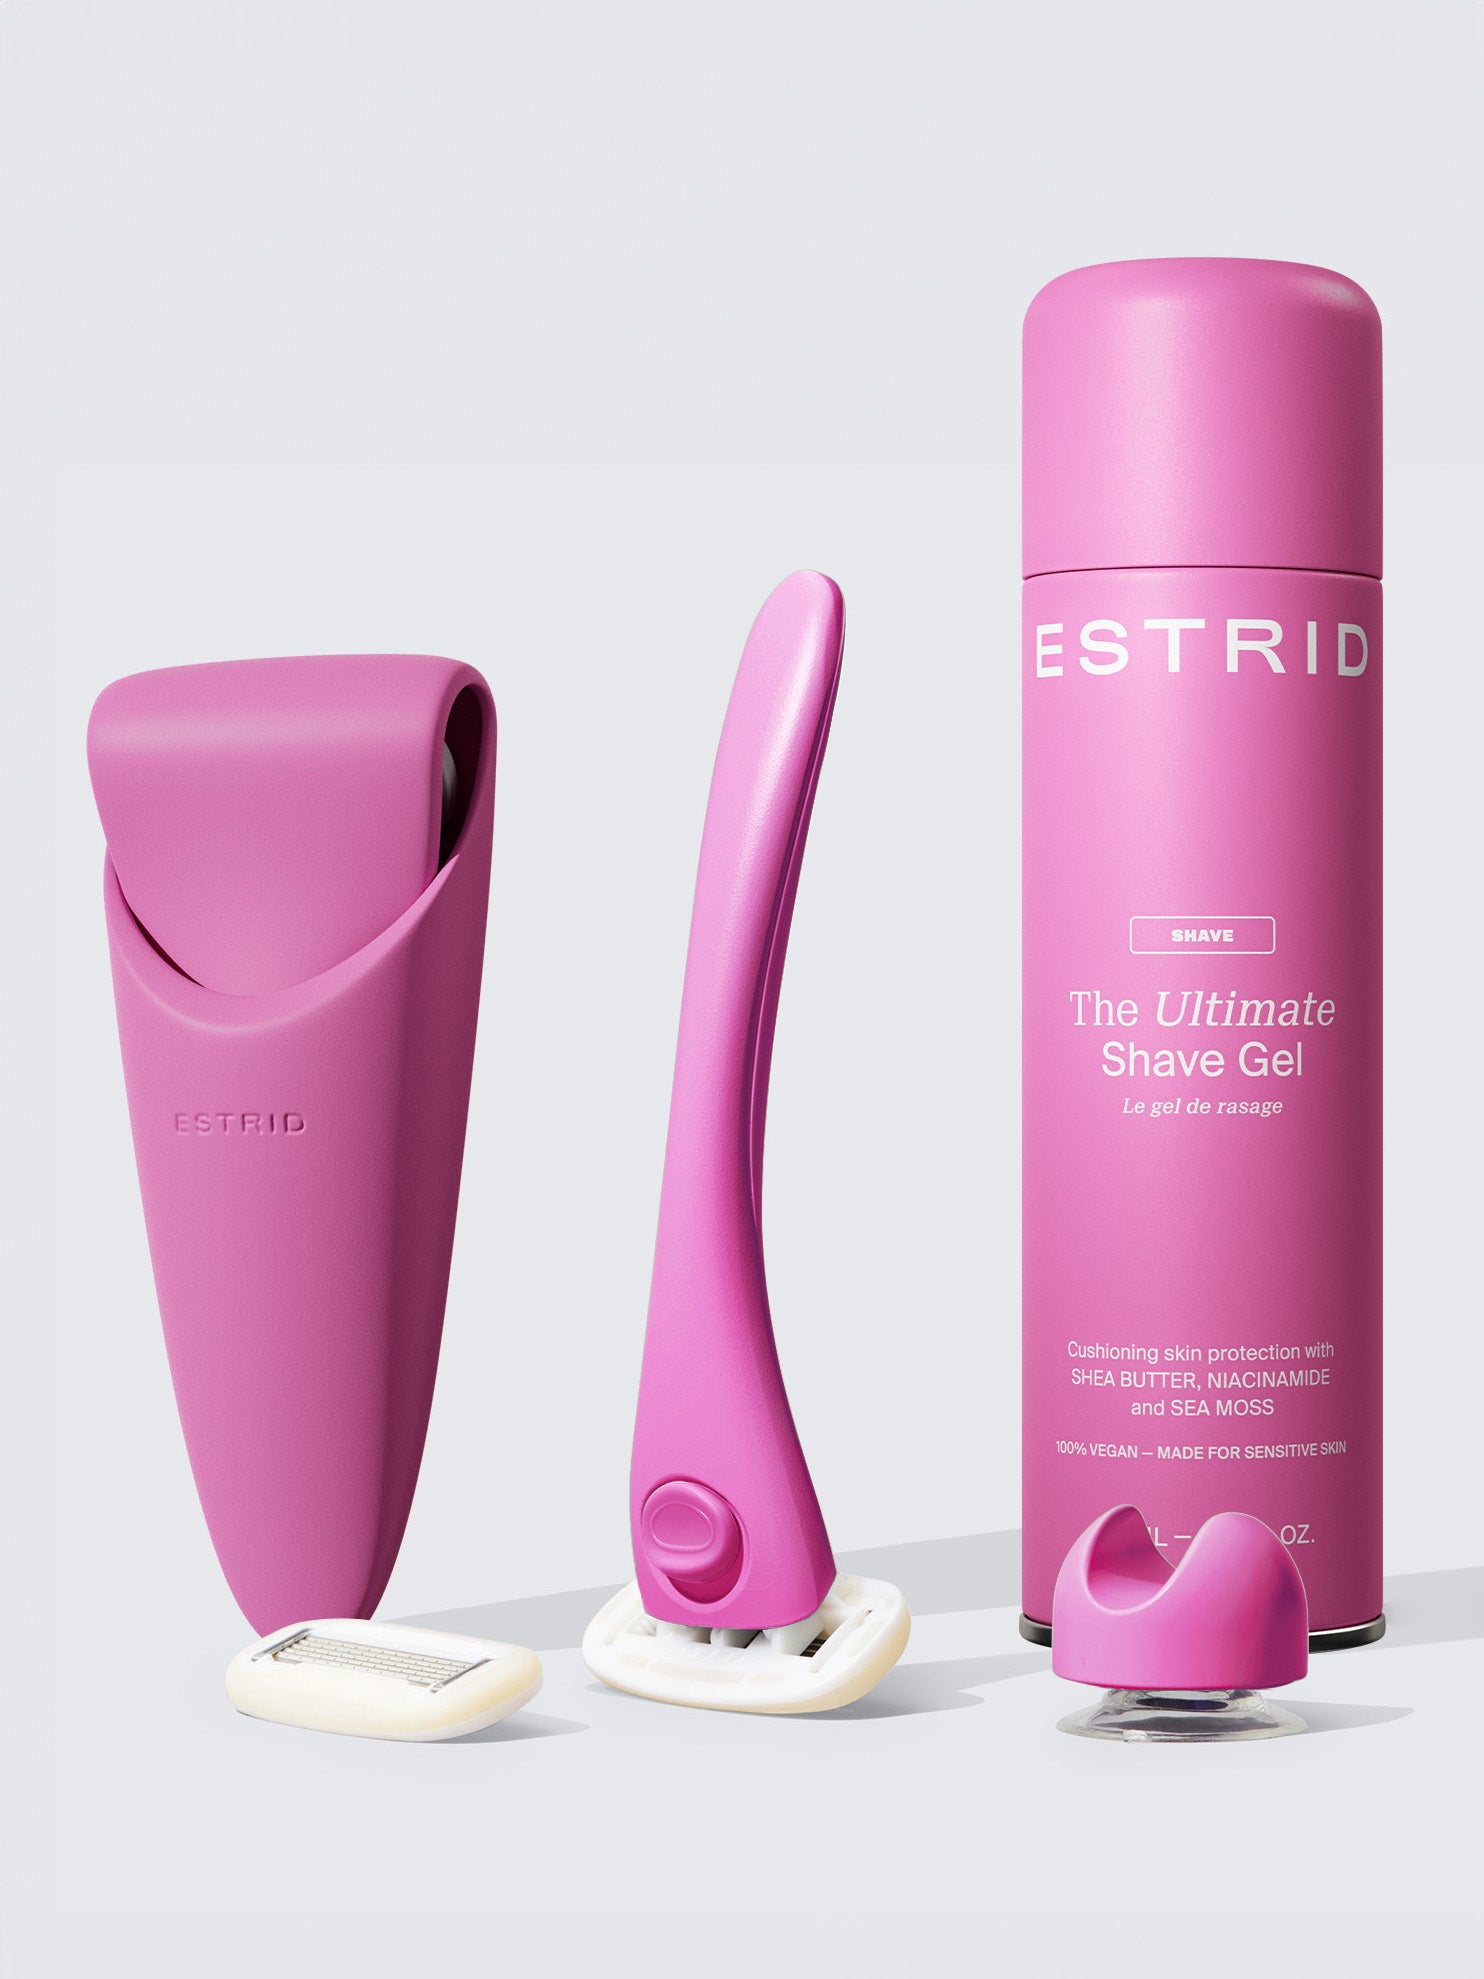
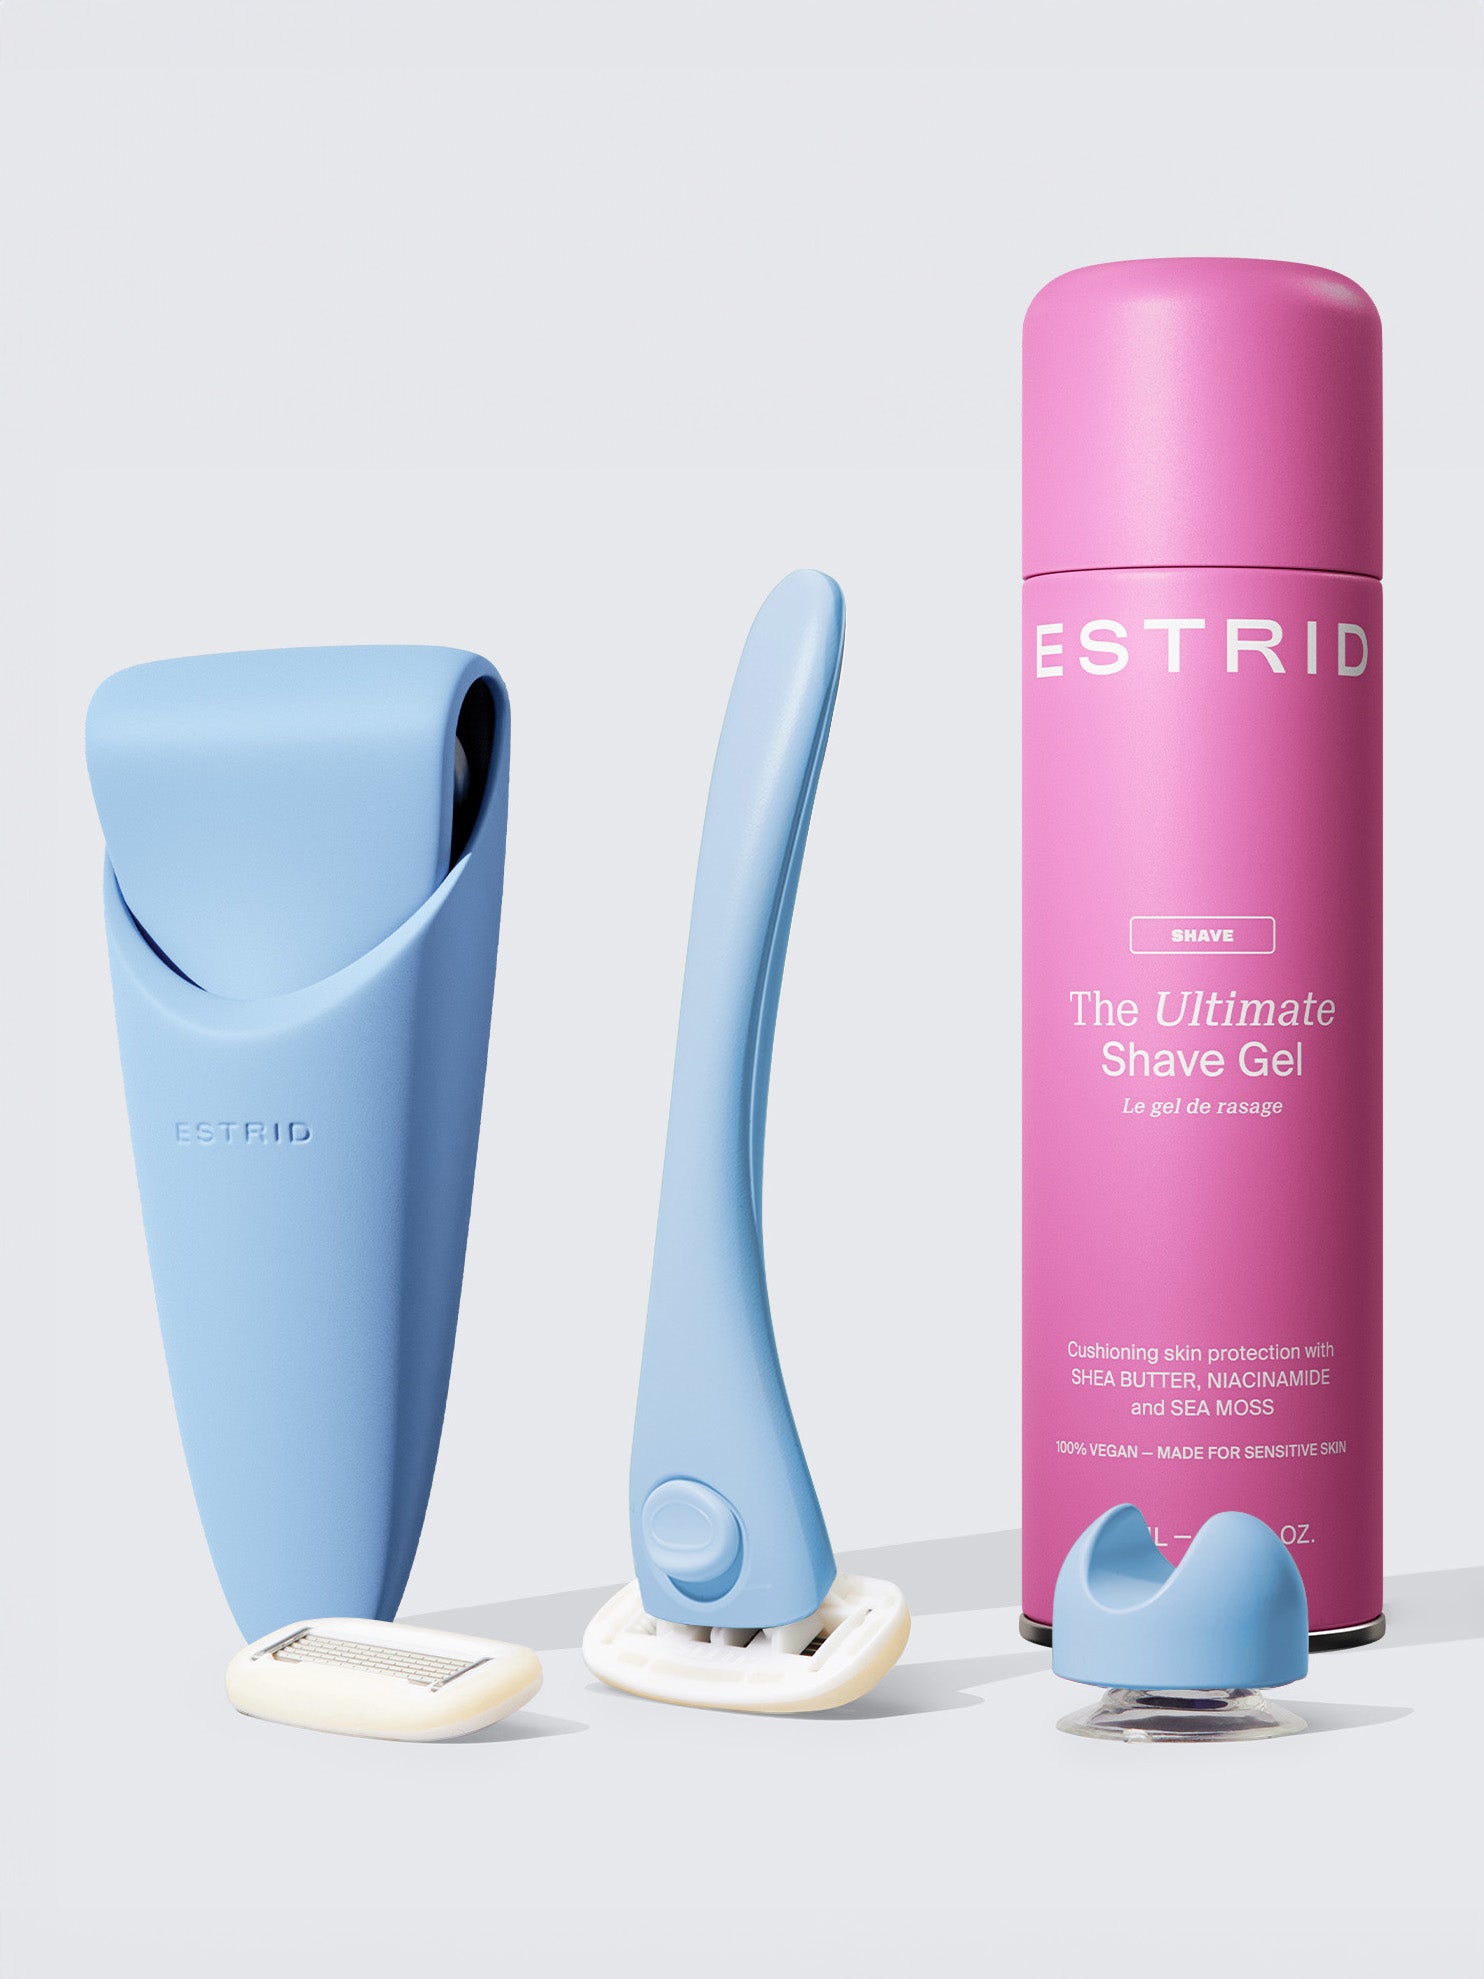
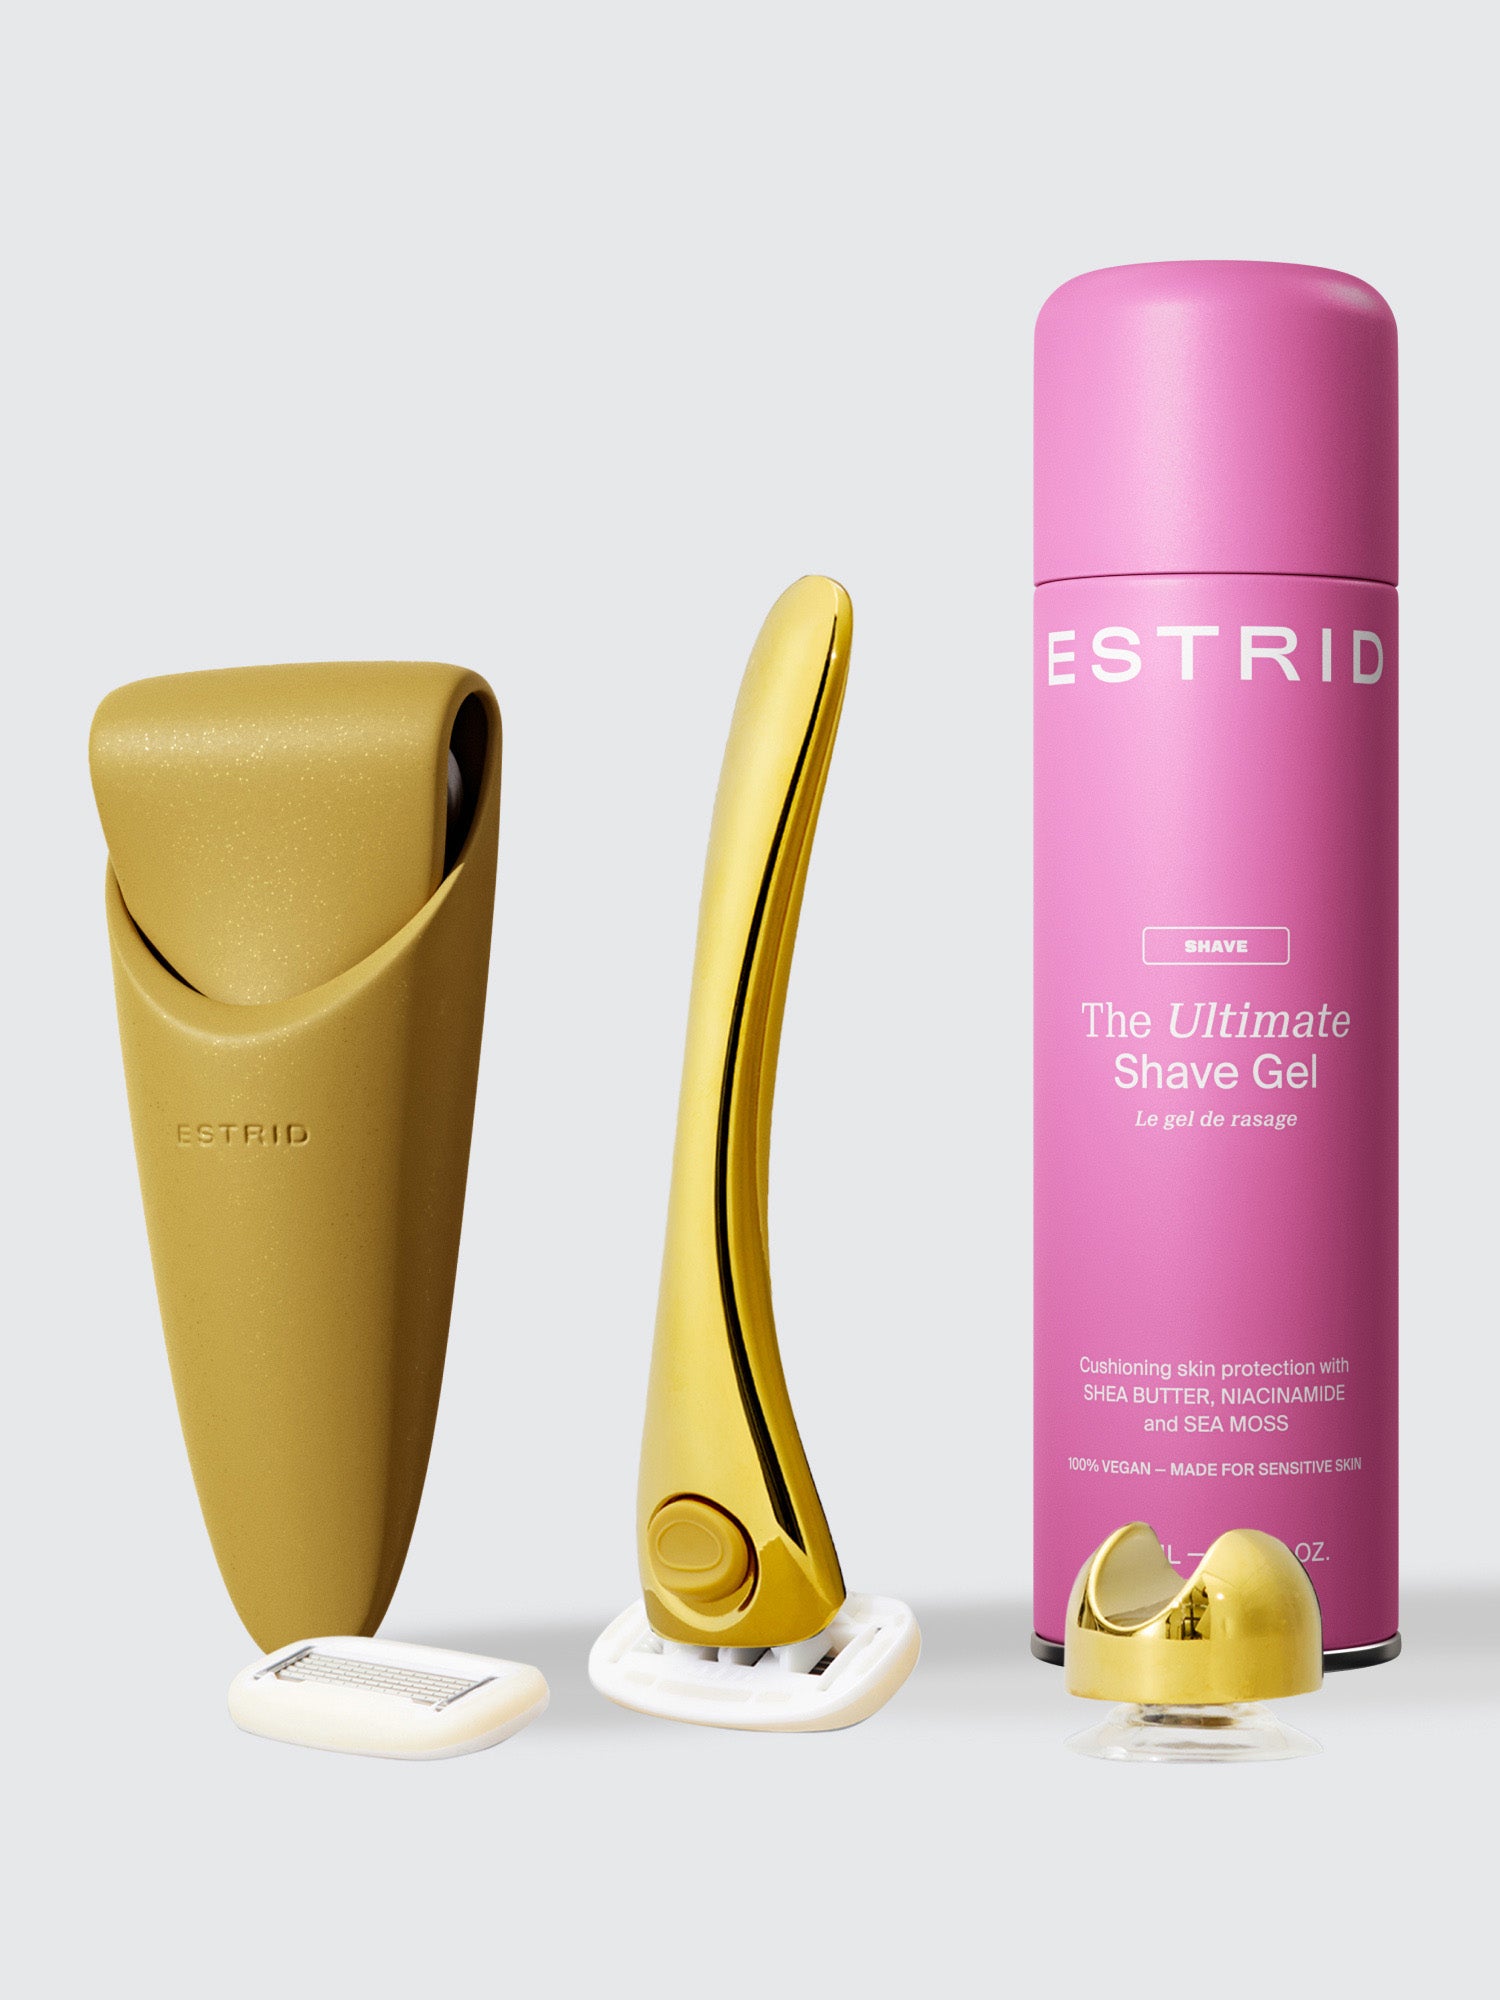
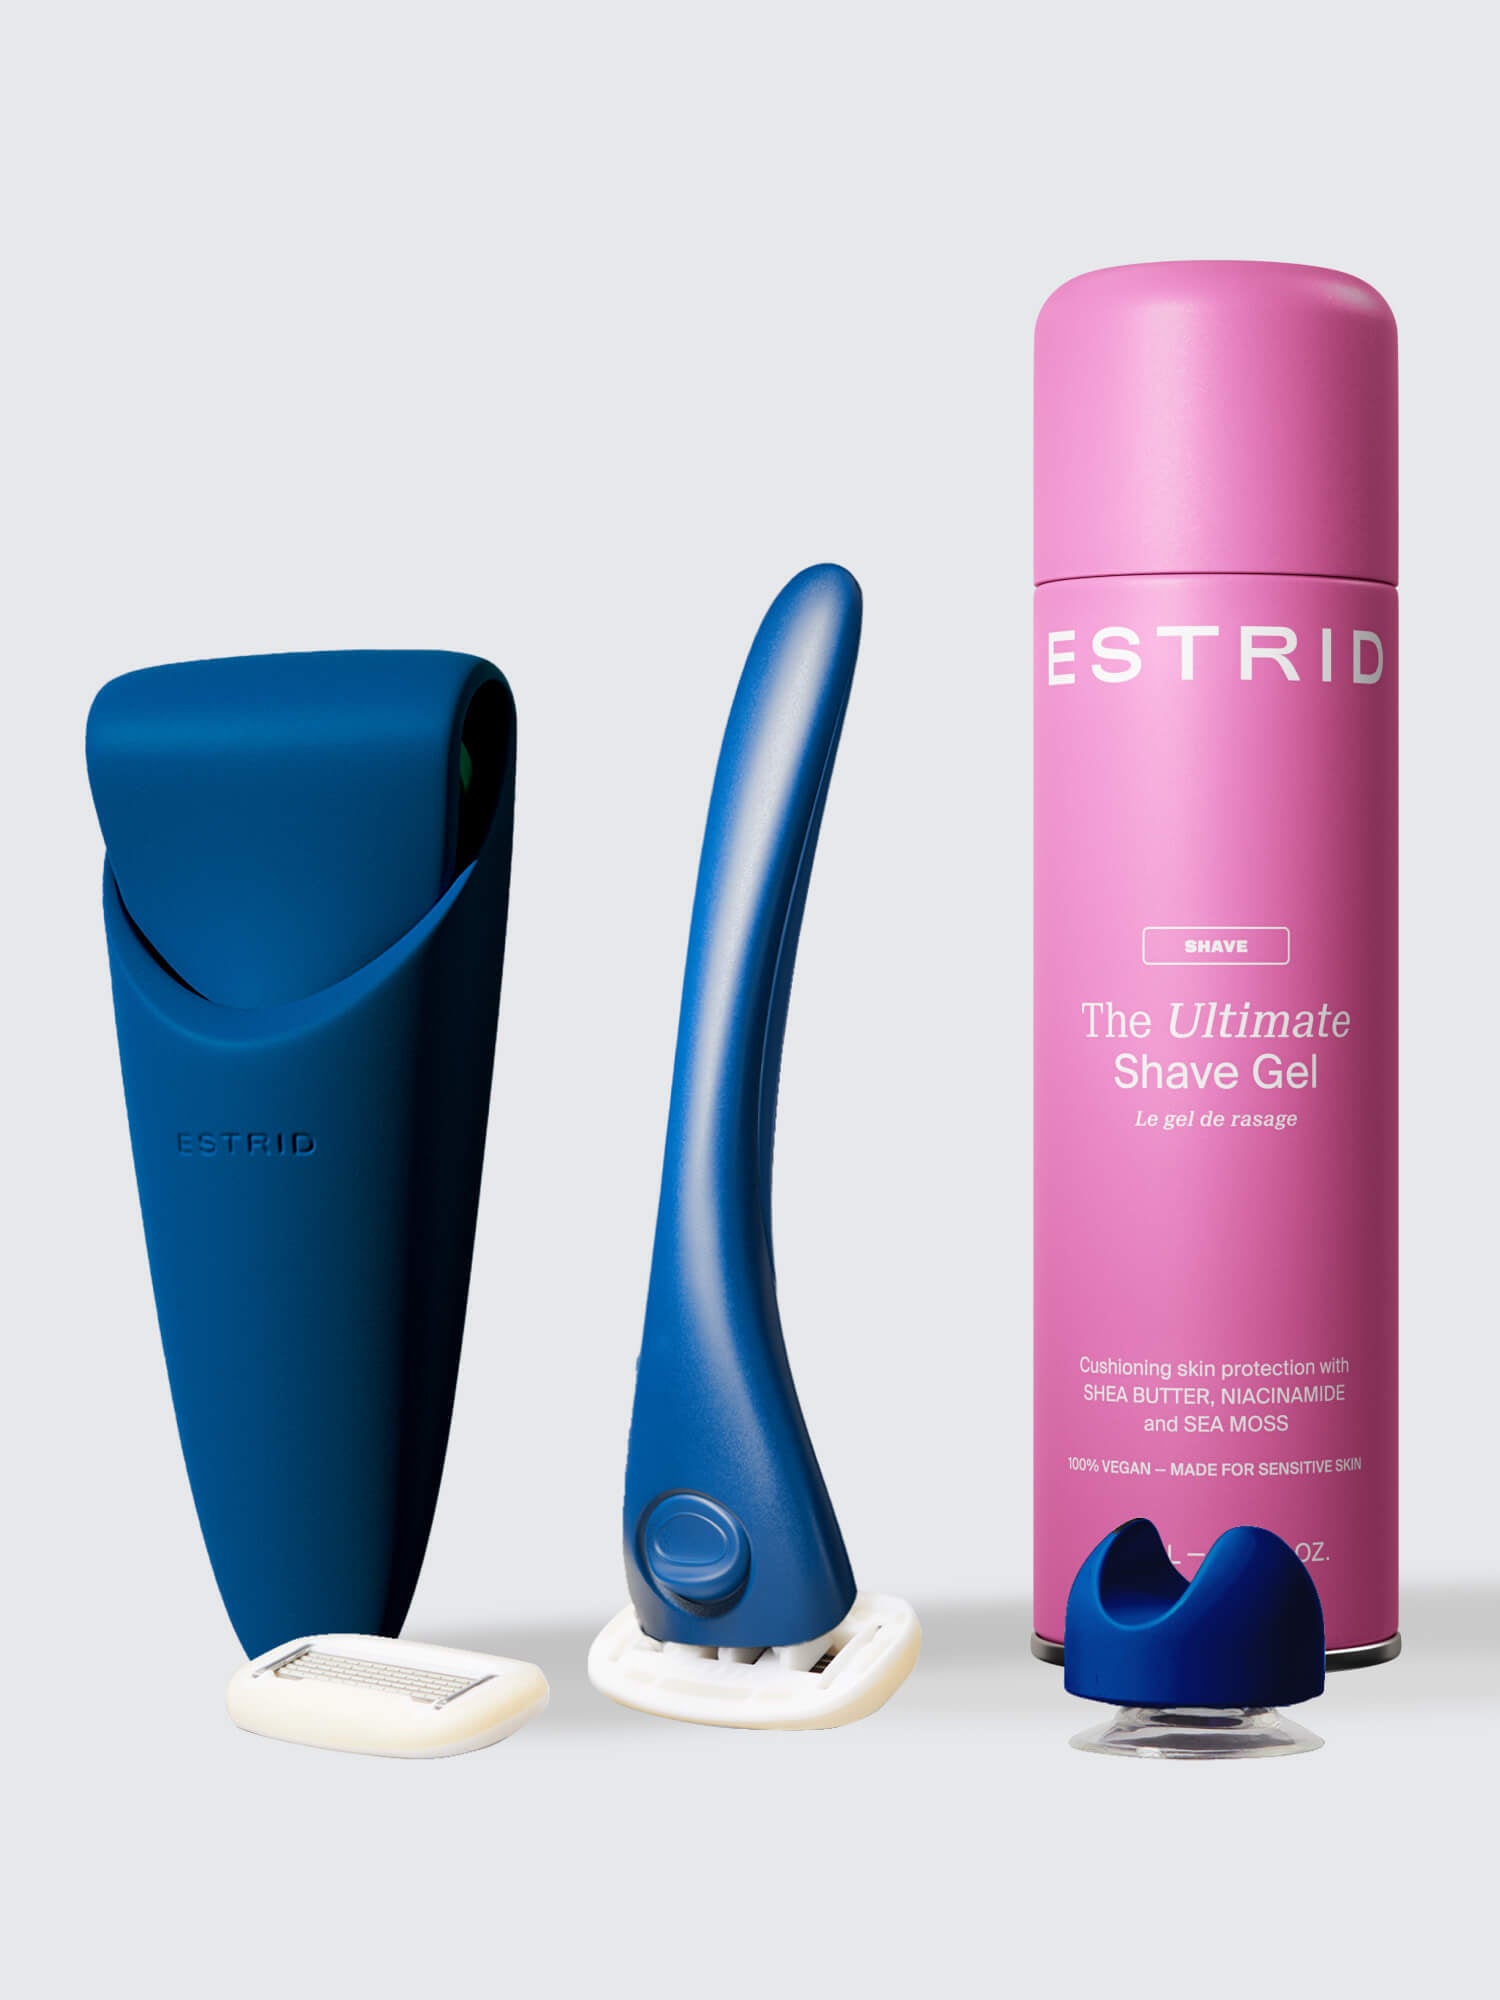
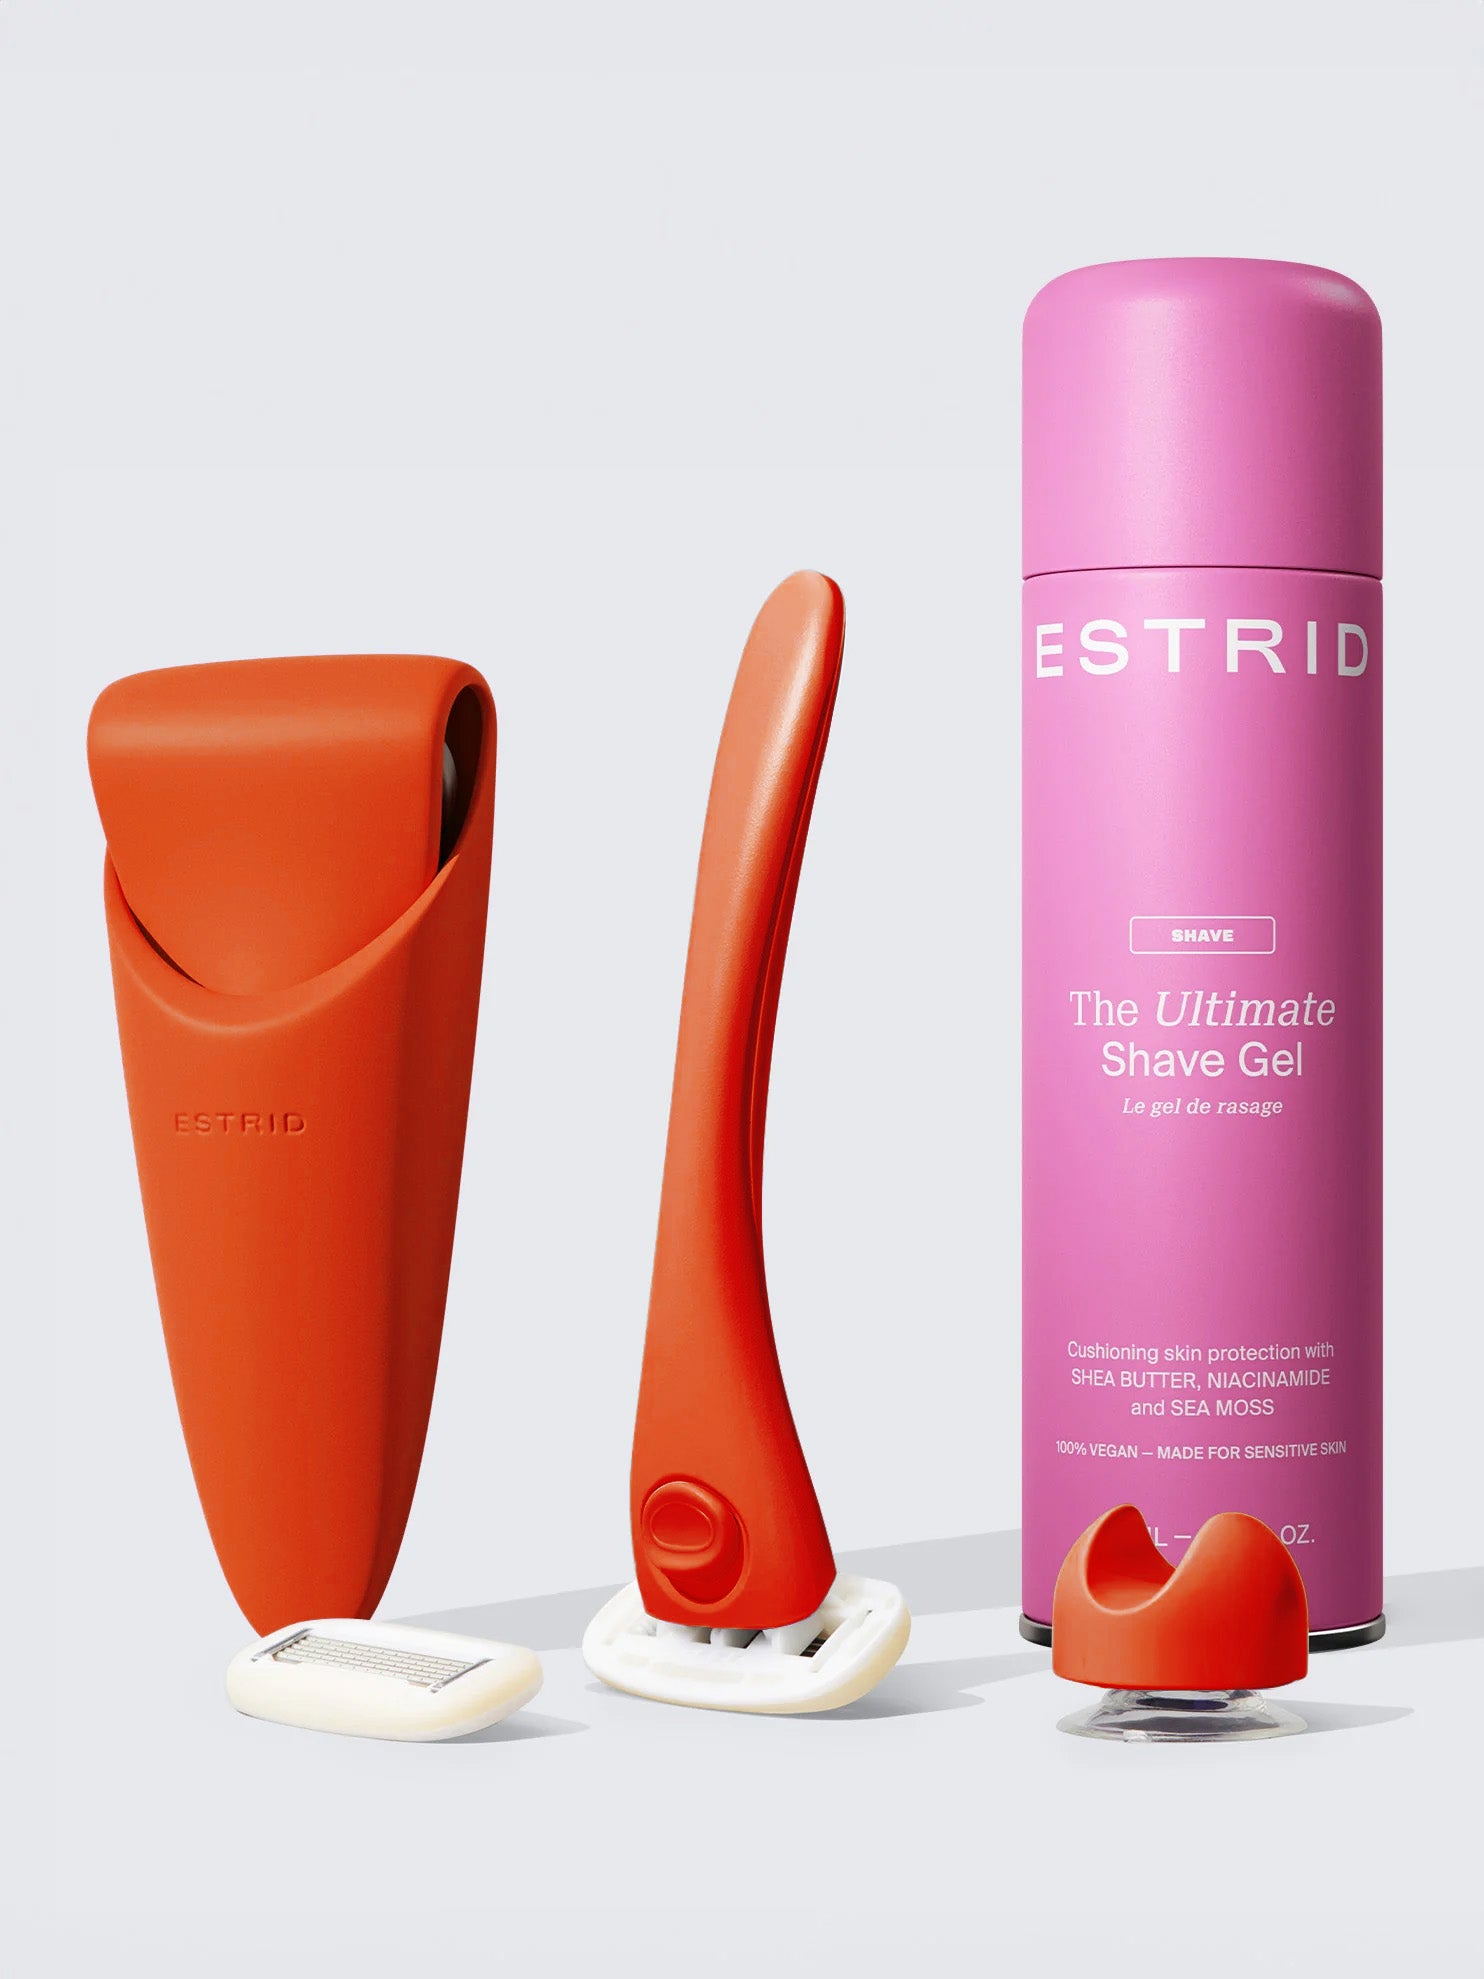
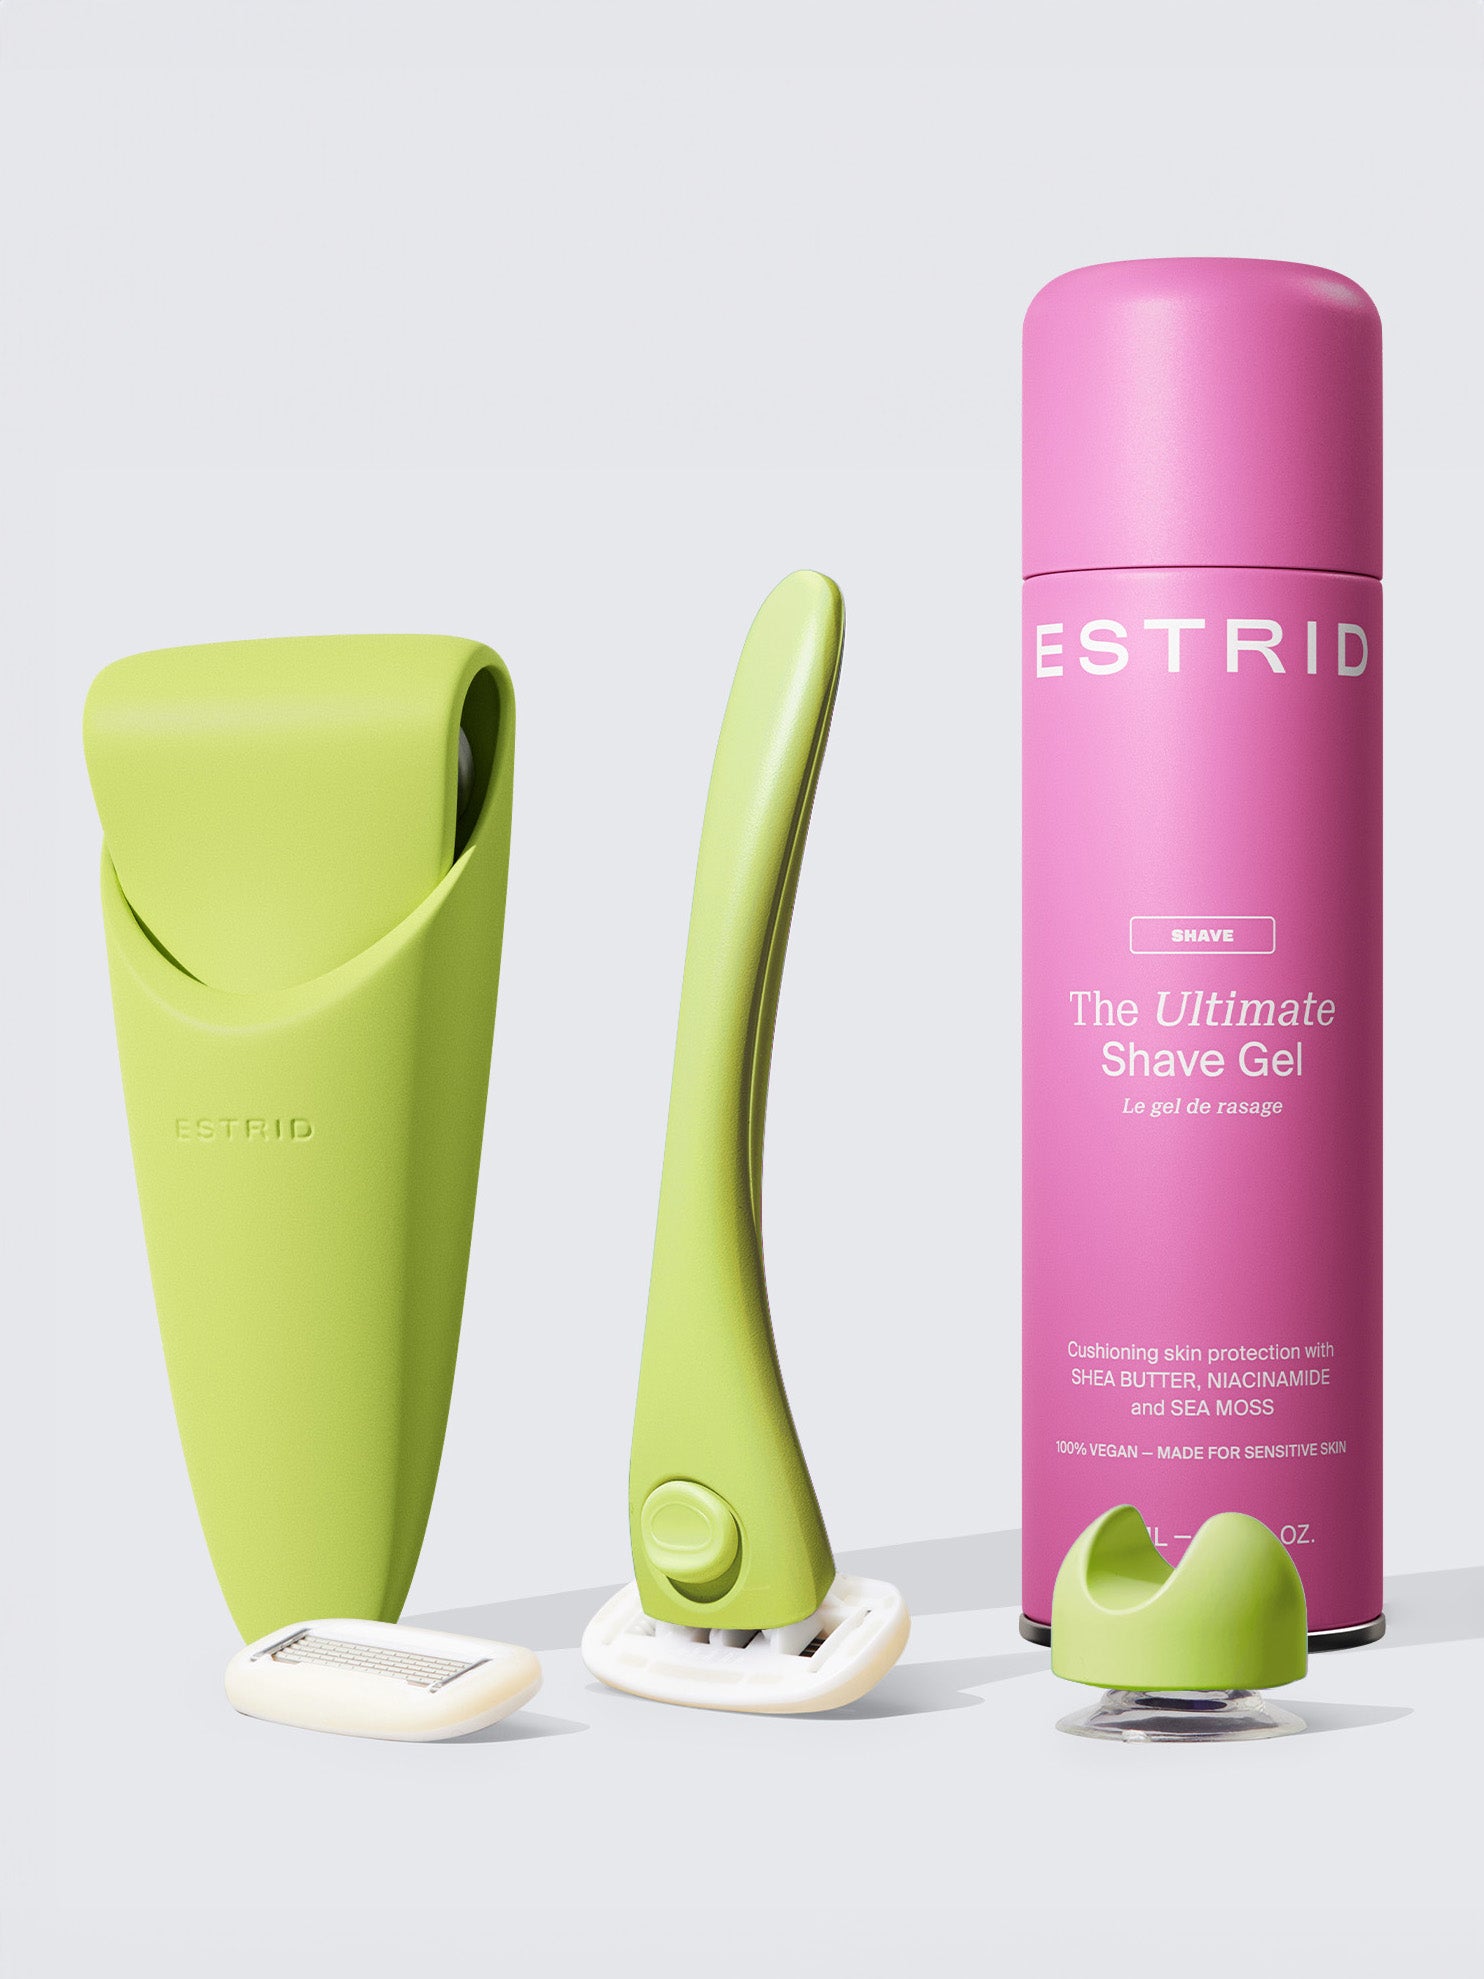
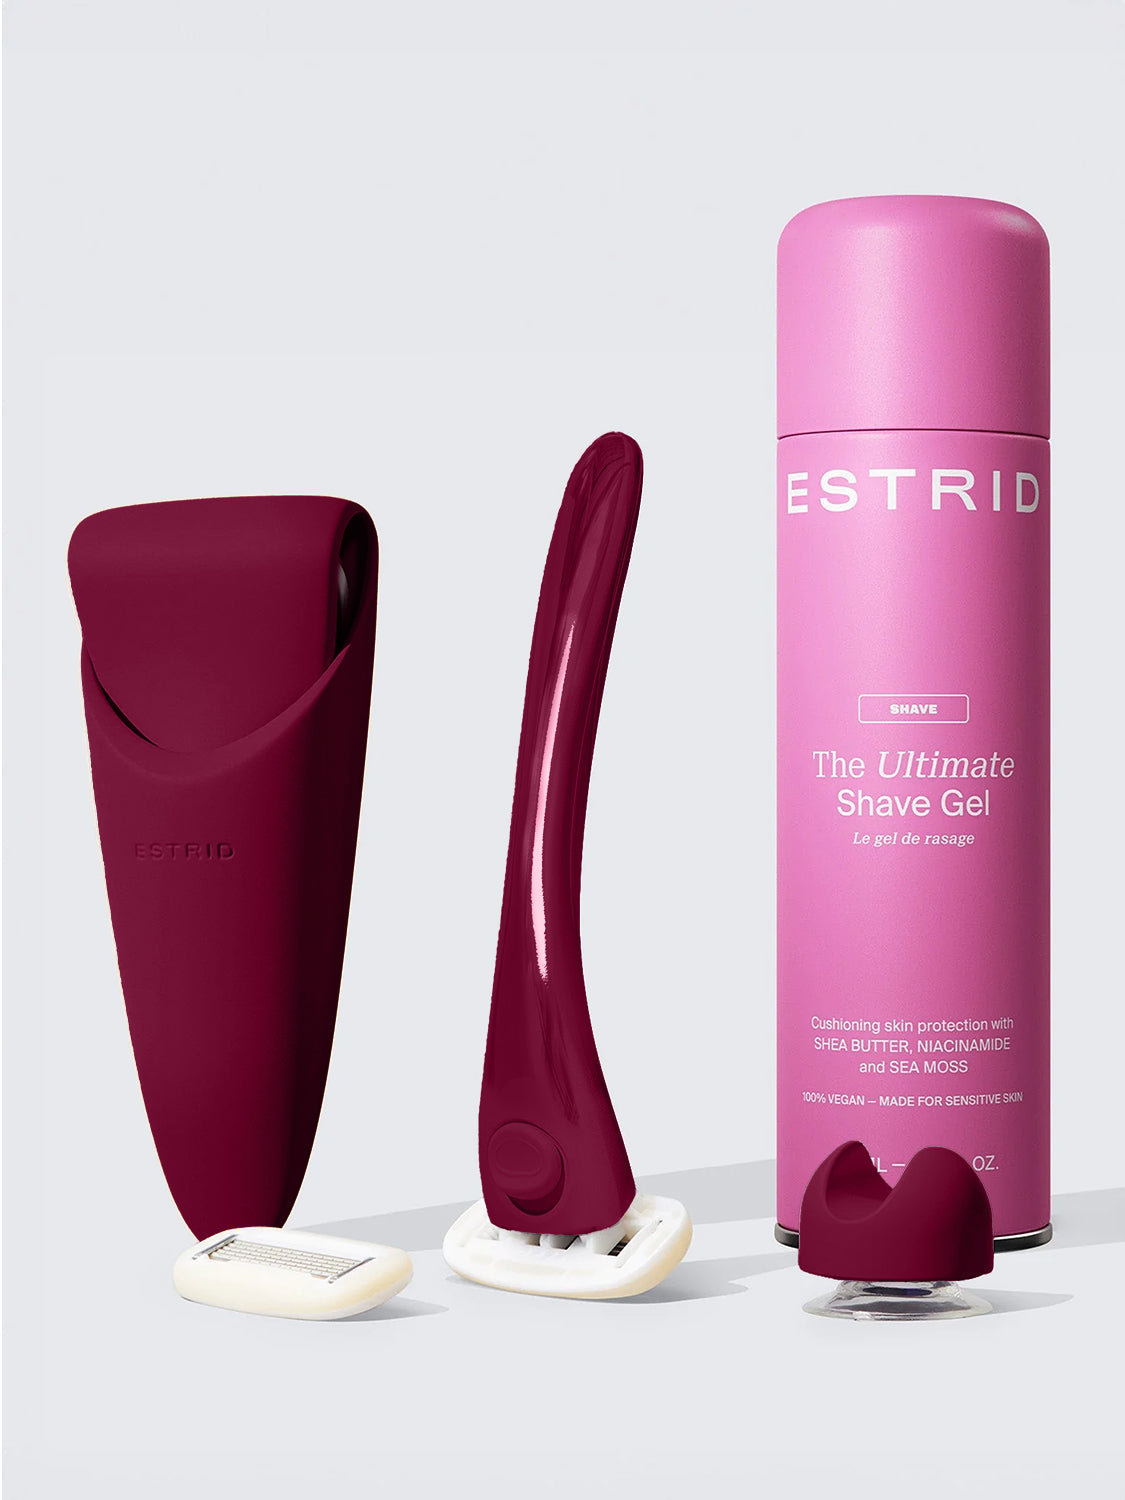
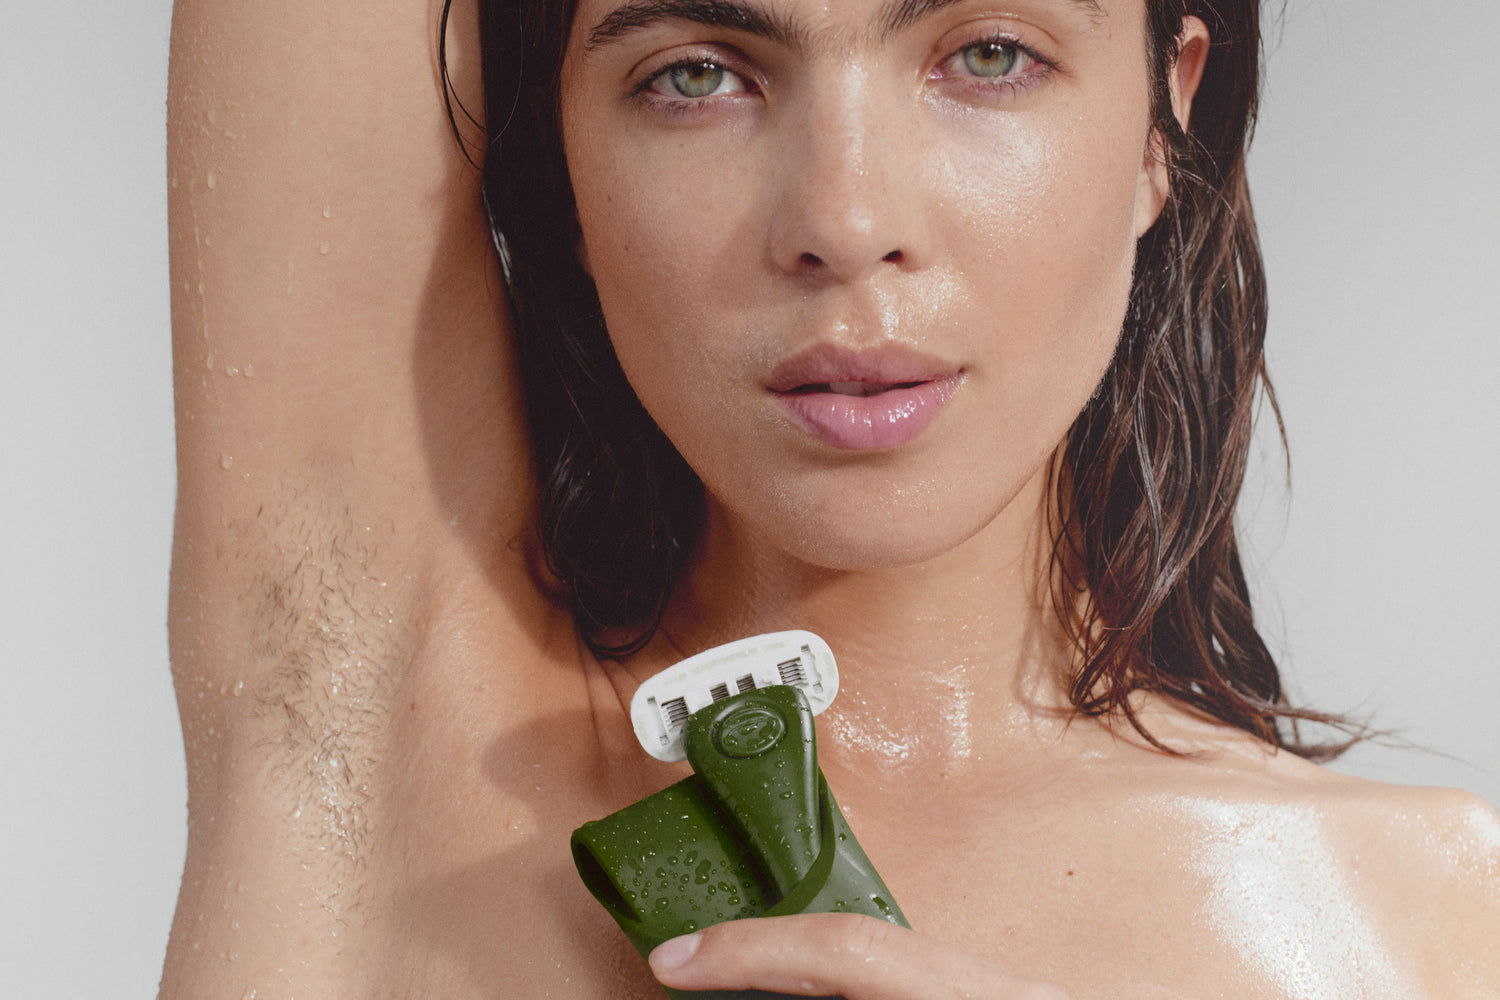
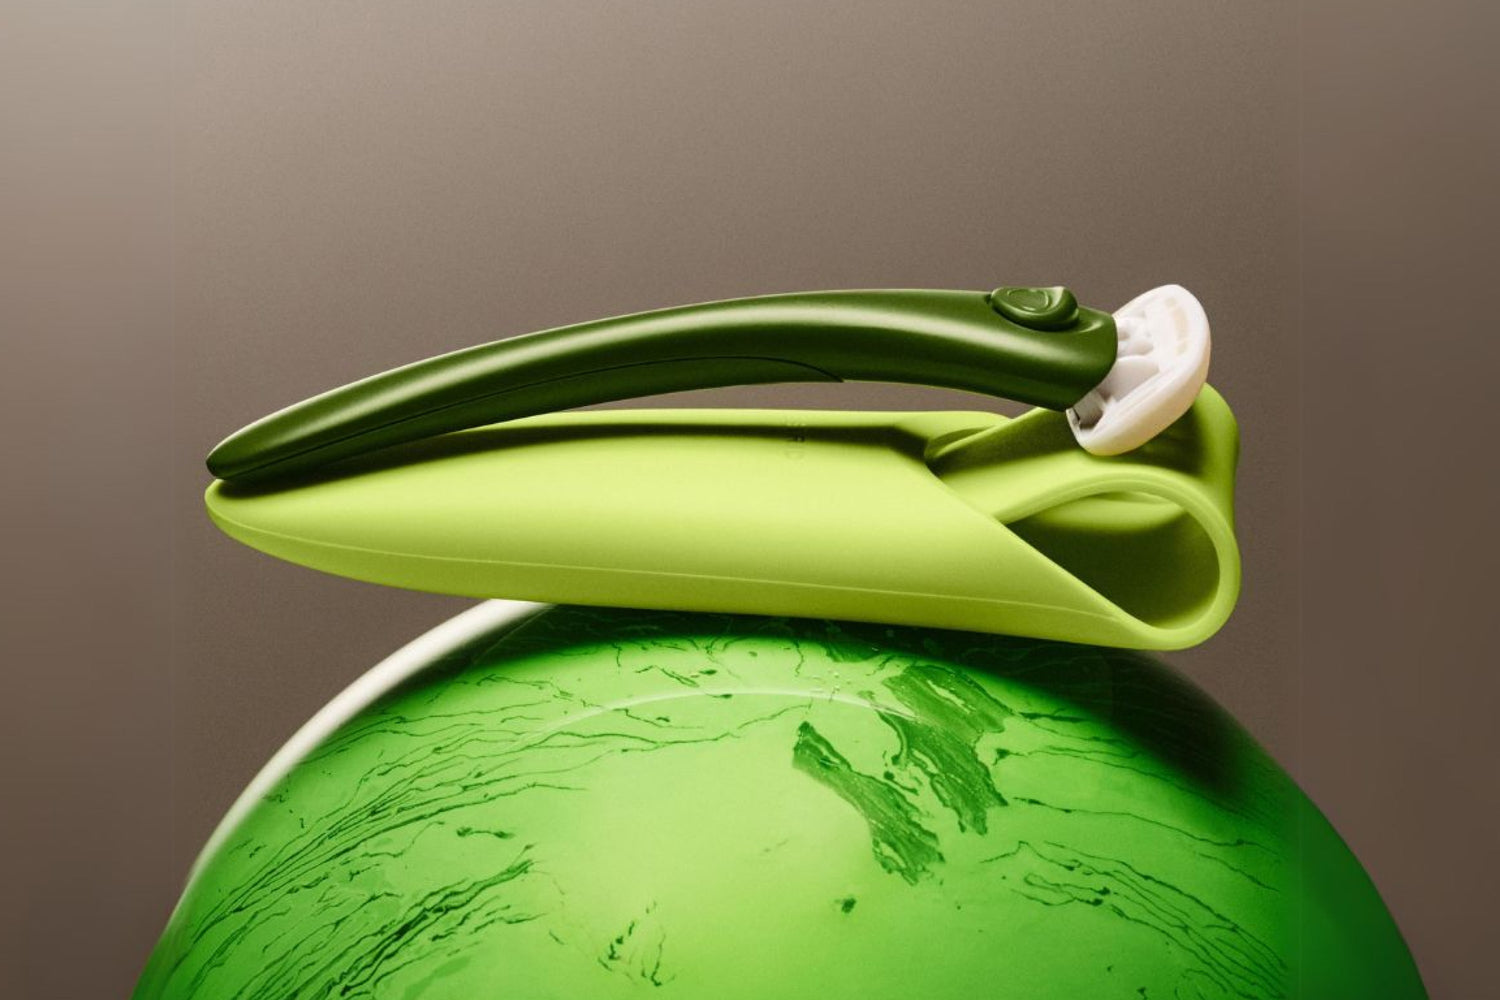
The Precision Razor is a multitasking tool that not only removes facial fuzz but also exfoliates the skin. This process stimulates skin cell turnover, resulting in improved absorption of skincare actives, giving you a smooth, radiant base for makeup application. Although it may sound too good to be true, this tried and tested technique has been around for years, making it a skin hack worth trying.
Step 1: Prepare your skin
Step 2: Start with sparkling clean skin
Step 3: Use face oil or lotion
Step 4: Hold the razor at a 45° angle
Step 5: Slow down around sensitive areas
Step 6: Rinse and clean your blade
Step 7: Moisturise
Step 8: Don't forget to change the blade
Step 1: Prepare your skin
Before getting started, it’s important to prepare your skin properly. So, sun warriors, listen up - try to avoid sun exposure for at least 24 hours before your at-home dermaplaning session starts, as this can make your skin slightly more sensitive and prone to irritation. Also, hold back on chemical exfoliants, such as glycolic acid or salicylic acid, for several days prior. If you're using retinoids, it's best to stop using them completely for at least one week before dermaplaning, as they can add to the sensitivity of your skin too.
Step 2: Start with sparkling clean skin
Use a gentle cleanser and rinse thoroughly with water. This will also help to soften the hair follicles before shaving and remove any dirt, oil, and makeup residue.
Step 3: Use face oil or lotion
Apply a small amount of face oil or lotion to the area you plan to shave. This will provide extra glide helping the razor run smoothly over your skin. If you would rather shave dry, that is totally ok with this tool.
Step 4: Hold the razor at a 45° angle
Begin at the top of your face near your hairline, and work your way down. Use the precision razor in short, downward strokes, following the natural direction of hair growth. A light touch is key, and try not to go over the same spot more than once as the blade is very sharp and can easily irritate the skin. Pro tip: have a cotton pad on hand ready to de-fluff your blade.
Step 5: Slow down around sensitive areas
Take it easy around your eyebrows, lips, and nose. Use gentle strokes and avoid using the razor on any broken or irritated skin.

Step 6: Rinse and clean your blade
After each use, rinse the razor with warm water and use a cotton ball soaked in rubbing alcohol to disinfect it. This will help to prevent bacteria buildup on the blade.
Step 7: Moisturise
After dermaplaning, moisturise your skin with an enriching serum or moisturiser. This will help to soothe your skin and keep it ultra dewy and hydrated.
Step 8: Don't forget to change the blade
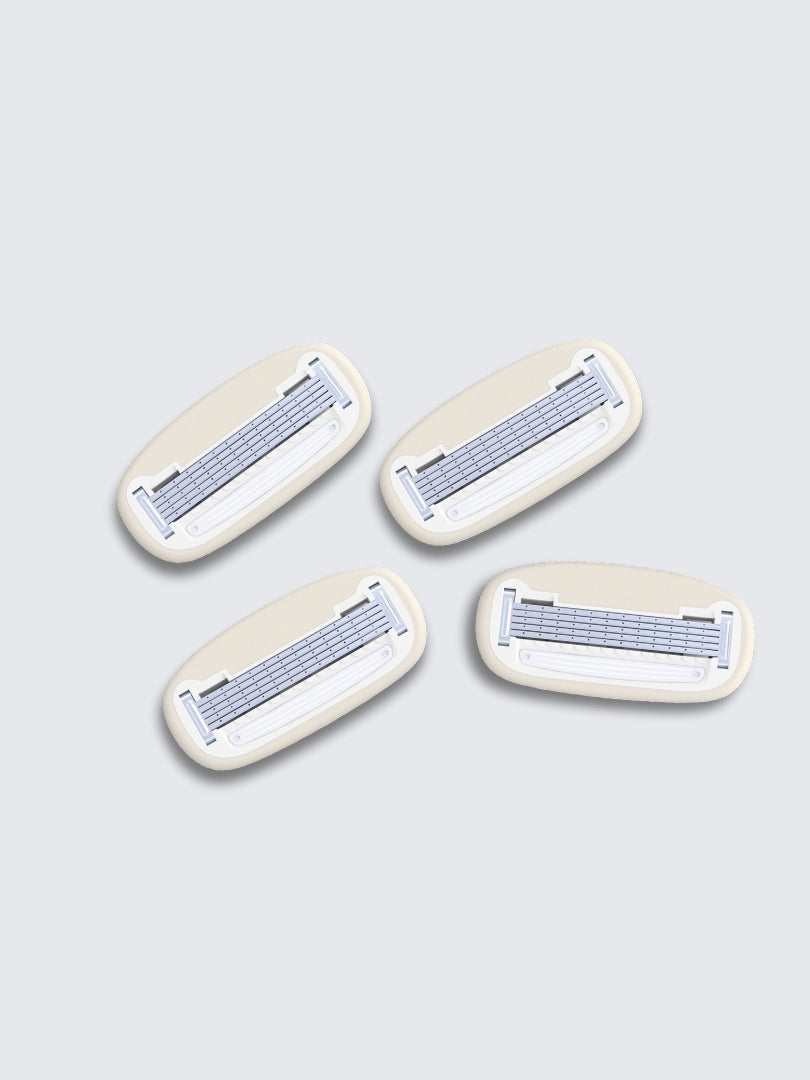
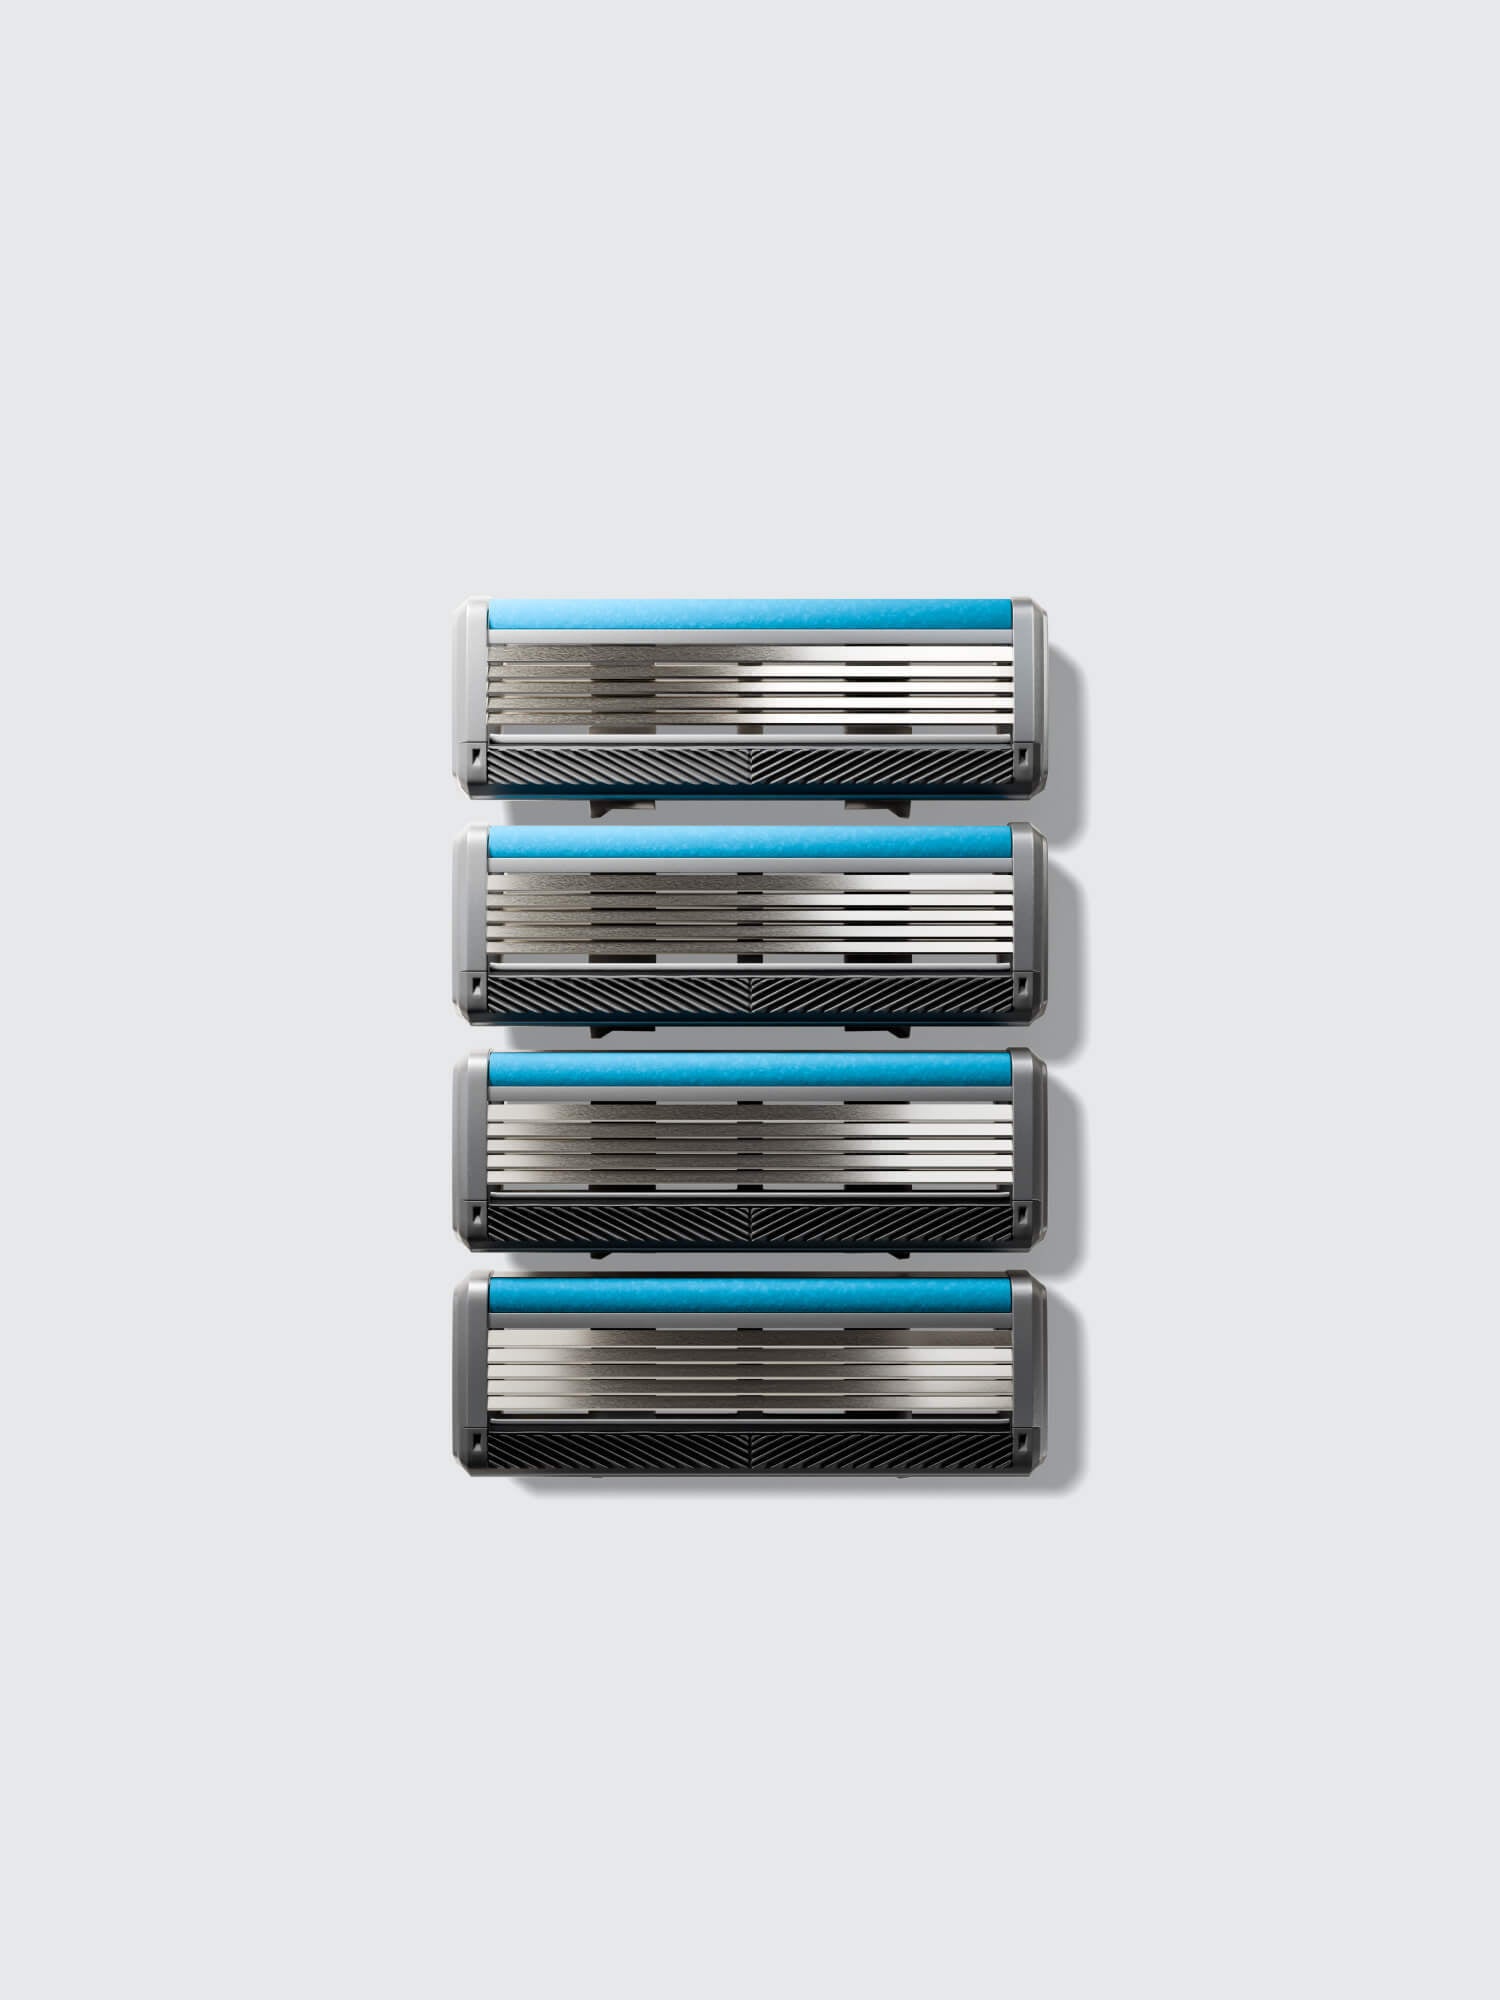
Dermaplaning blades should be replaced after 3 uses. Yes - they can be recycled! Very carefully remove the blade before recycling the wheat straw handle with your local recycler.
Whether you are into this kinda thing or not, it’s been an interesting skin secret to uncover and try for ourselves. We believe dermaplaning really is all it’s cracked up to be and it truly can transform the texture and appearance of your skin.
Caution: Please take care when handling super-sharp blades.
