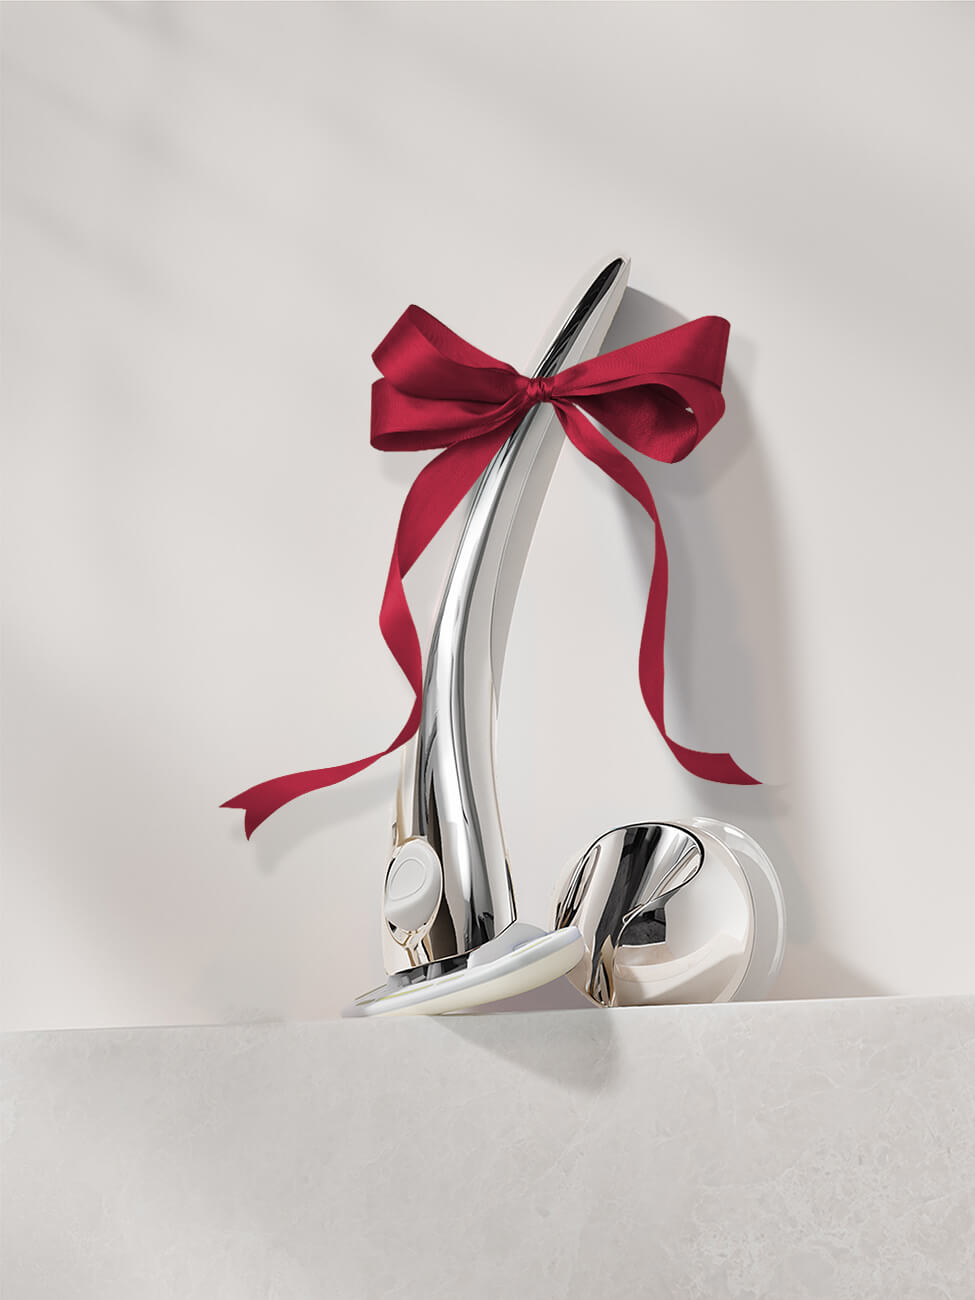
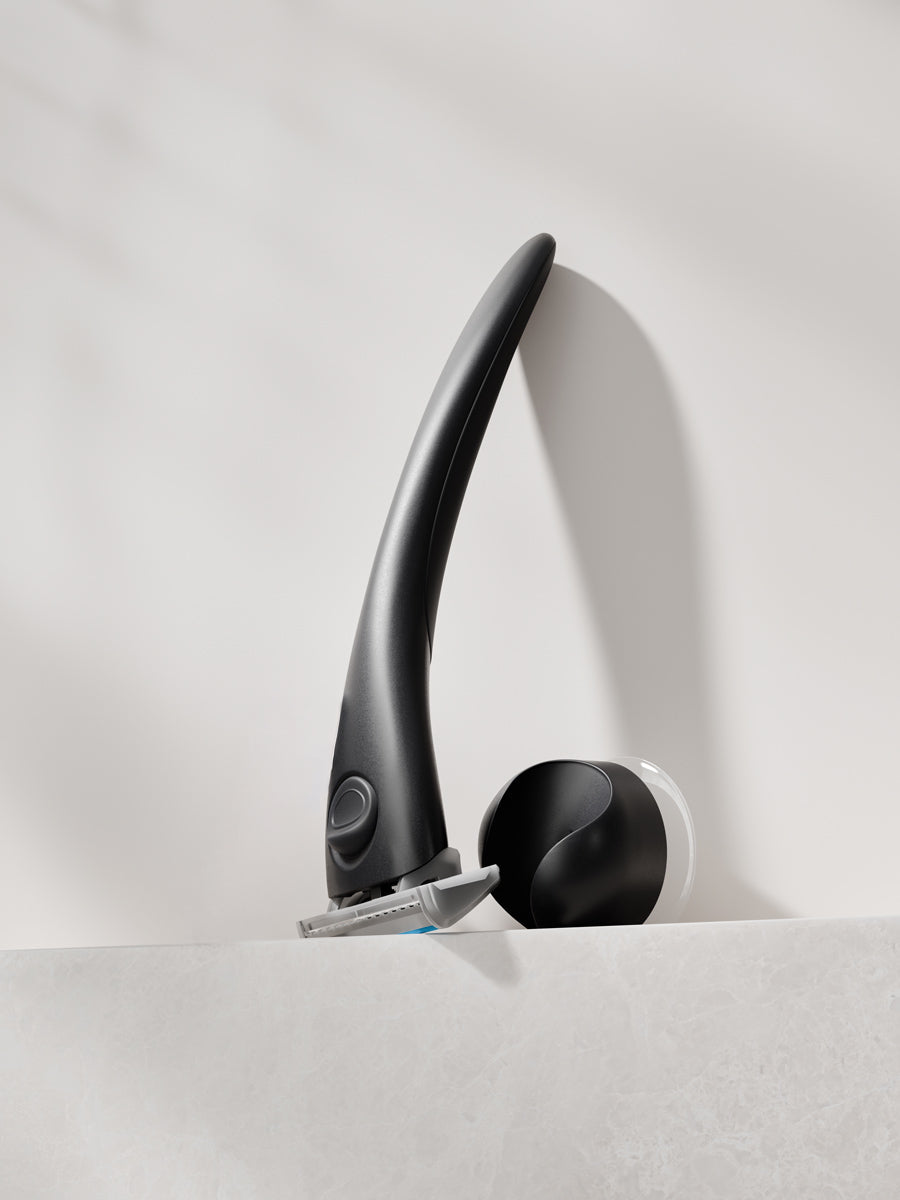
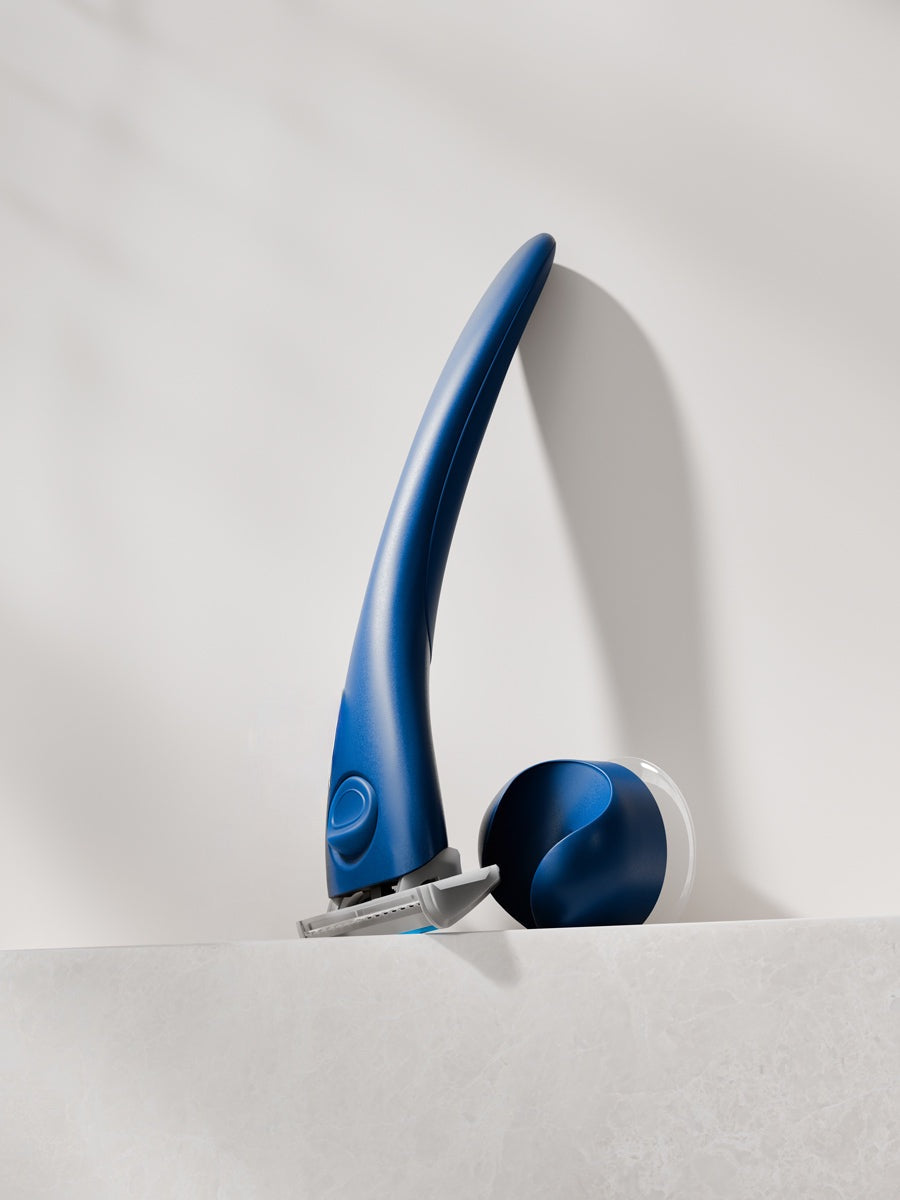
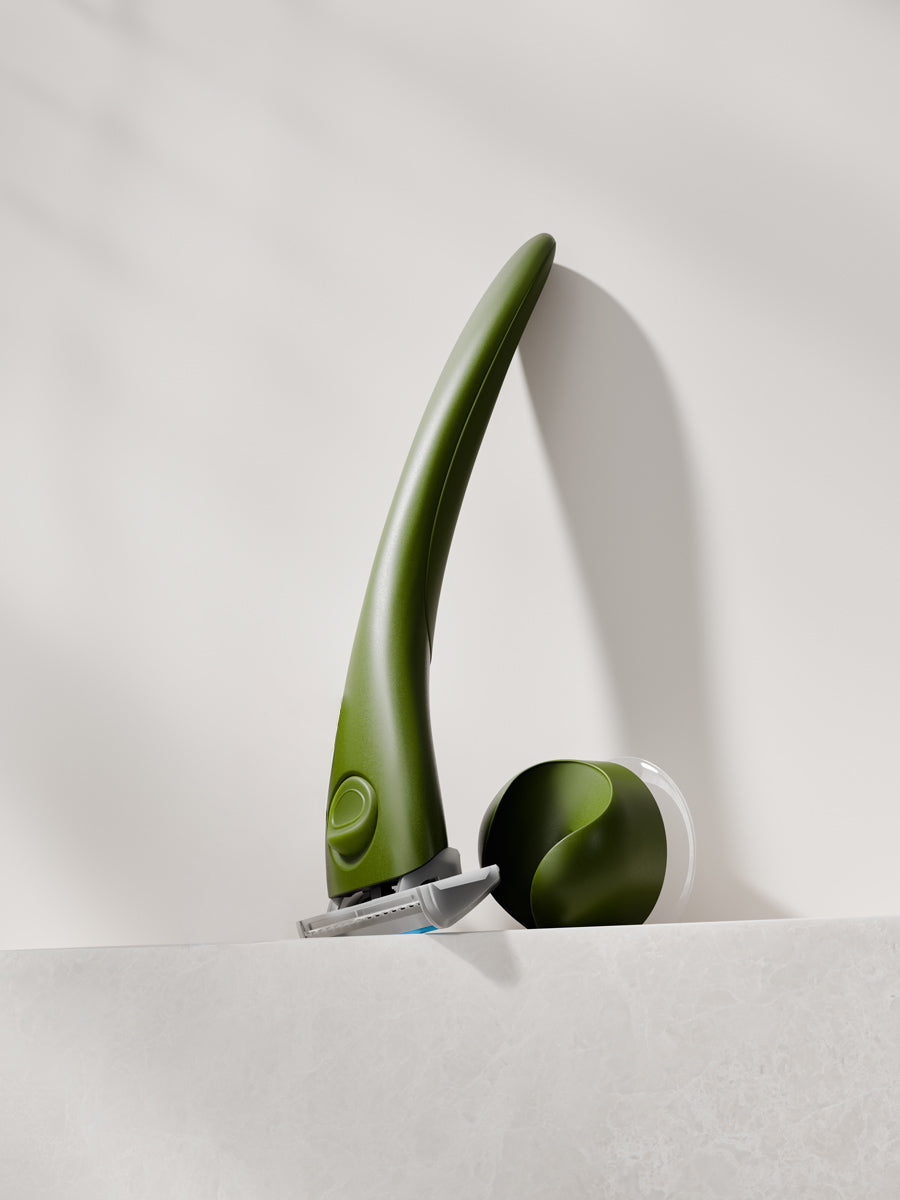
Shaving or waxing - whatever you’re into, we’ve got two super speedy, relatively painless methods to remove that pesky, unwanted neck hair.
How to shave your neck hair
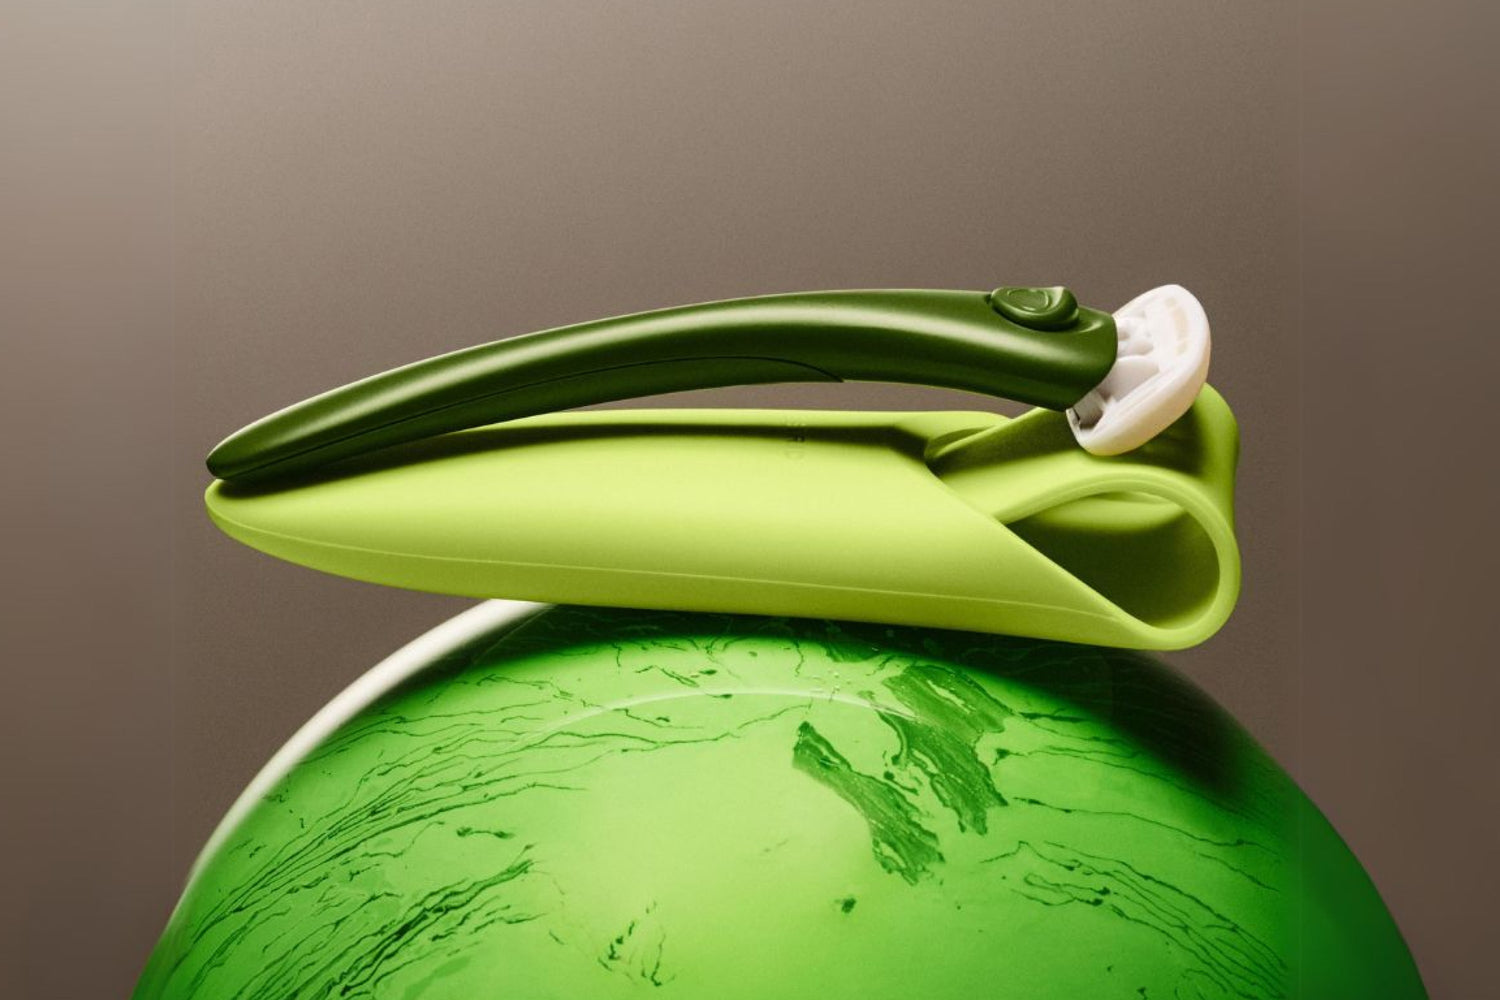
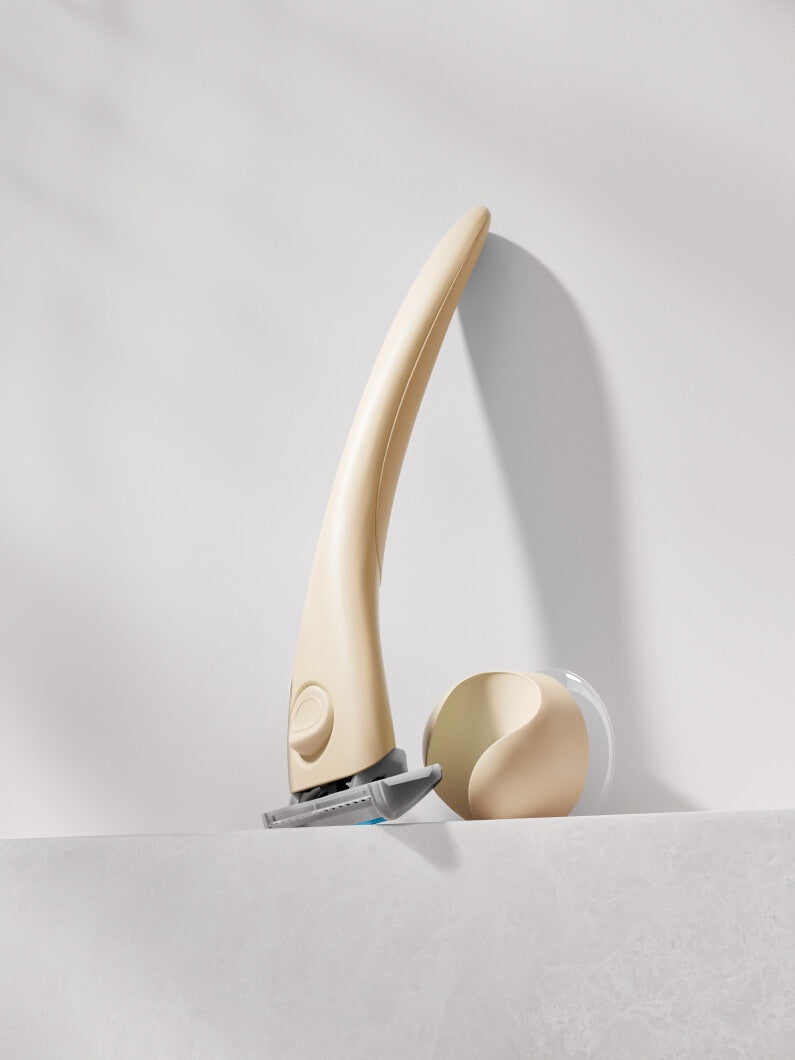
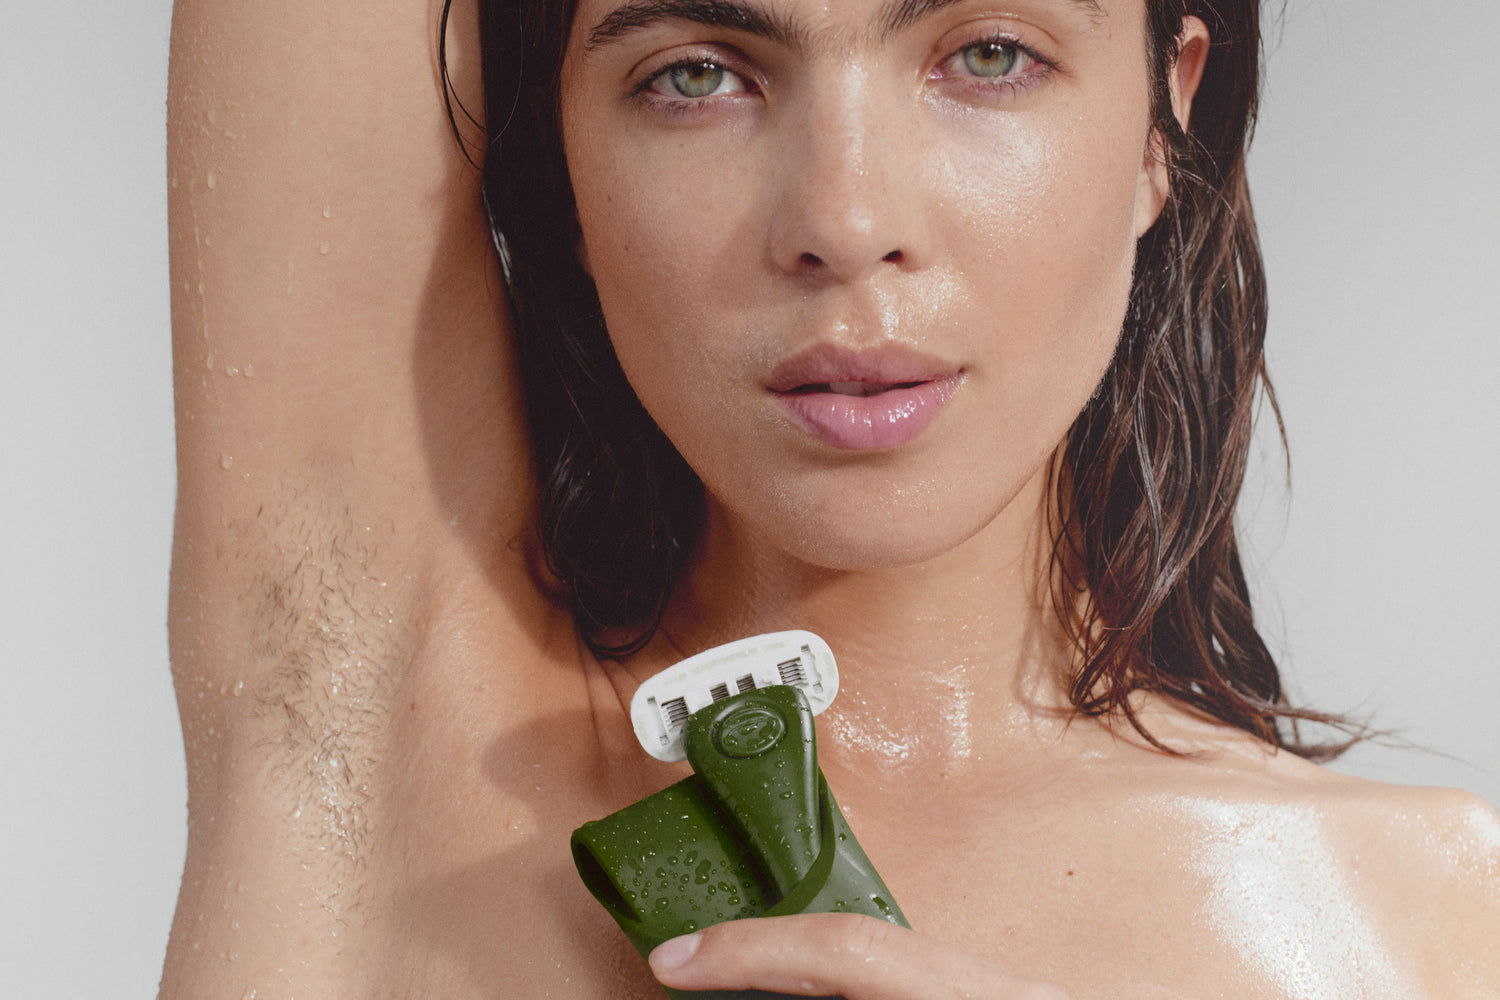
Shaving is the quickest, easiest, and most painless method for sure, but be ready with your razor a few days later as the old neck hair might not be gone for long.
Step 1: Cleanse and hydrate your neck
Step 2: Apply a shaving gel
Step 3: Shave your neck with the grain
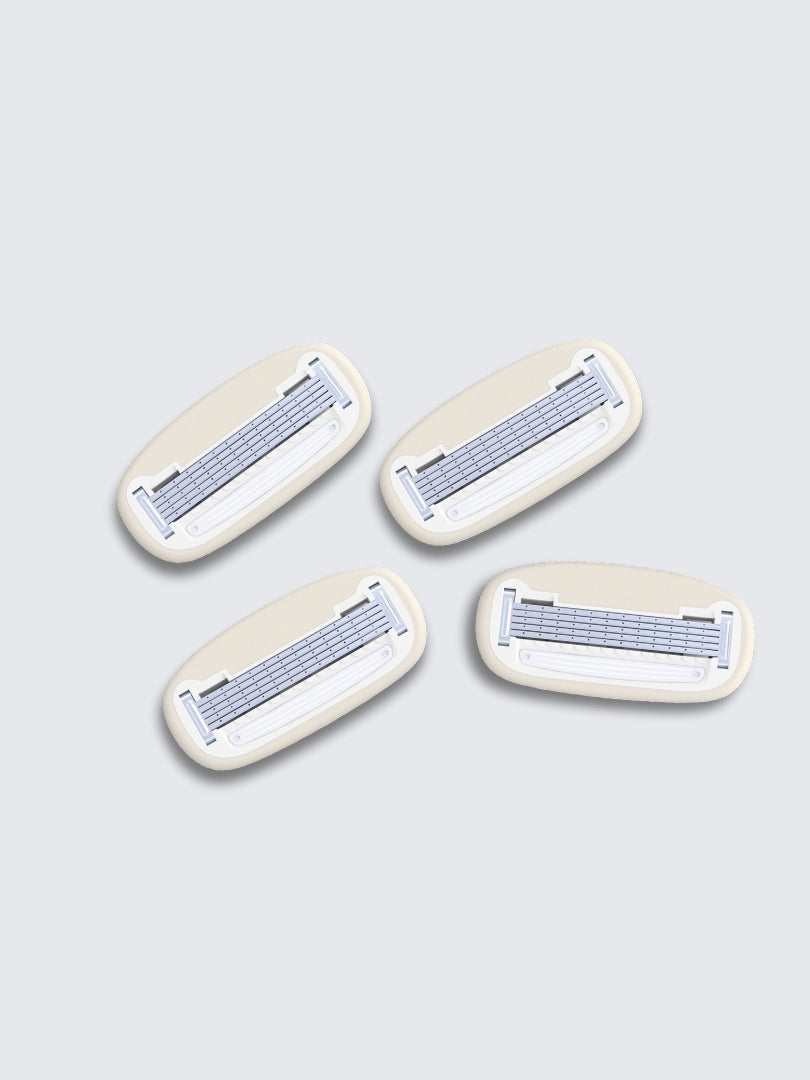
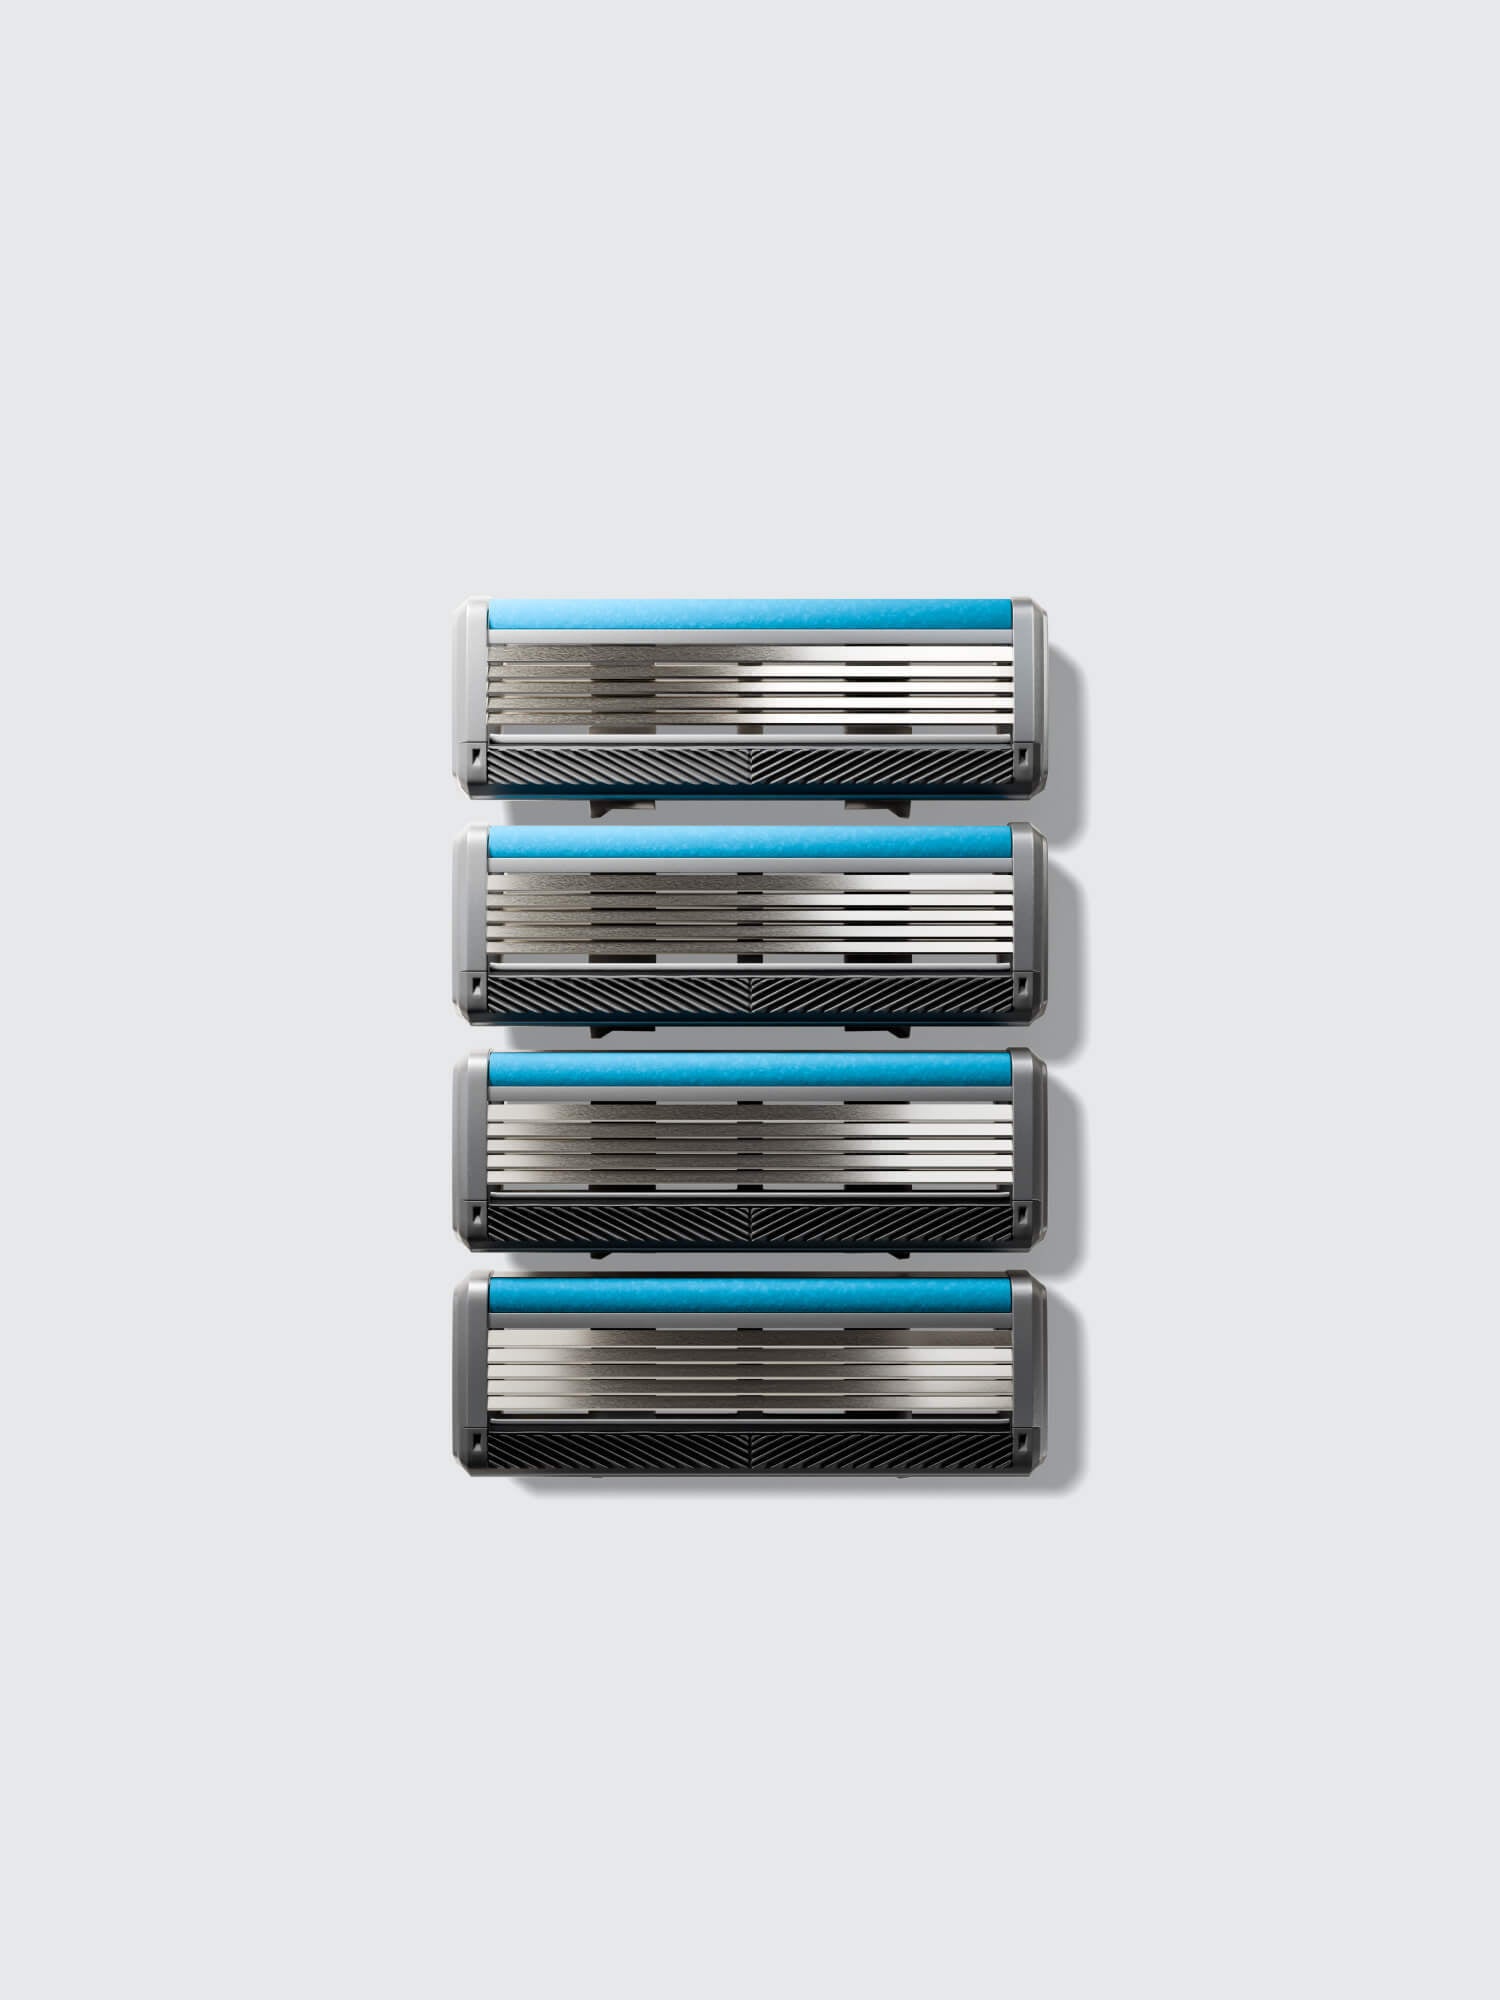
Step 4: Use a clean, sharp razor
Step 5: Rinse and apply moisturiser to your neck
Step 1: Cleanse and hydrate your neck
Make sure your skin is clean and hydrated. It's best to shave after a warm shower, as the steam will soften your hair and make it easier to remove. If you aren’t near a shower, use a warm, damp towel to open up those pores.
Step 2: Apply a shaving gel
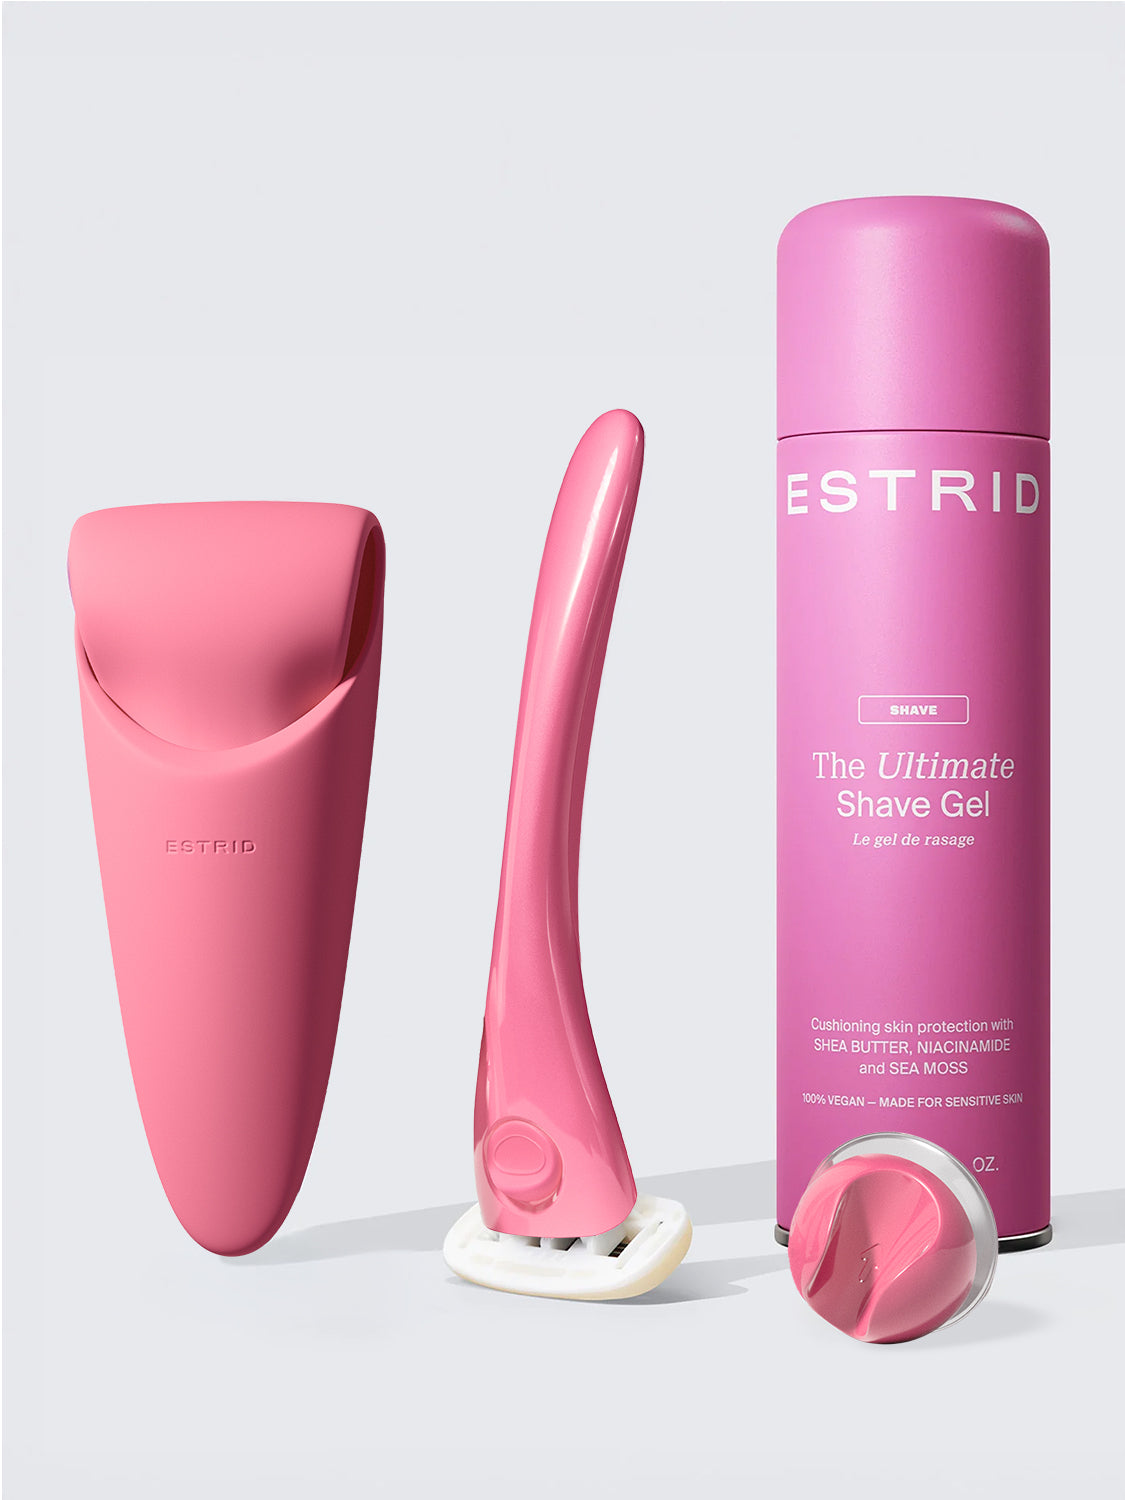
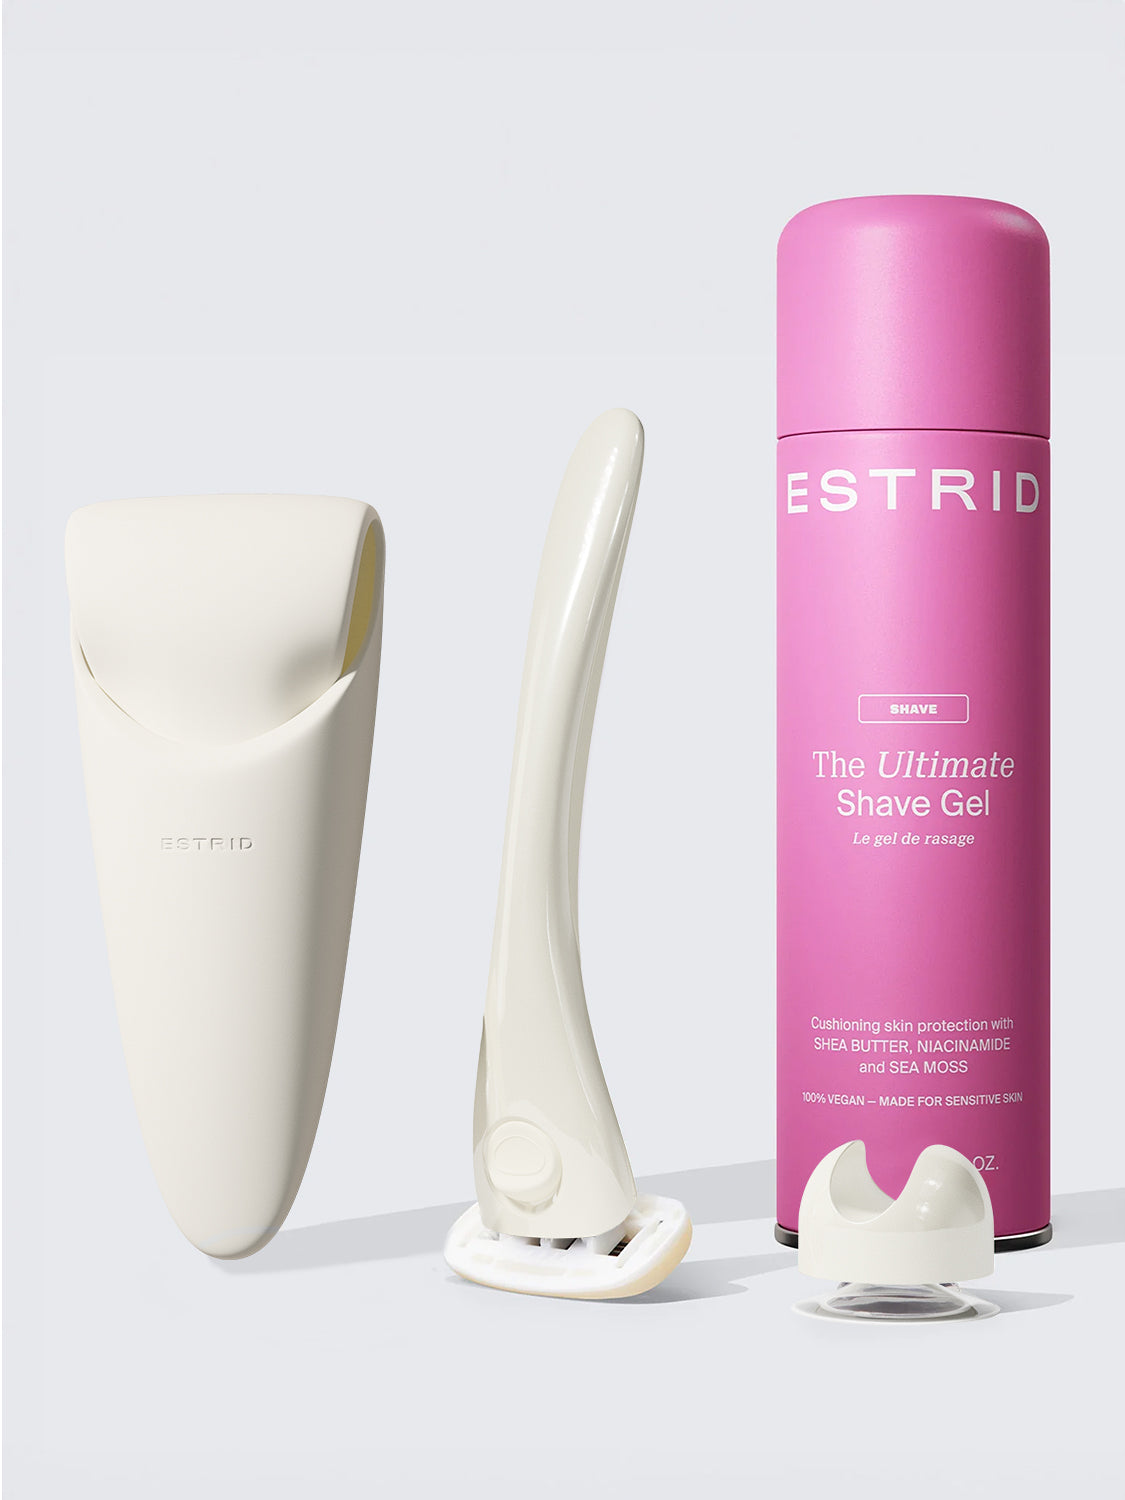
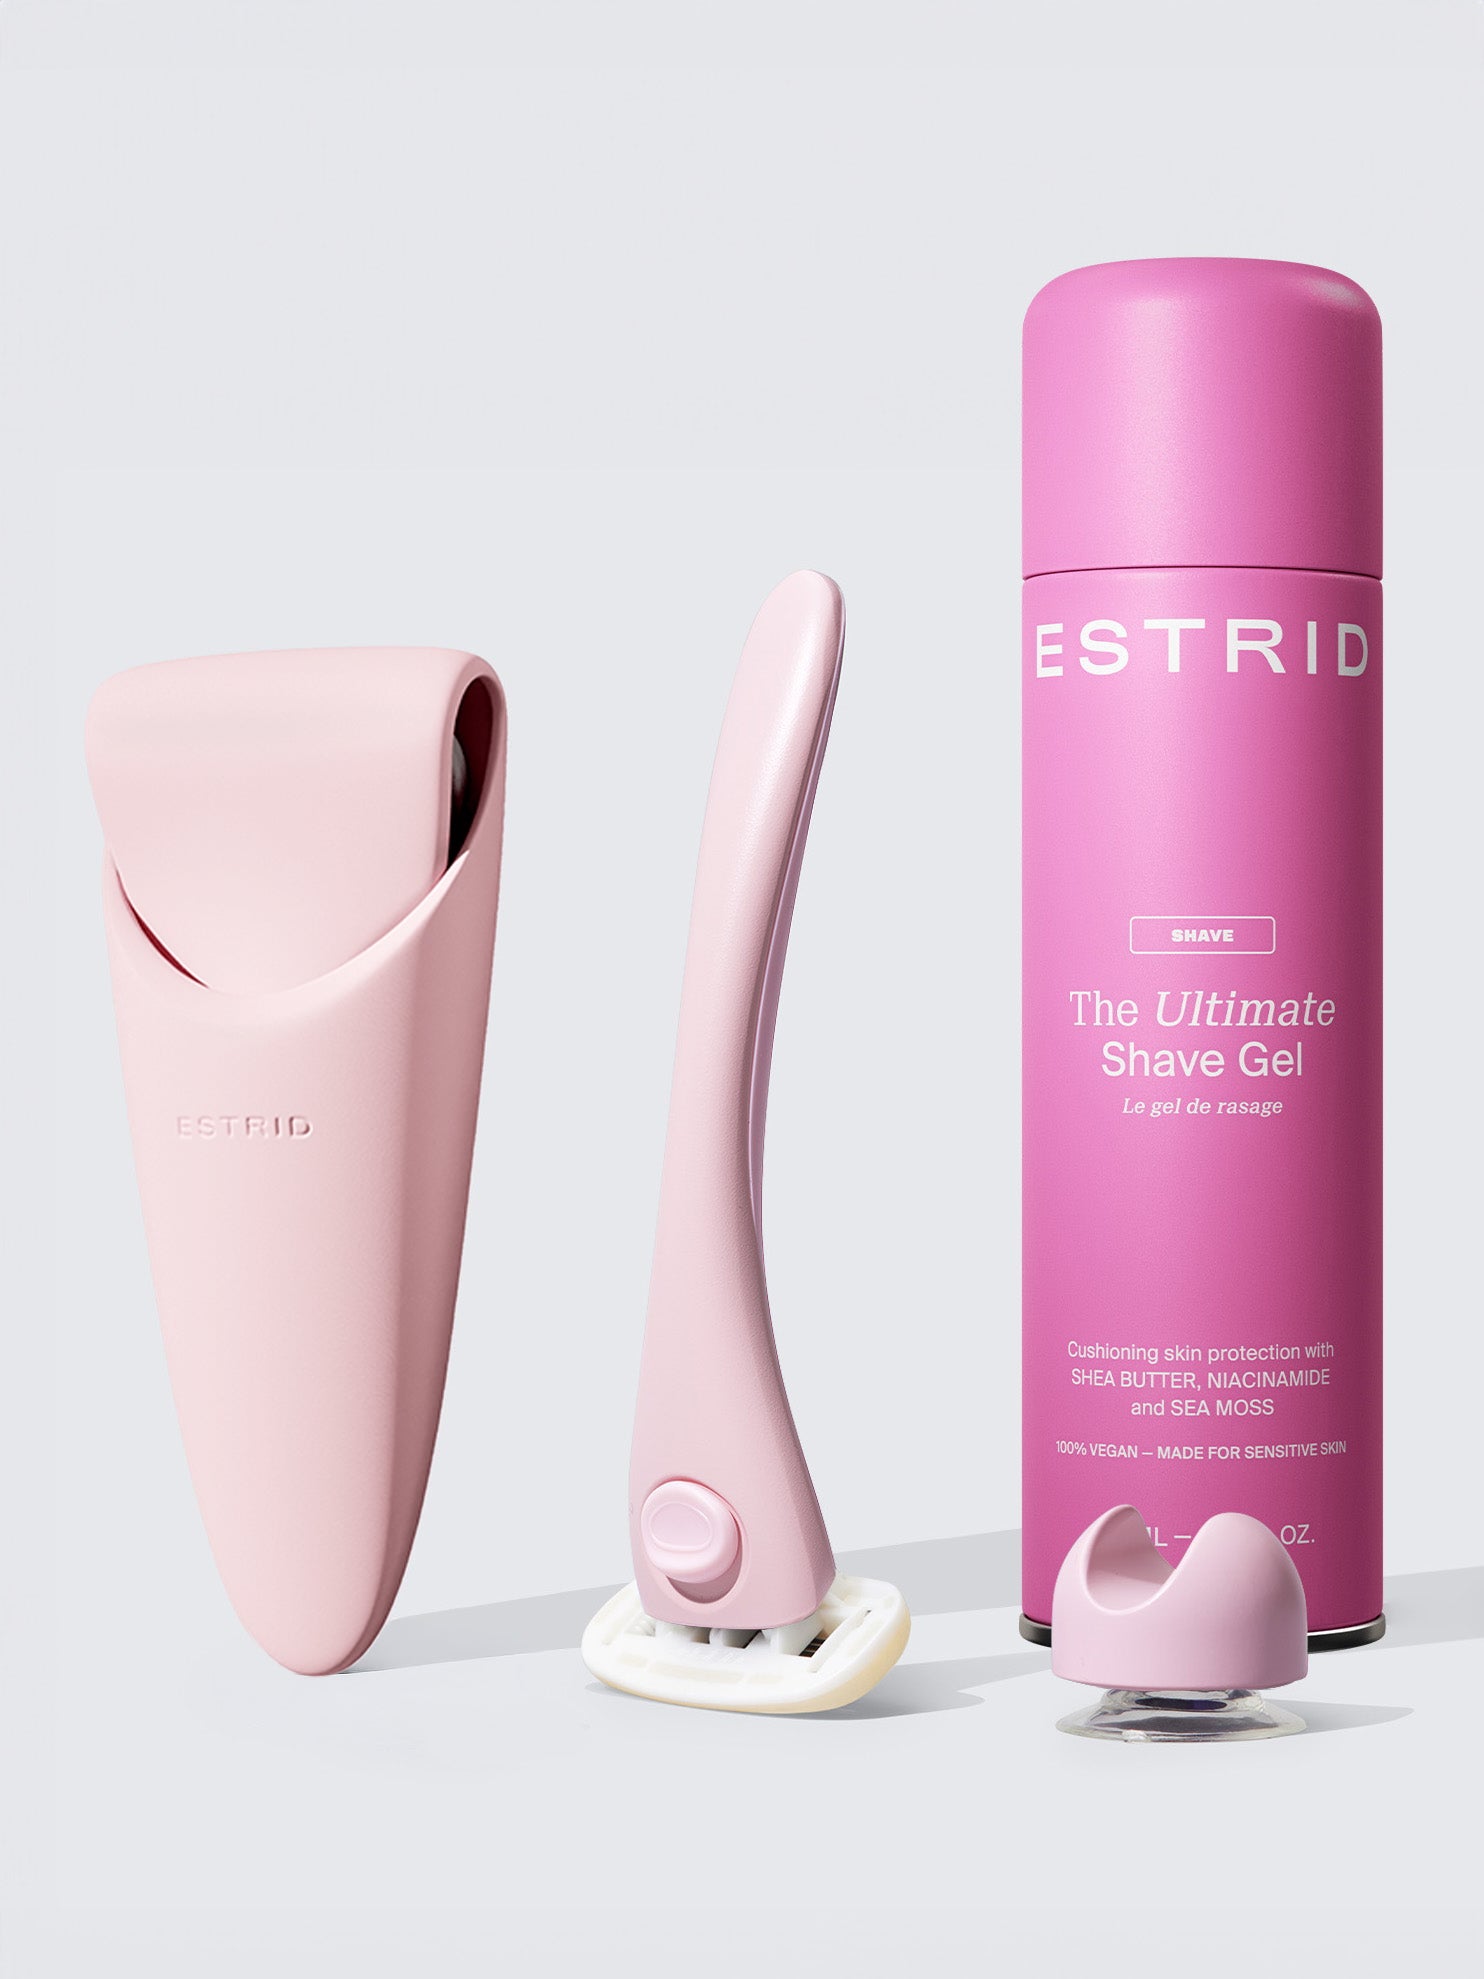
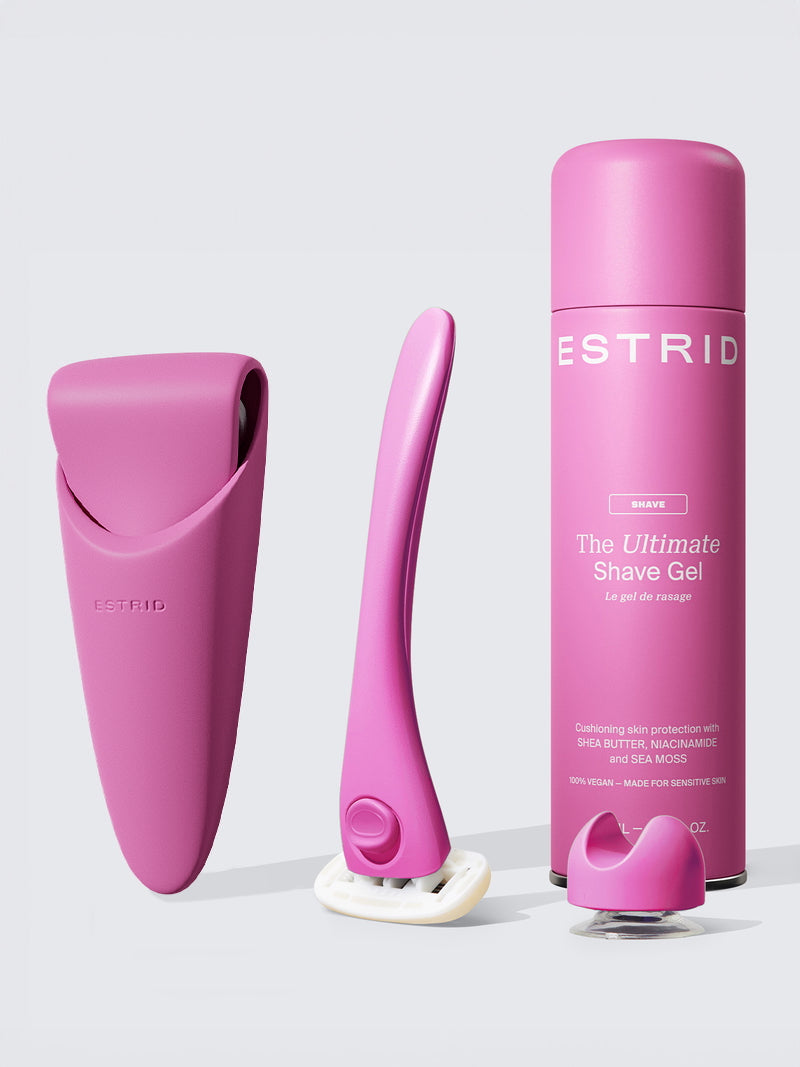
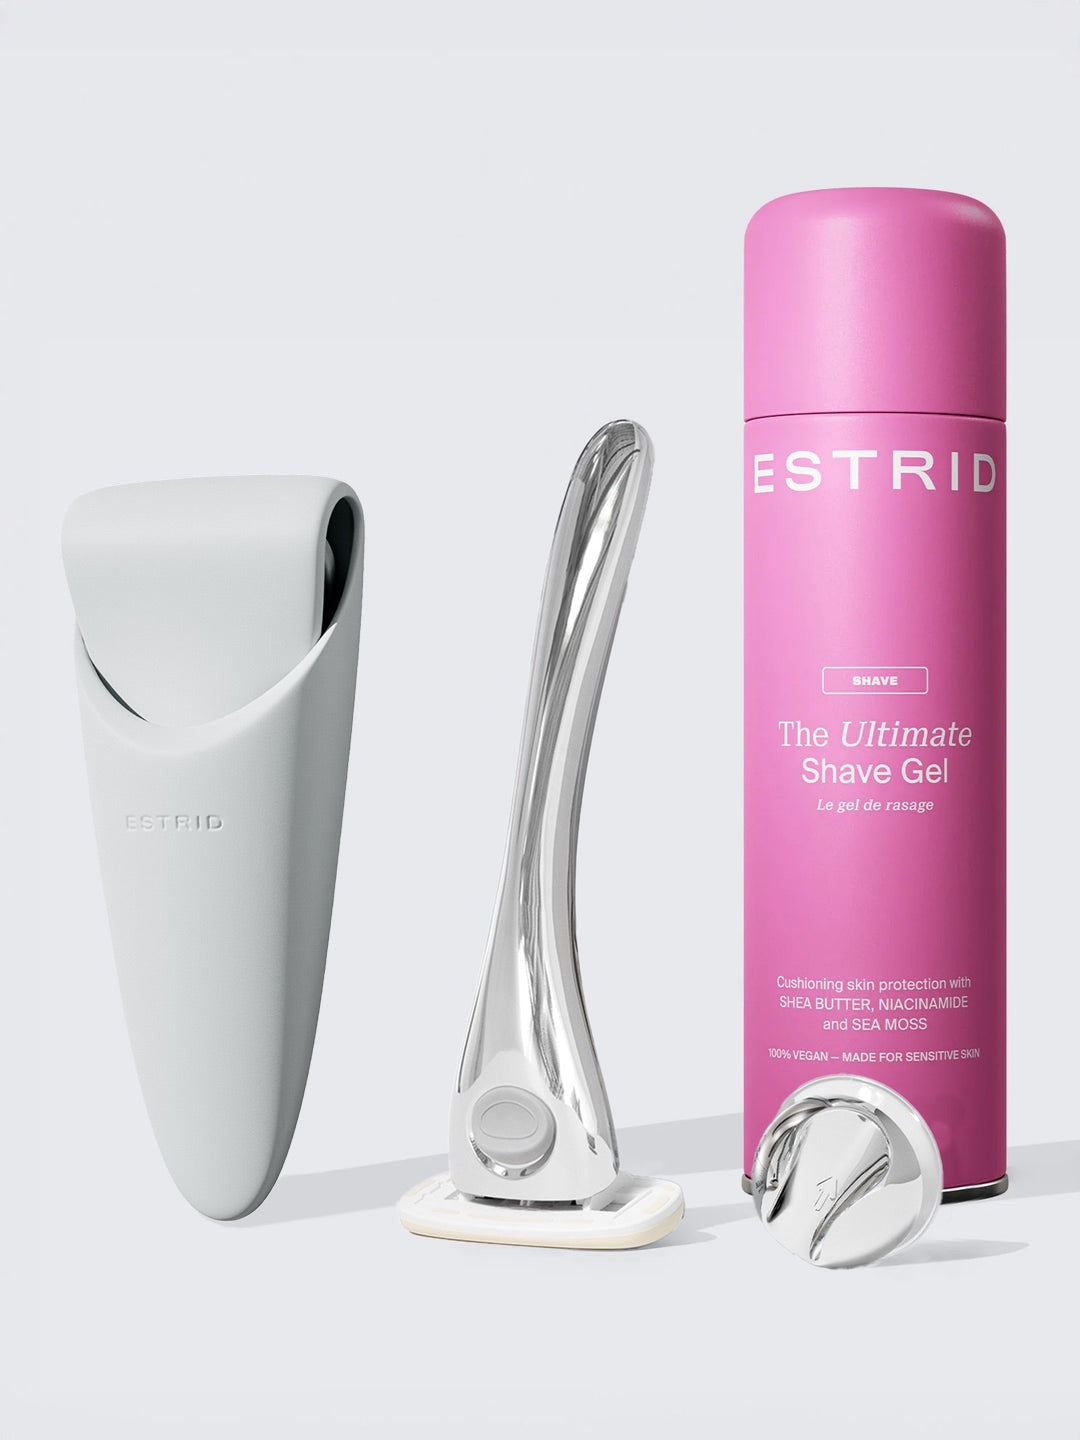
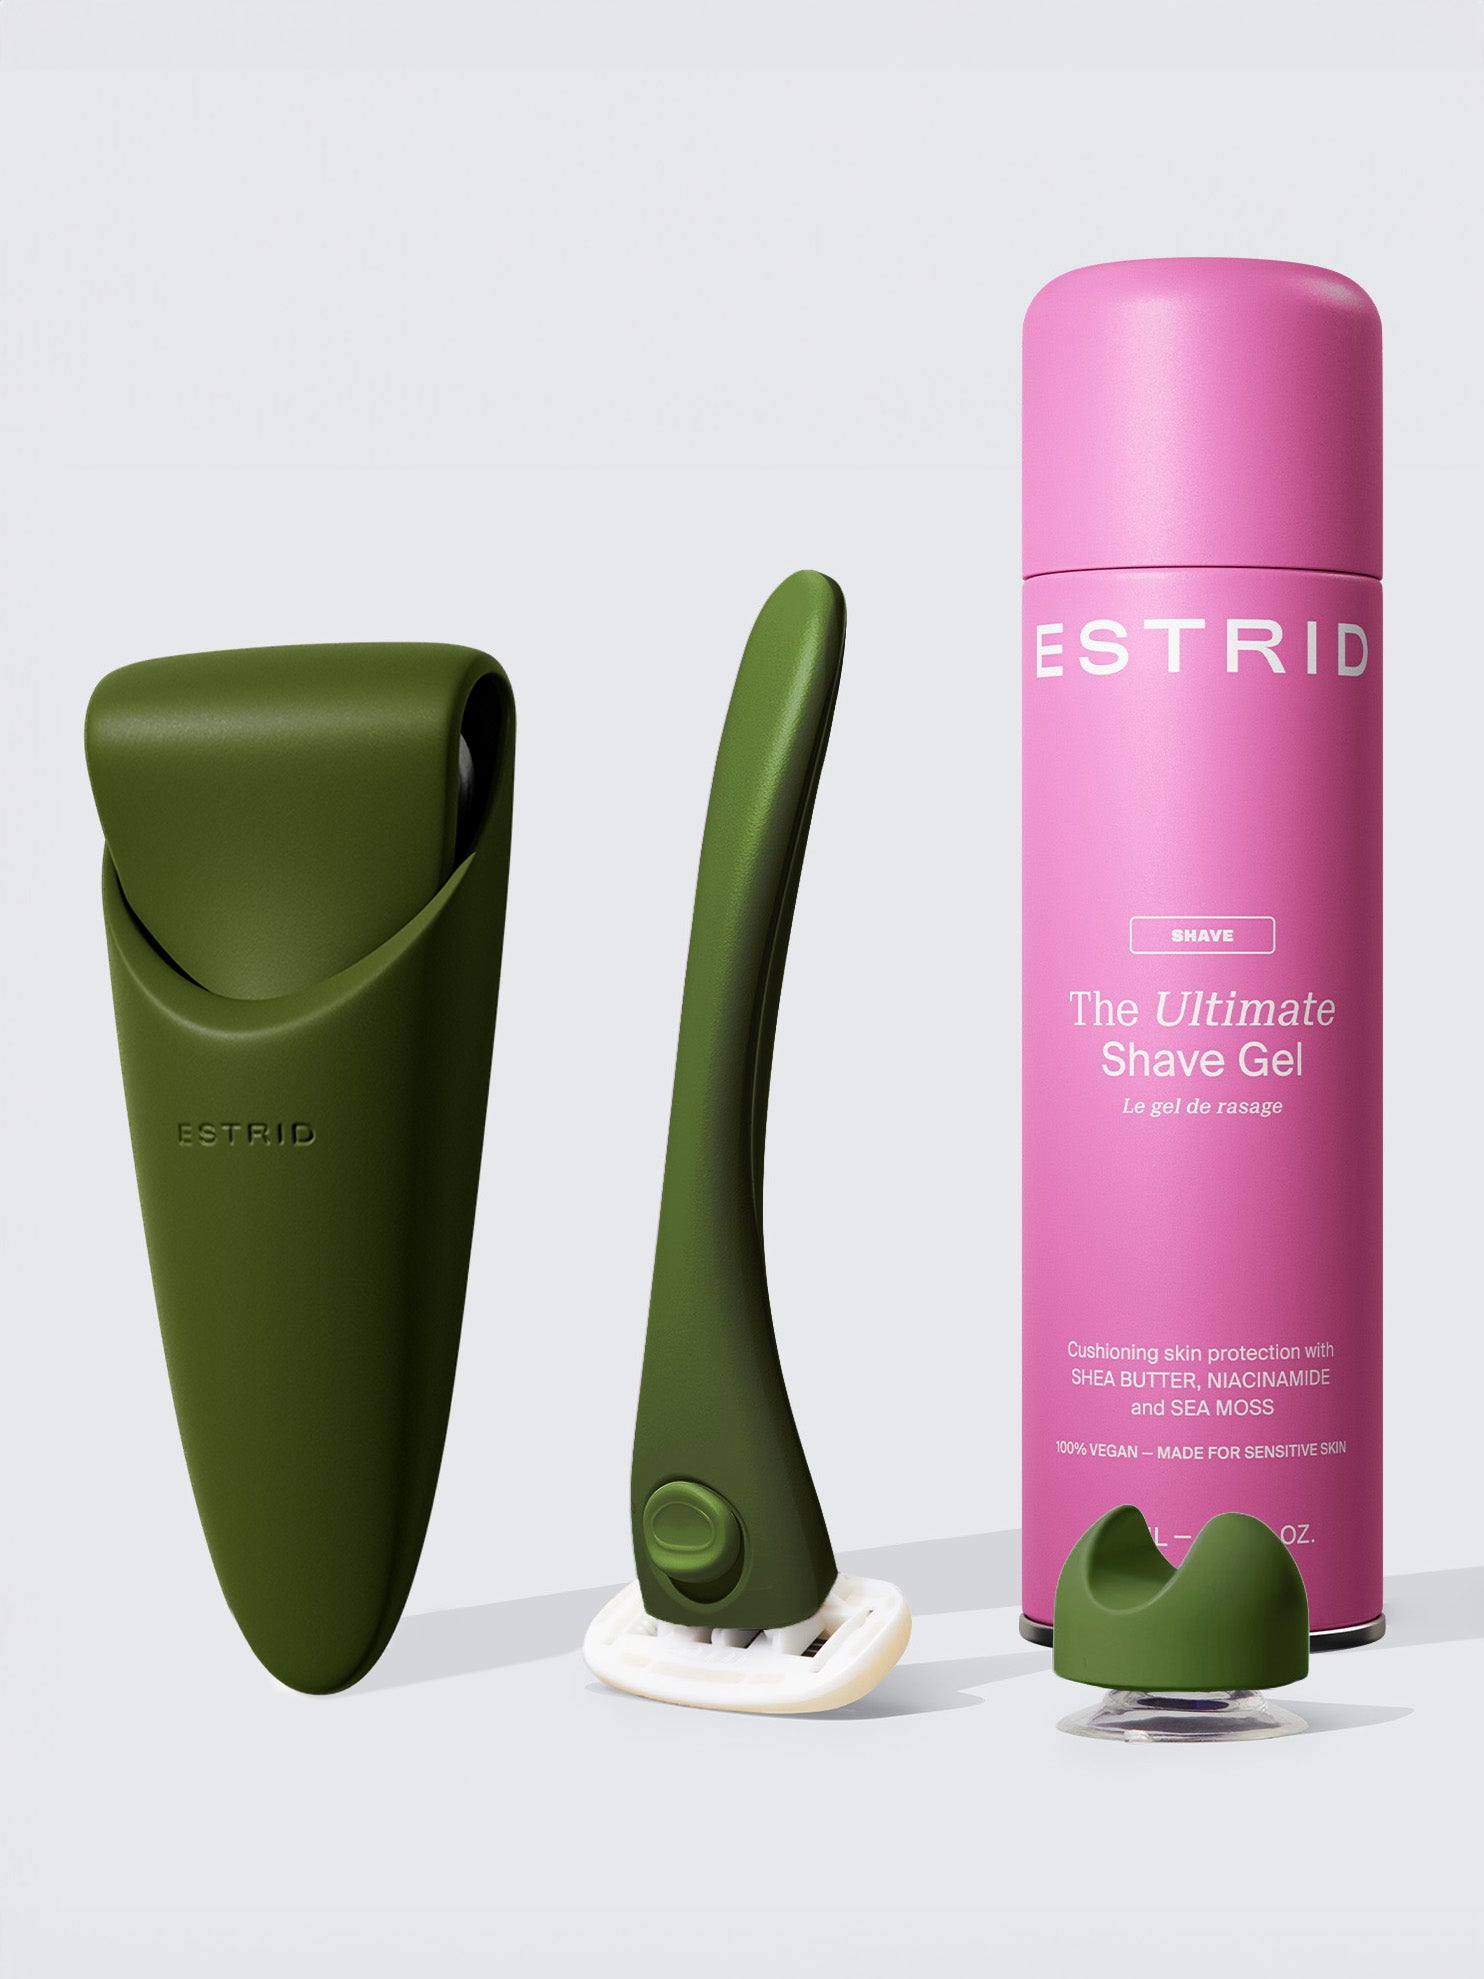
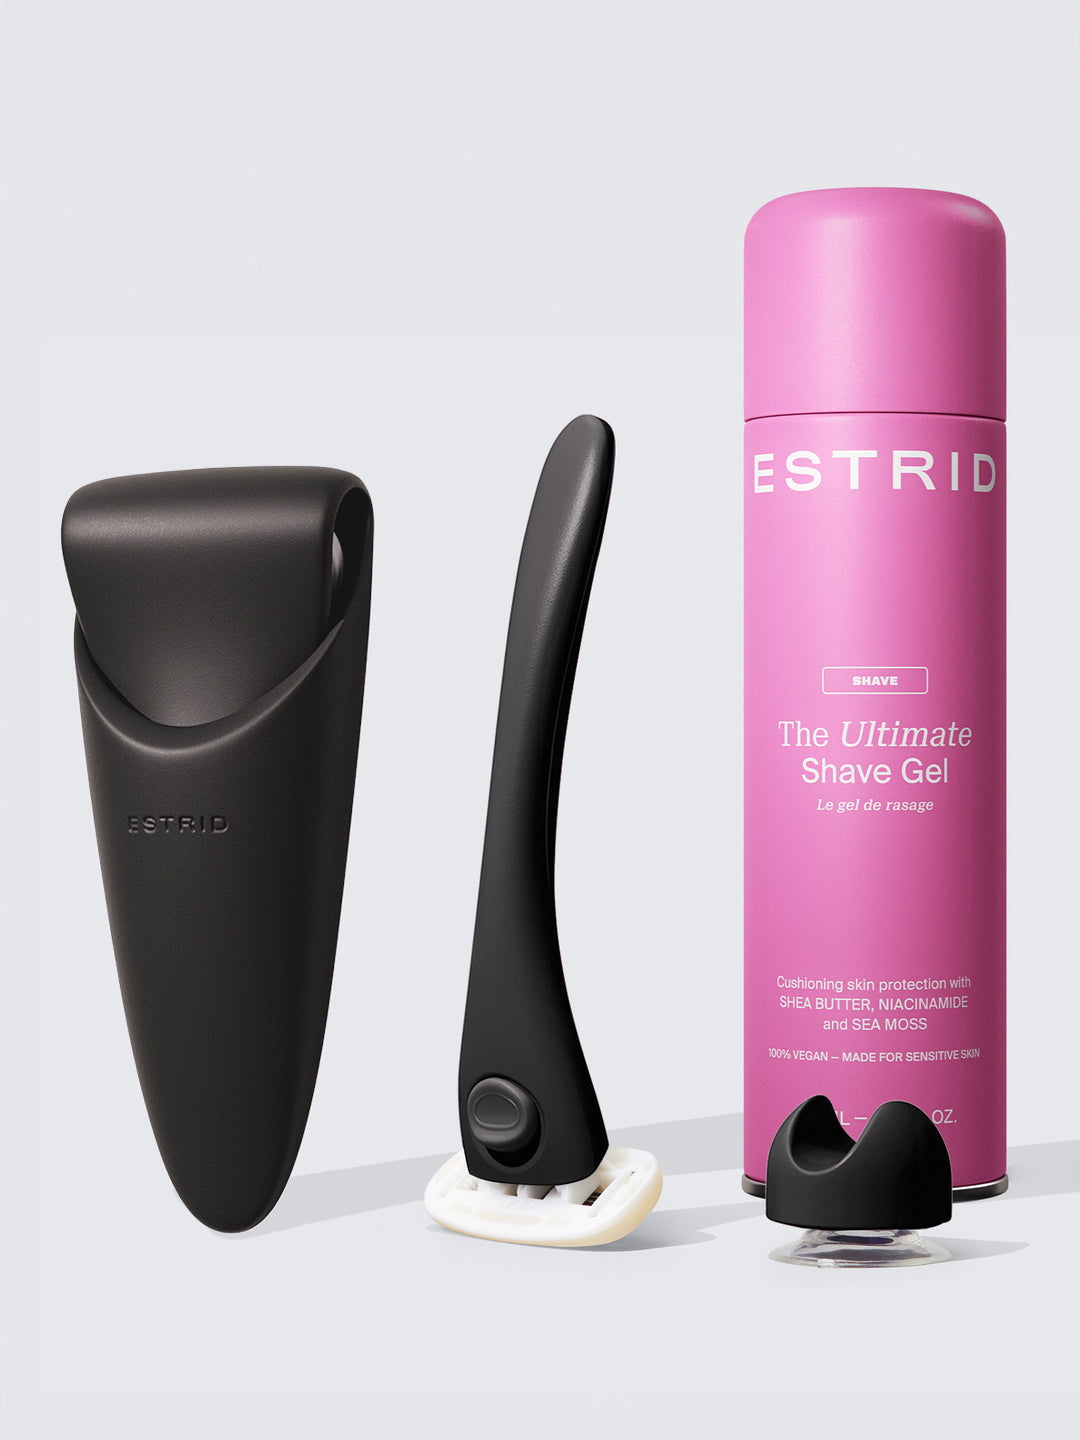
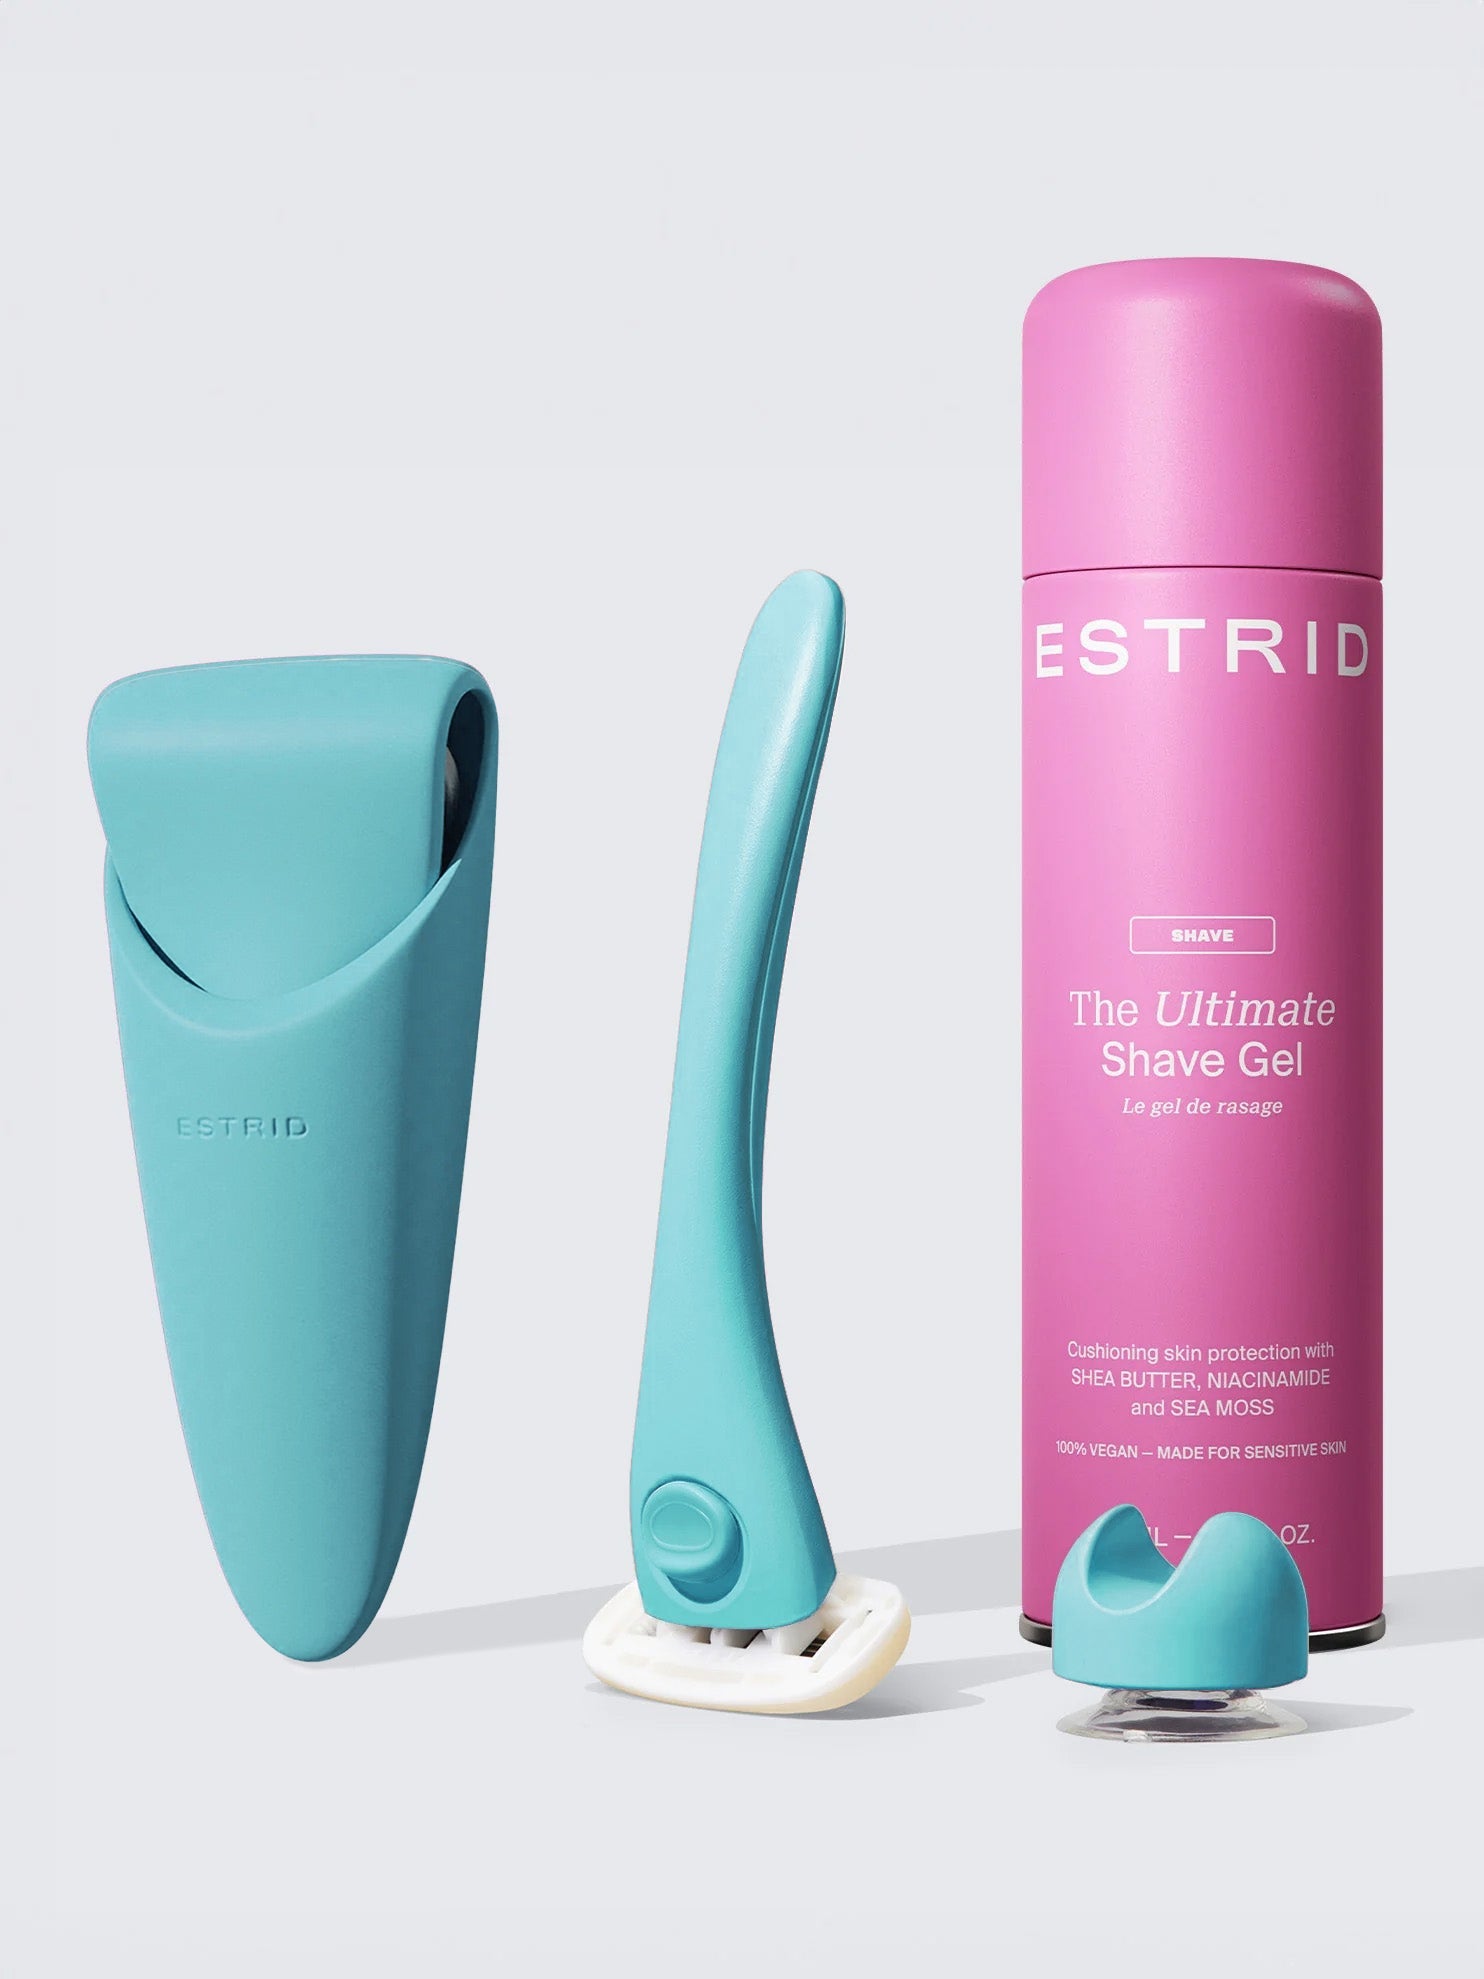
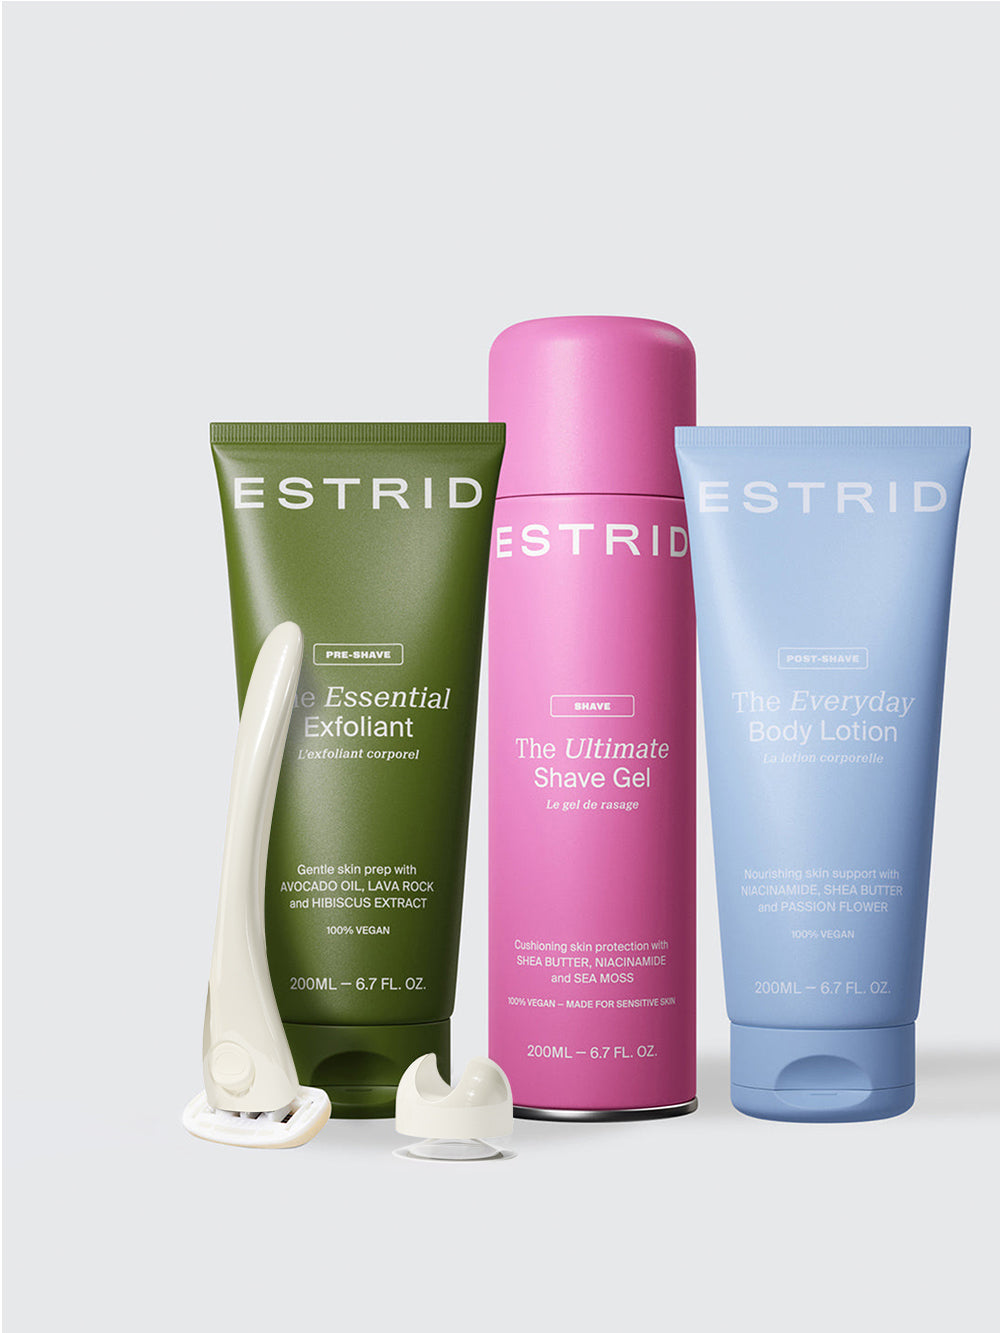
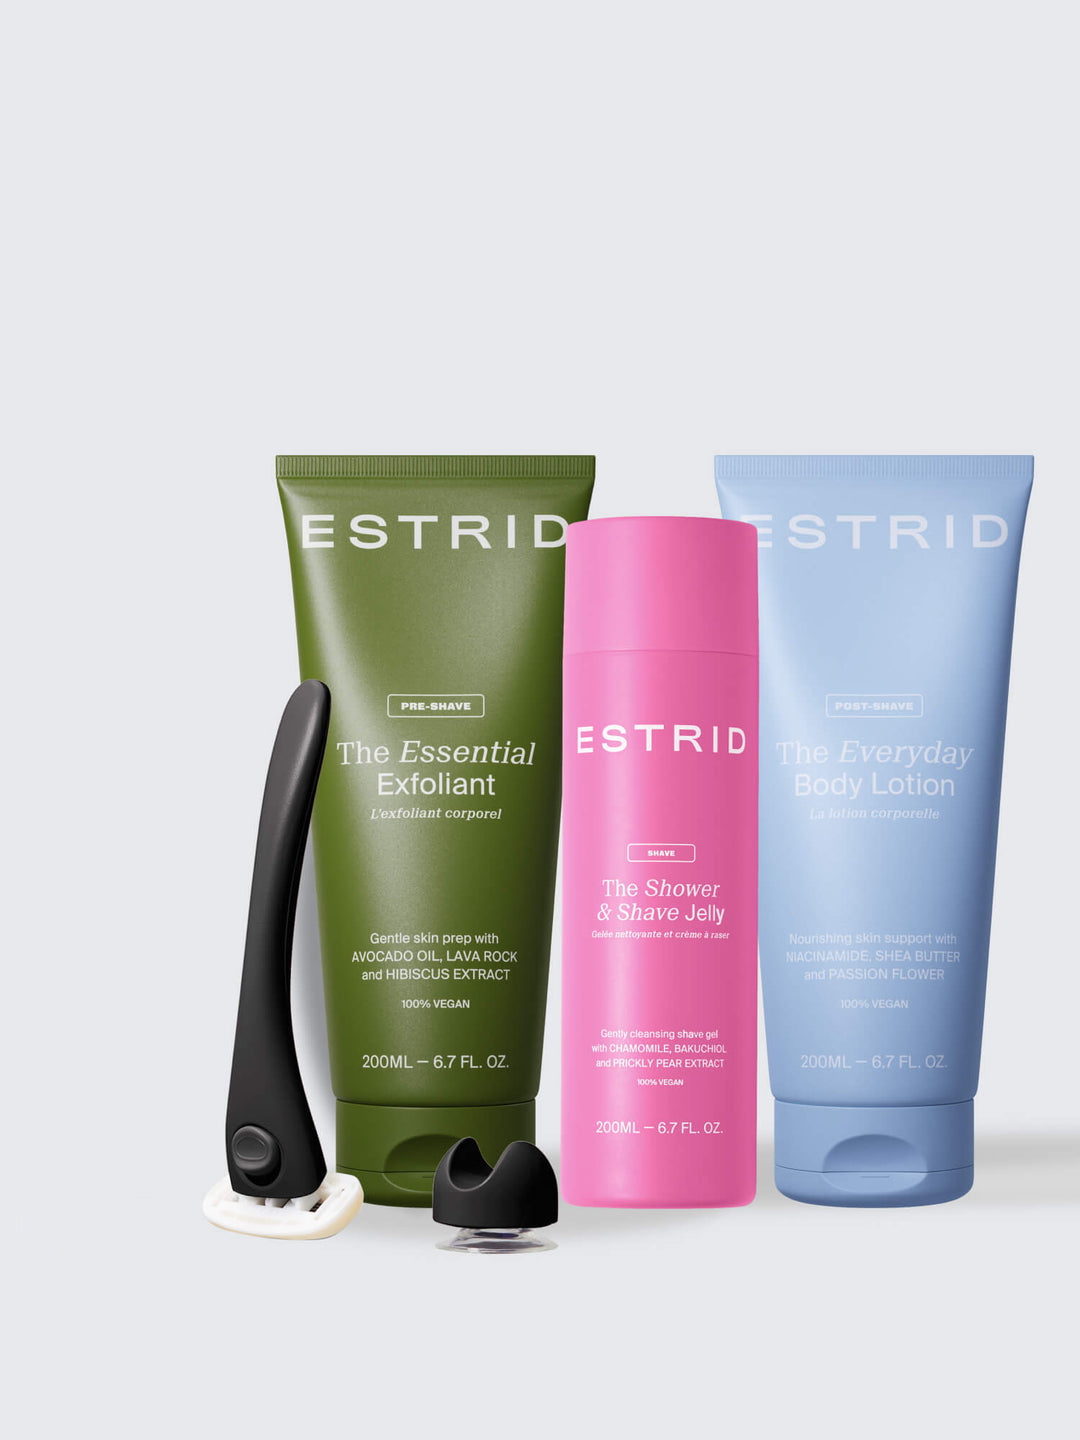
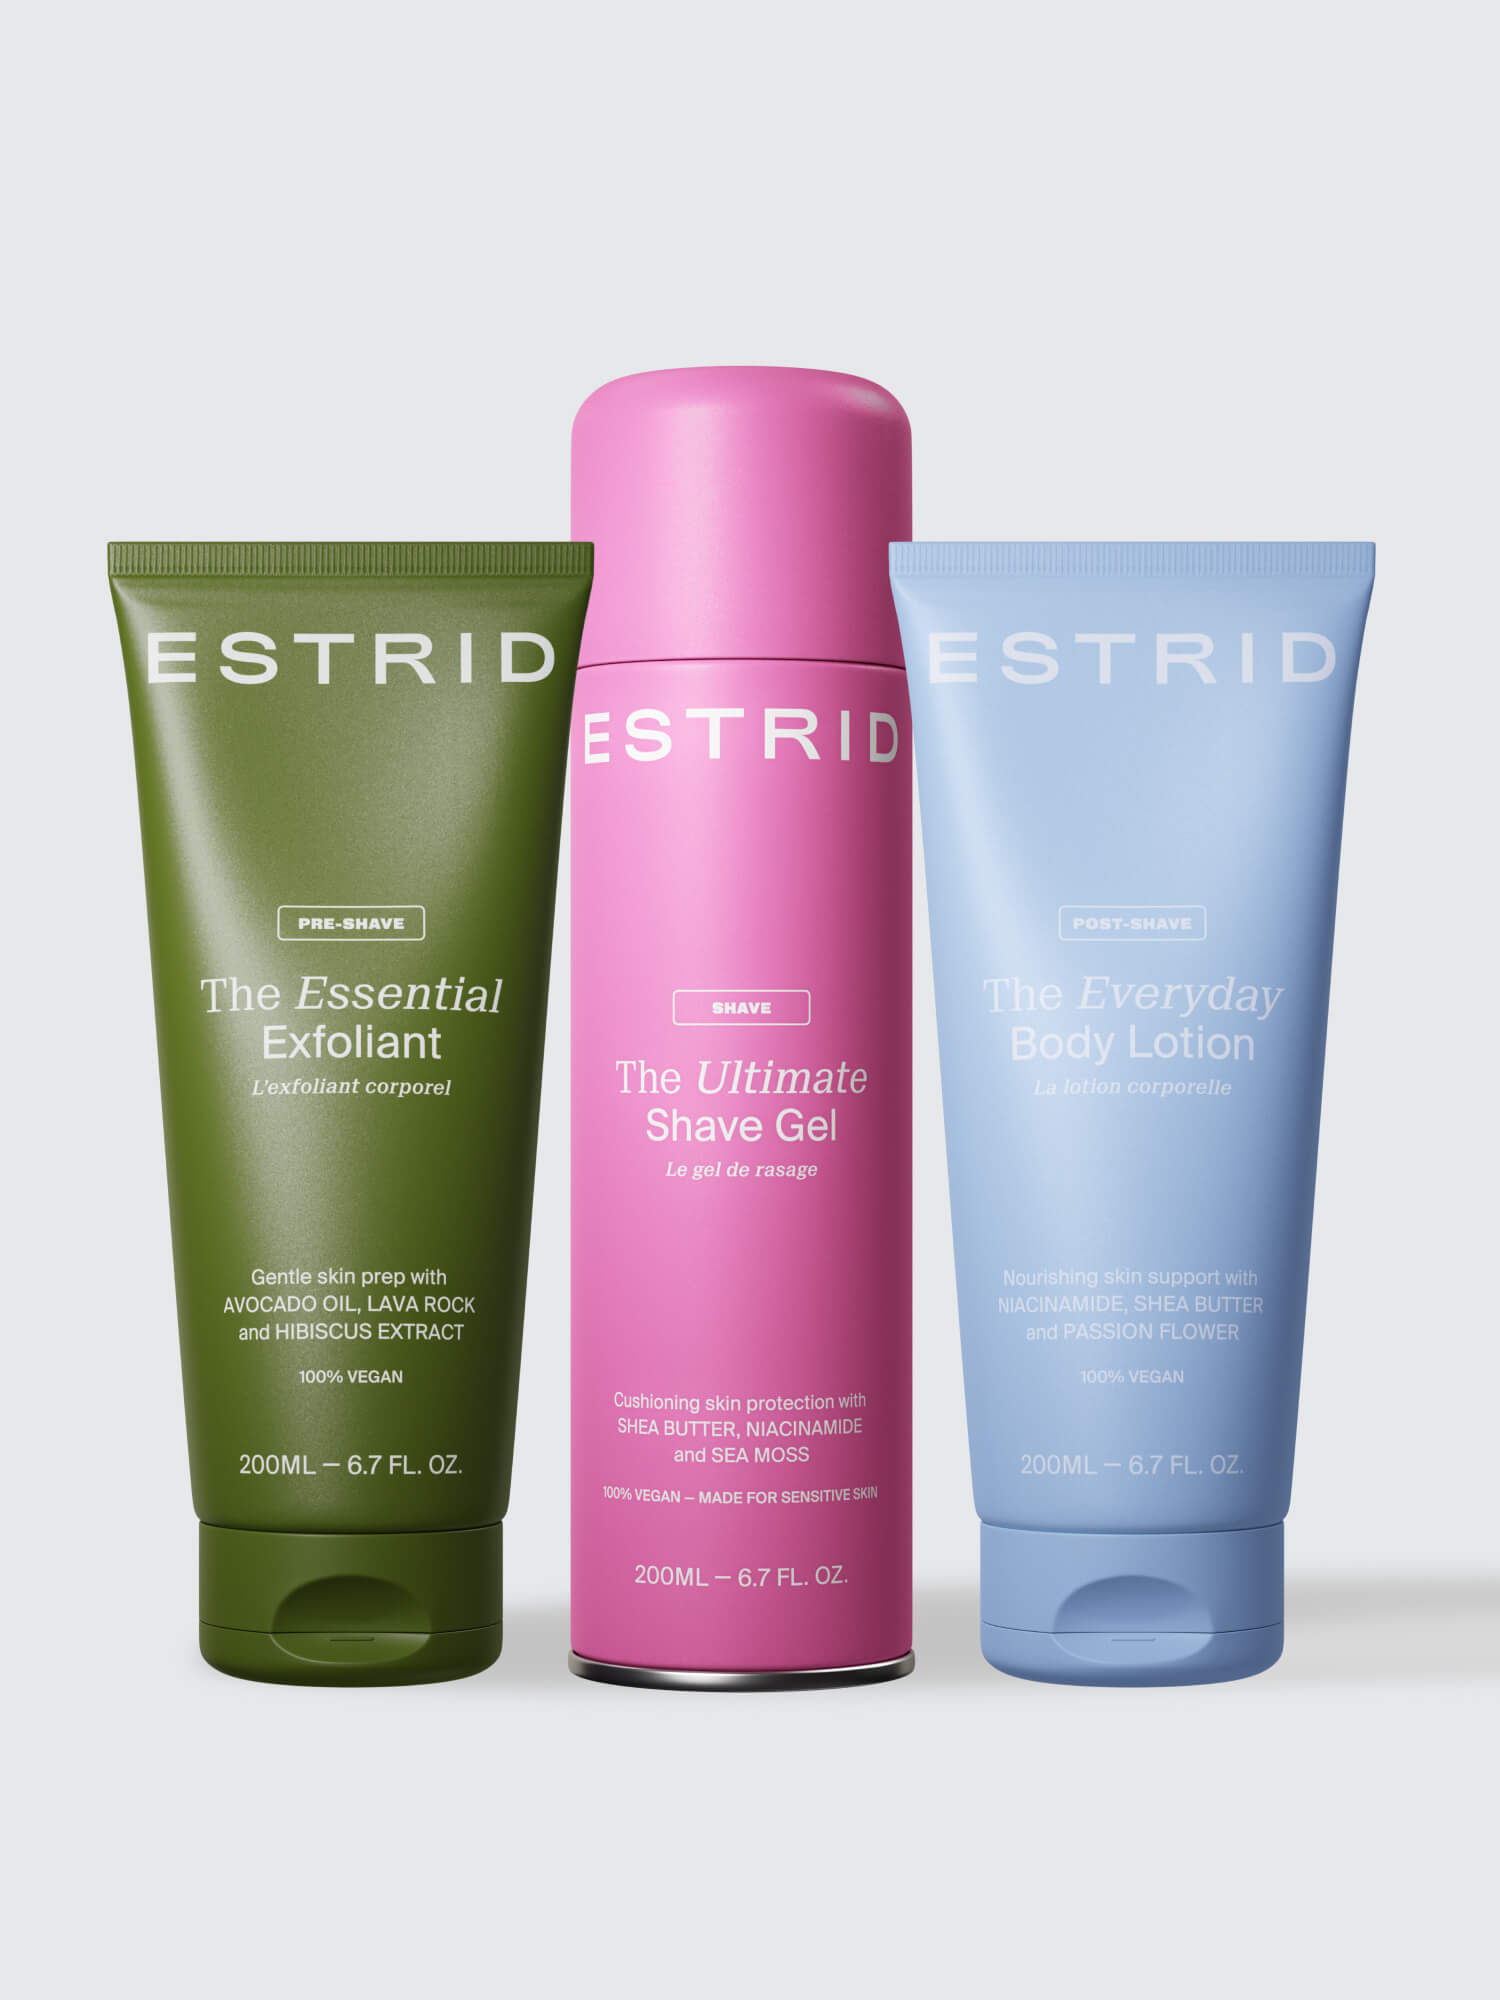
Apply a silky shaving gel to your neck, something like our Ultimate Shave Gel. This will add glide to your skin and reduce the risk of irritation or razor burn.
Step 3: Shave your neck with the grain
When it comes to shaving your neck hair, start with the grain (the direction your hair grows in). Use short, light strokes and avoid applying too much pressure.
Step 4: Use a clean, sharp razor
You are almost done. Rinse your razor often, and make sure you're using a super fresh blade to avoid tugging or pulling on your skin. You may need to go over the same areas a few times to get a close shave, but be gentle and take your time.

Step 5: Rinse and apply moisturiser to your neck
Once you’ve finished shaving, rinse your neck with cool water to close your pores and prevent irritation. Pat your skin dry and apply a whipped moisturiser, such as our Everyday Body Lotion, to soothe any redness or inflammation. Simple as that.
How to wax your neck hair
The neck can be a pretty sensitive area to wax, but that’s okay - our wax strip kits are meticulously designed to work in harmony with you and your body, and pesky neck hairs are no different. The sink-in soft gel formula makes for the gentlest, most effective at-home waxing experience, leaving your skin smoother for longer. Another reason to love it…each strip works on ultra-short hair, typically around 2 mm in length, or approximately one - two week's worth of grow-out.
Anyway, here’s a short guide to waxing that neck hair outta here.
Step 1: Cleanse and dry
Step 2: Apply the wax strip on your neck
Step 3: Pull the wax strip
Step 4: Wax the neck in small sections
Step 5: Calm the skin

Step 1: Cleanse and dry
Cleanse the skin thoroughly before waxing to remove any dirt, oil, or sweat and then dry the area completely.
Step 2: Apply the wax strip on your neck
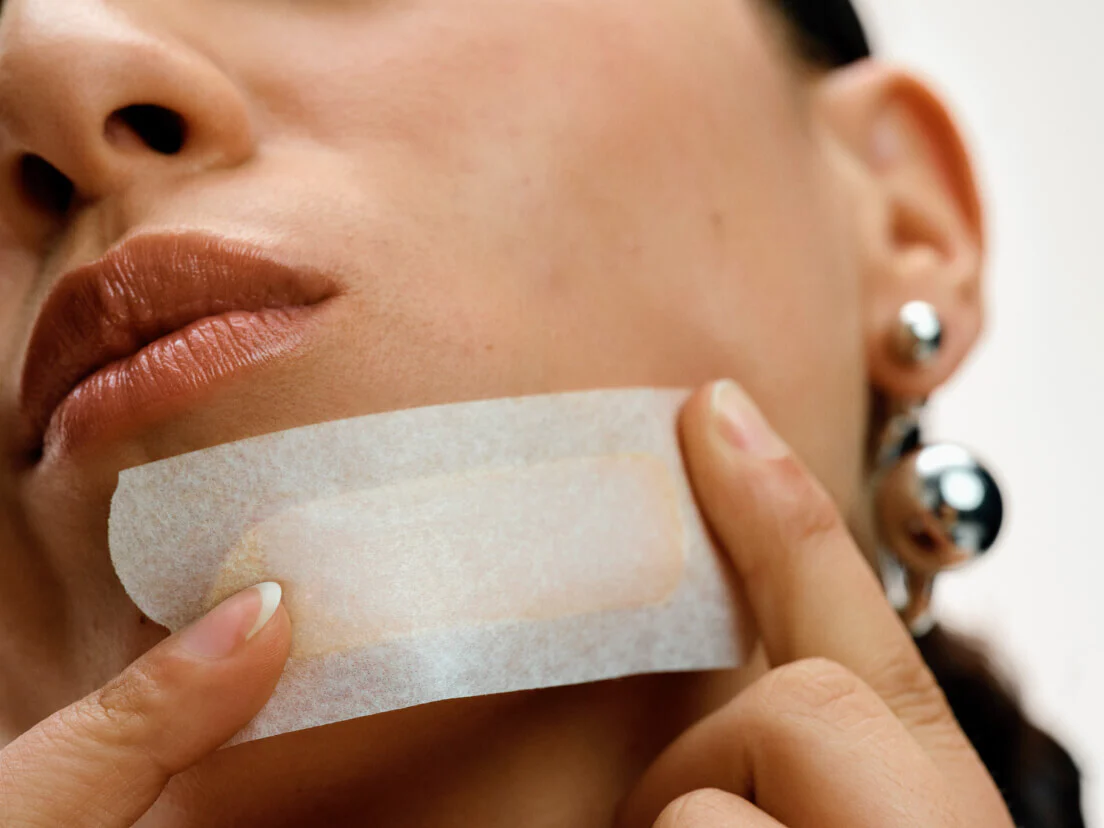
Tie up your hair in a ponytail to avoid catching yourself mid-wax! There’s no need to warm the wax strip between your hands as the wax is ready to be used cold. Apply the wax strip over the patch of hair (with the grain) on your neck you wish to remove.
Step 3: Pull the wax strip
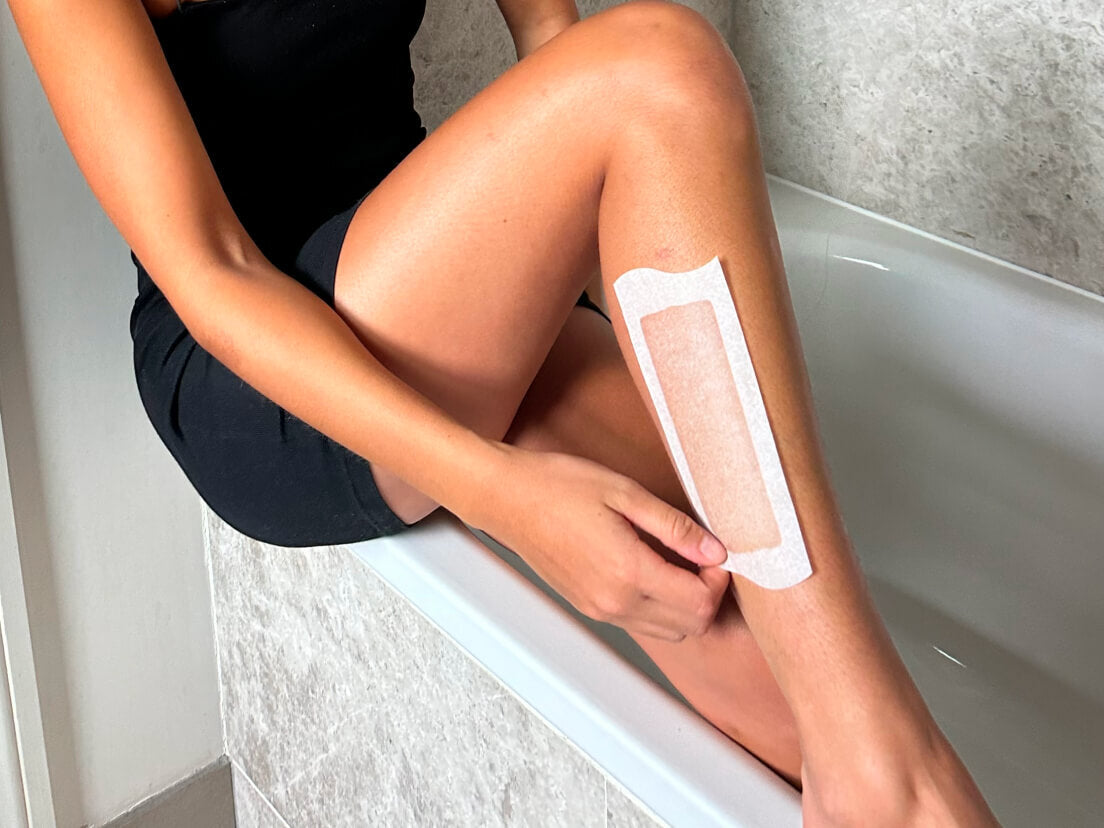
Smooth down the wax strip with the heel of your hand to remove any air bubbles; this allows for a more active grip. Hold the skin taut with one hand and with the other, quickly pull the strip off in the opposite direction of hair growth.
Step 4: Wax the neck in small sections
Continue waxing the neck area in small sections, using a fresh wax strip each time.
Step 5: Calm the skin
After waxing, soothe the skin with one of our anti-irritation wipes or a cool compress to reduce redness and inflammation. Now, it’s a good idea to give your freshly waxed skin a bit of time to breathe. Avoid using any products that contain alcohol, exfoliating acids, or fragrances on the waxed area for 24-48 hours as they can irritate the skin.
The result of waxing is such a game-changer when it comes to staying smoother for longer - it can last up to six weeks, depending on how fast your hair grows. When your hair starts to grow back you can repeat the process. The more consistent you are with waxing, the weaker the hair follicles become leading to finer, fewer hair. See ya neck hair.
