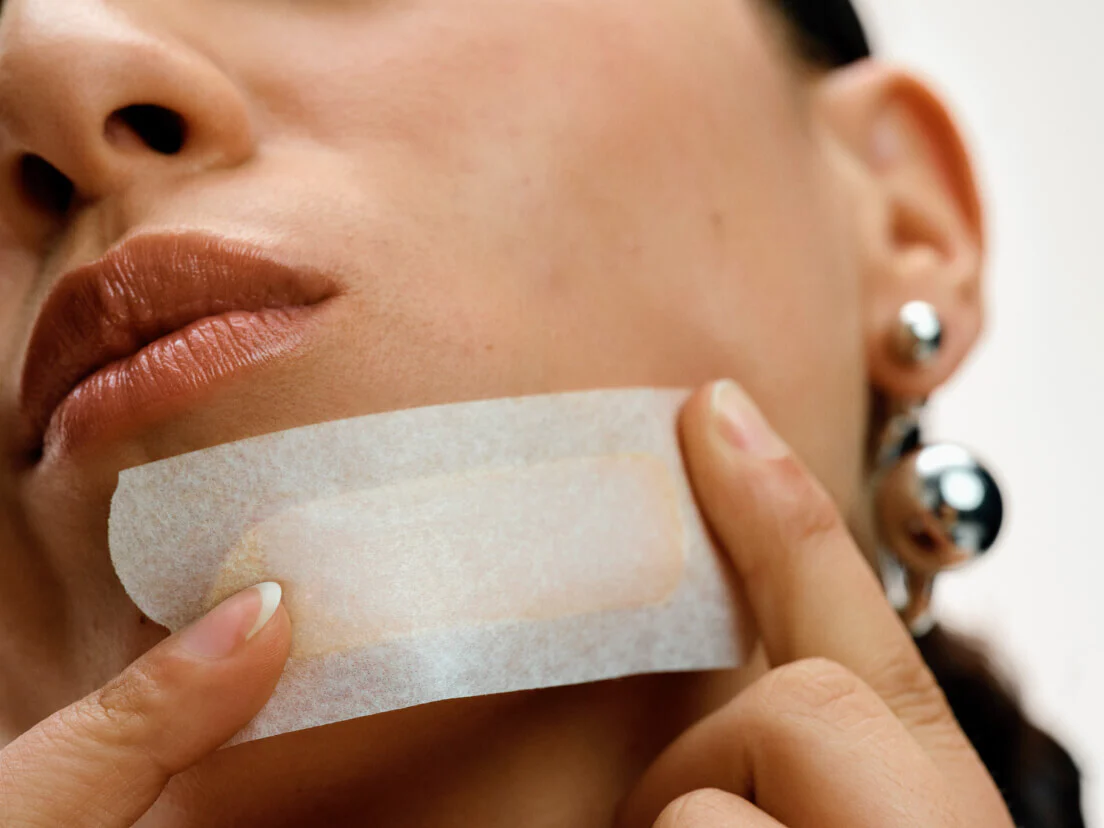
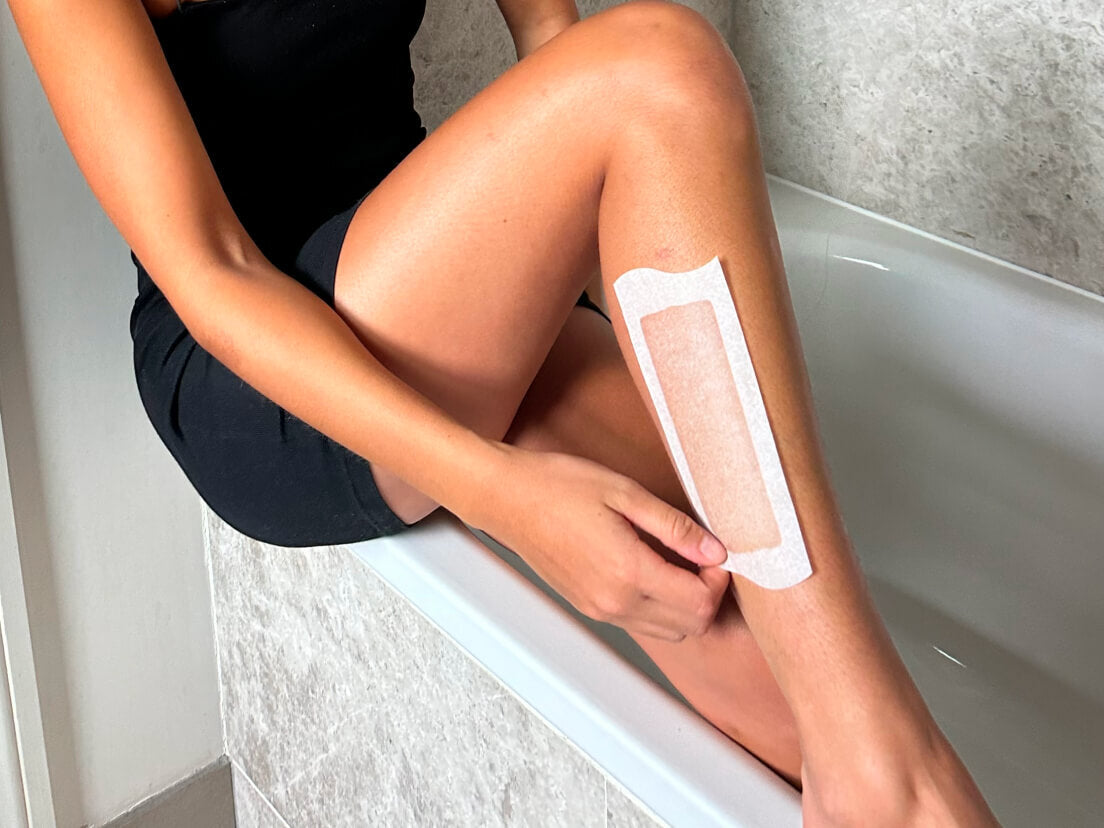
Let’s cut to the chase about waxing your face - it’s a great way to feel super smooth for longer. We’ve answered some of the internet’s most-asked waxing questions so here is all you need to know before de-fluffing your delicate skin.
What are the benefits of waxing?
There are so many benefits of waxing, starting with our favourite - staying smoother for longer. The more consistent you are with your waxing ritual the more you’ll notice a less frequent grow out. Another nice thing about waxing is you have less chance of ingrown hair and you don’t need to worry about razor burn, razor rash or razor cuts.
So what causes chin hair in females?
The fine fuzzy hair that grows in areas such as the chin, jaw and upper lip areas a) is totally normal and b) actually has its own name - Vellus hair. Interestingly, some racial groups and women going through menopause may experience varied levels of androgen or testosterone, which can affect body and facial hair growth. Although women produce less testosterone than men, their hair follicles can respond differently to this hormone, resulting in random long hairs in unexpected places on the face.

What to expect after you’ve waxed your face?
A little bit of irritation
Don’t be alarmed if your skin is irritated for up to 24 hours, this is normal. If you’re fair you may even notice redness. Try not to work out for at least 2 hours, wear make-up or go into the sun.
Give your skin space
Try and resist touching your soft new skin. It’s so fresh that any dirt or bacteria can be a disaster, leading to potential breakouts or inflammation. Keeping your skincare simple post-wax is also essential, allowing your skin to recover fully by just using the soothing wipes that come with the pack and a calming serum at most.
Take it easy
Waxing at night or on a chilled weekend is the best time to wax as you can fully let your skin recover.
How long does a wax last?
If you prep your skin pre-wax and follow the steps post-wax, it should last anywhere between 4-6 weeks. Of course, grow-out time varies from person to person depending on how fast your hair naturally grows back.
How to achieve the same results each time you wax?
For the best technique and results, we have spoken to a host of brilliant dermatologists who recommend the following tips:
Hair length is vital
Before waxing, make sure your hair is about 2mm long (the thickness of a penny) because this will allow peak wax strip grip. If hair is a lot longer, it is worth it to trim it to a shorter length using scissors, this way the wax experience will be less messy and painful.
Wash and dry the skin
Before waxing, gently wash the area you’re about to wax, this helps to remove dirt, dead skin cells and skin care products. Afterwards, dry your skin thoroughly. Clean, dry skin allows the wax to grip perfectly.
Precaution
As a precaution, it’s important to stop your prescription and non-prescription retinoid skincare before waxing, ideally two to five days prior as they can make your skin super sensitive. *If you have concerns about this, please speak to your own GP before waxing.
Soothe your skin
After waxing, soothe your skin using a reparative, anti-inflammatory wipe provided with your kit or apply a cold pack if you have a little pain.
Does face waxing cause sagging?
It’s a myth that waxing causes sagging. Make sure you follow all the recommended steps. A pro tip: keep the skin taut and tight to avoid any pulling or stretching of the skin when you wax.
What not to do after face waxing?
The skin is hyper-sensitive so don’t hit the sun. UV exposure is not good for anybody, especially newly waxed sensitive skin. Also, try not to jump into steamy hot baths, saunas or pools straight away as this can also lead to irritation.

Step by step guides for waxing different areas with the Face Wax Kit
How to wax your upper lip
Pro tip:
- Waxing in front of a mirror is super helpful. Practice using a wax strip on a small place on your body—like your arm—to get the feel for it.
- Check the length of the hair you are waxing - our wax strips work best on hair about 2mm grow out or longer.
For a slightly more comfortable waxing experience, it's a good idea to take a tiny break from prescription and non-prescription retinoid skincare for 2-5 days before waxing as they tend to make the skin a little more sensitive.
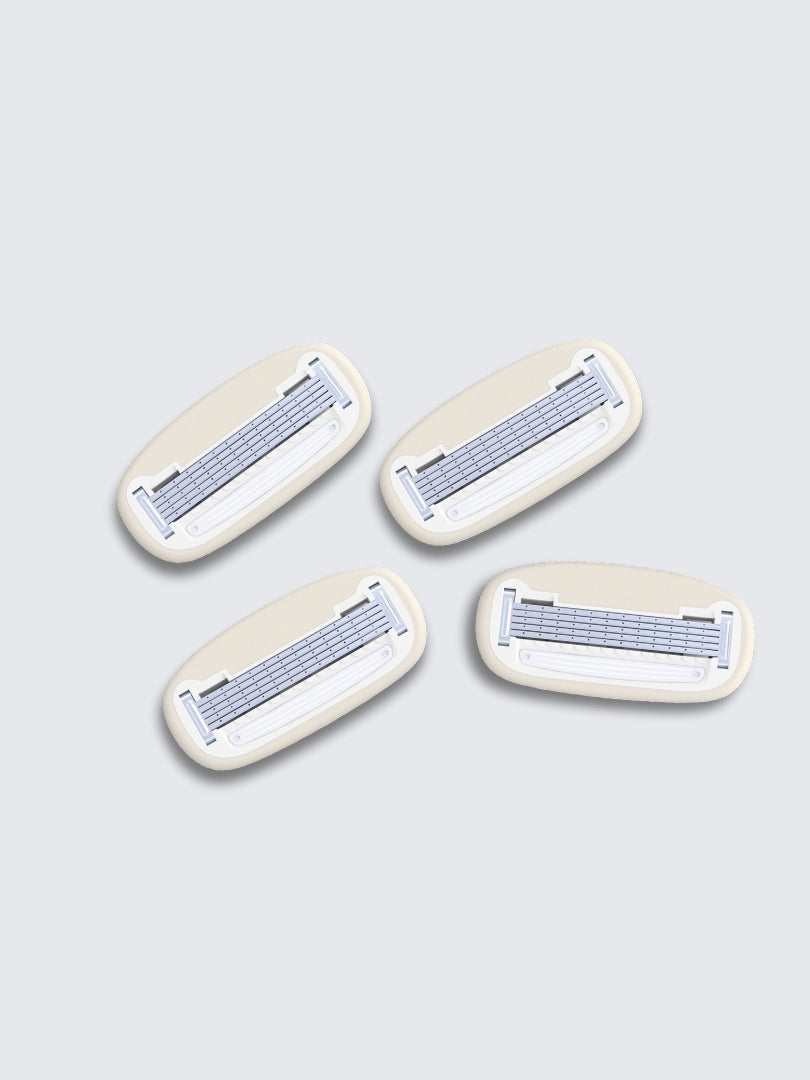
1. First, slowly and steadily pull apart the wax strips to ensure that the wax is evenly distributed. No need to warm the wax strips by rubbing them between your hands - our soft gel wax is ready to use straight out of the pack.
2. Place a strip on one side of your upper lip, following the natural angle of your lip line. Then, press the strip firmly and massage it with the heel of your hand.
3. Make sure to hold your skin taut at the base of the strip with one hand. Use the other hand to pull the strip quickly and close to the skin.
4. Repeat these steps on the other side of your lip for a fuzz-free moment - up to 28 days in fact. If you find yourself needing to repeat this more than twice it’s a good idea to stop and revisit the next day, just to avoid any irritation. Use a post-wax wipe to soothe and calm the skin and add serum for extra anti-irritation support.
How to wax your sideburns
Pro tip: Avoid warming the strips between your hands, as this can make the wax less effective, our soft gel formula comes ready to go. For precision, you can cut the strip into a smaller square shape, but be sure to include the wave-shaped pull tab. (Do this before pulling the strips apart.)
To start, lift the hair up from your sideburn area and gently pull down the under-layer of hair with your finger. This is the hair that you will be removing. With one hand, hold the skin taut, then confidently pull the strip up against the direction of hair growth. Repeat the process on the other side, but only pull 1-2 times on the same patch to avoid irritation.
Now your sideburns are looking fuzz-free. Use a reparative wipe to clean off any remaining wax residue, and if you like, apply a soothing serum to calm the skin.
How to wax your brows
Pro tip: Avoid warming the wax in your hands as it can make the wax less effective at gripping the hair. For precision, you can snip the wax strips into thinner, more manageable sizes for this delicate and intricate area. Be careful not to remove the wave-shaped pull tab.
Next, pull apart the thinner wax strips and place one across your stray brows. Hold the skin above the eyebrow taut with one hand and with the other, confidently pull the strip towards your eye in the opposite direction of hair growth. Repeat on the other side, but only pull 1-2 times on the same patch to avoid irritation.
After waxing, use a calming post-wax wipe to clear away any sticky residue.
How to wax your toes
Pro tip: Avoid rubbing the wax strip in between your hands to warm the wax up, this actually makes the grip less effective if you do. For precision, you can cut the strips to a smaller size to fit your toes a little better. (Take care not to remove the wave shape pull tag.)
Place the newly snipped strip over the patch of hair on your toe. Rub over with the heel of your hand to get rid of any air bubbles.
With one hand hold the skin taut before pulling the strip confidently towards you in the opposite direction of hair growth. Repeat on the other side. Only pull once on the same patch to avoid irritation.
Hopefully, this little guide gives you enough insight to get your smooth skin journey underway. All newly waxed, especially on the face is super susceptible to bacteria and dirt build-up because the pores have been opened - so top tip, try not to touch it for a couple of hours, in order to prevent flare-ups.
