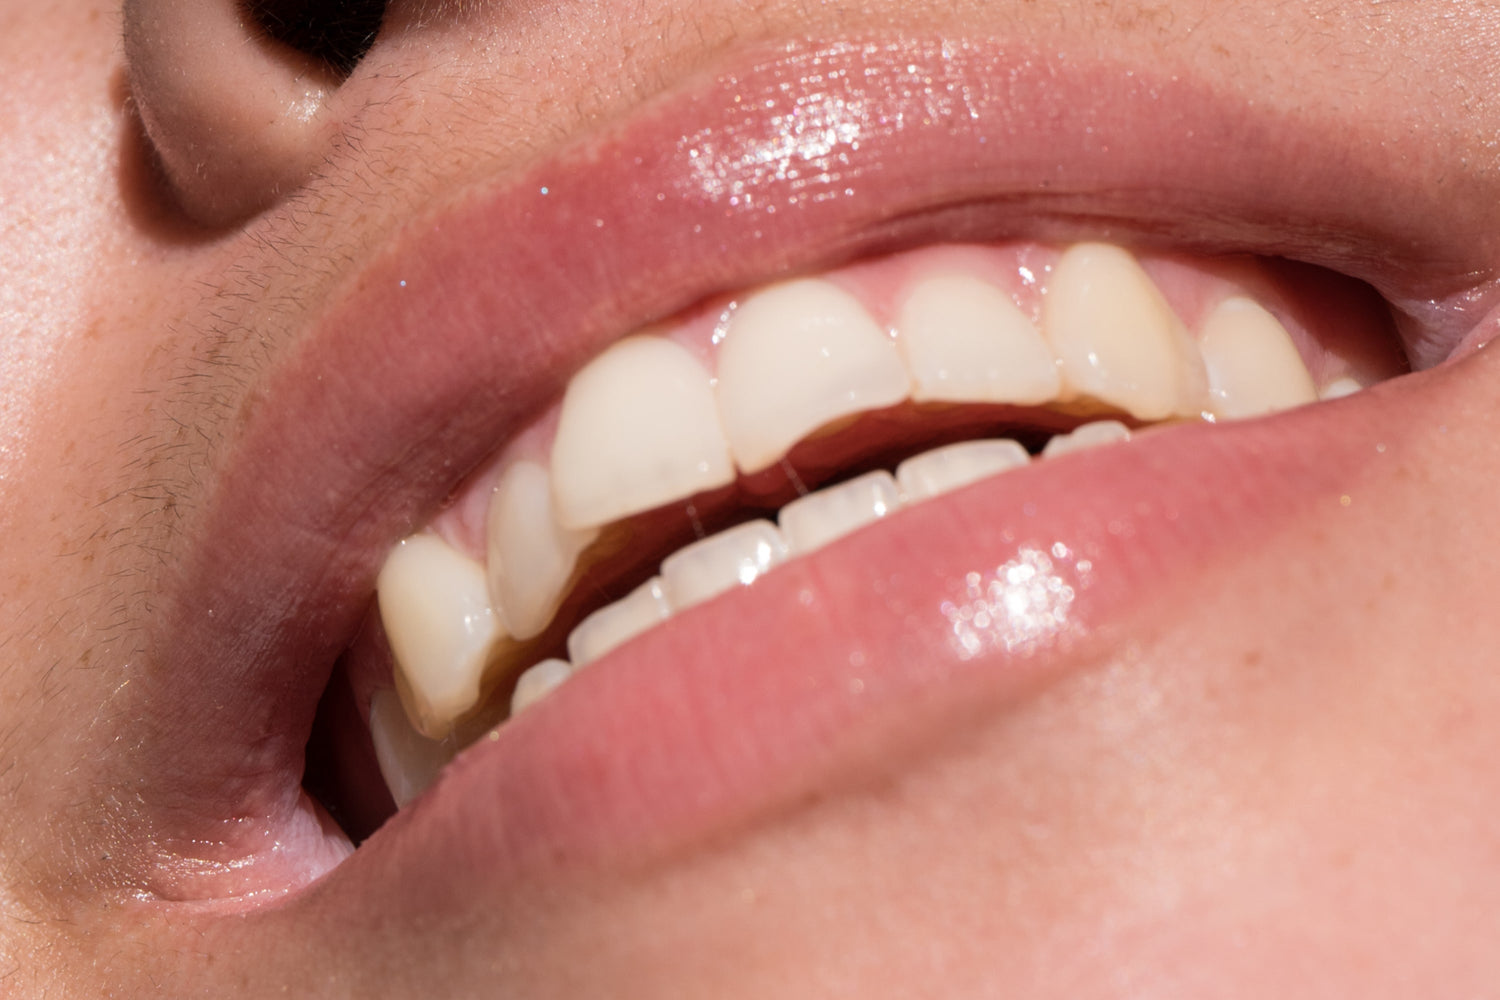
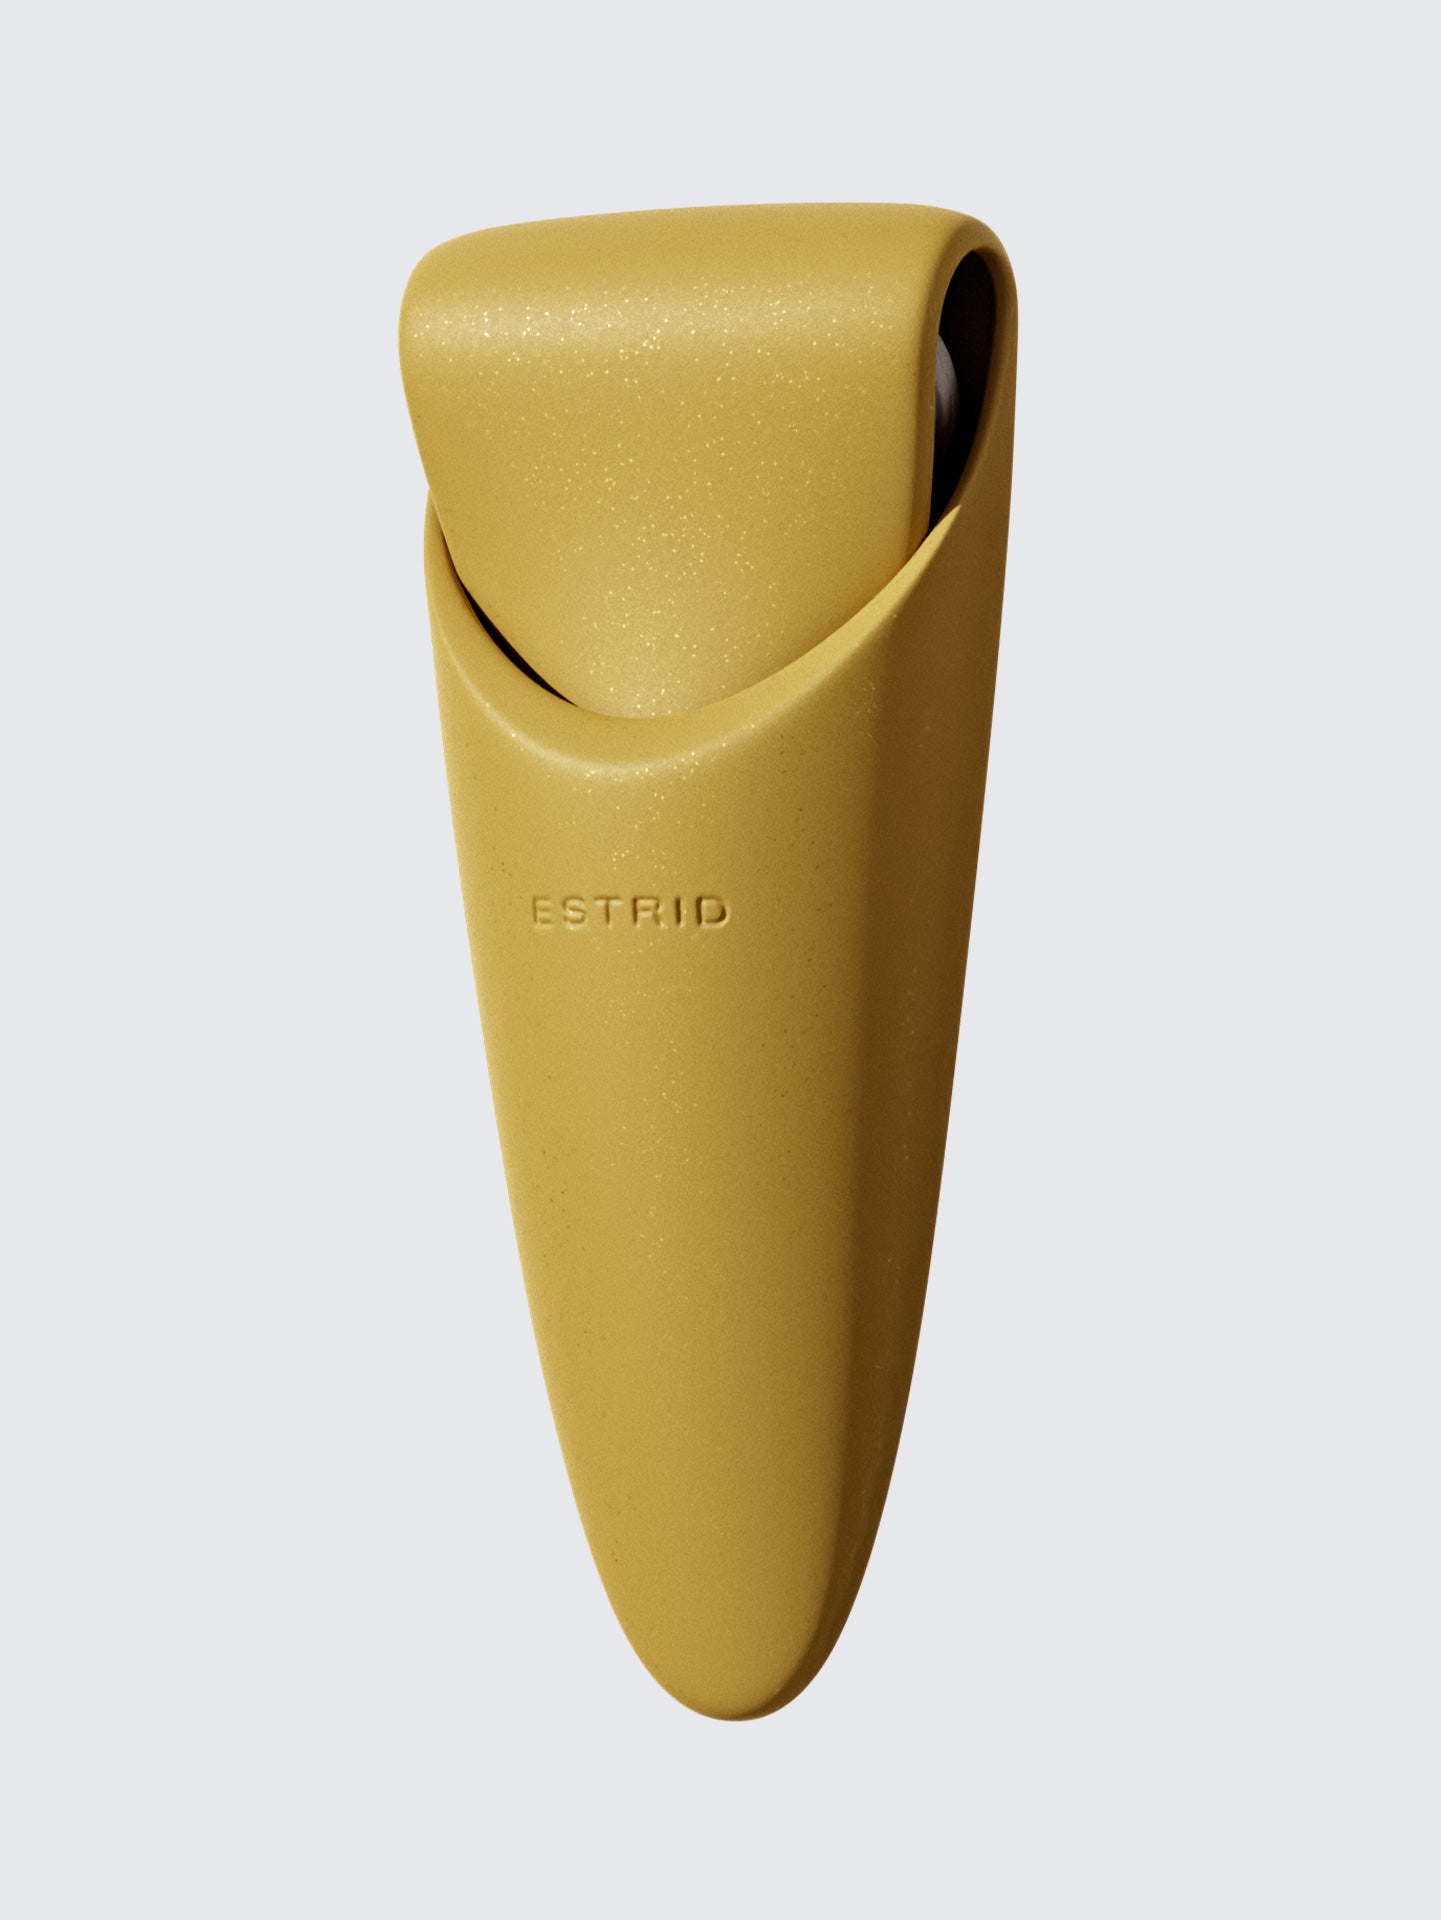
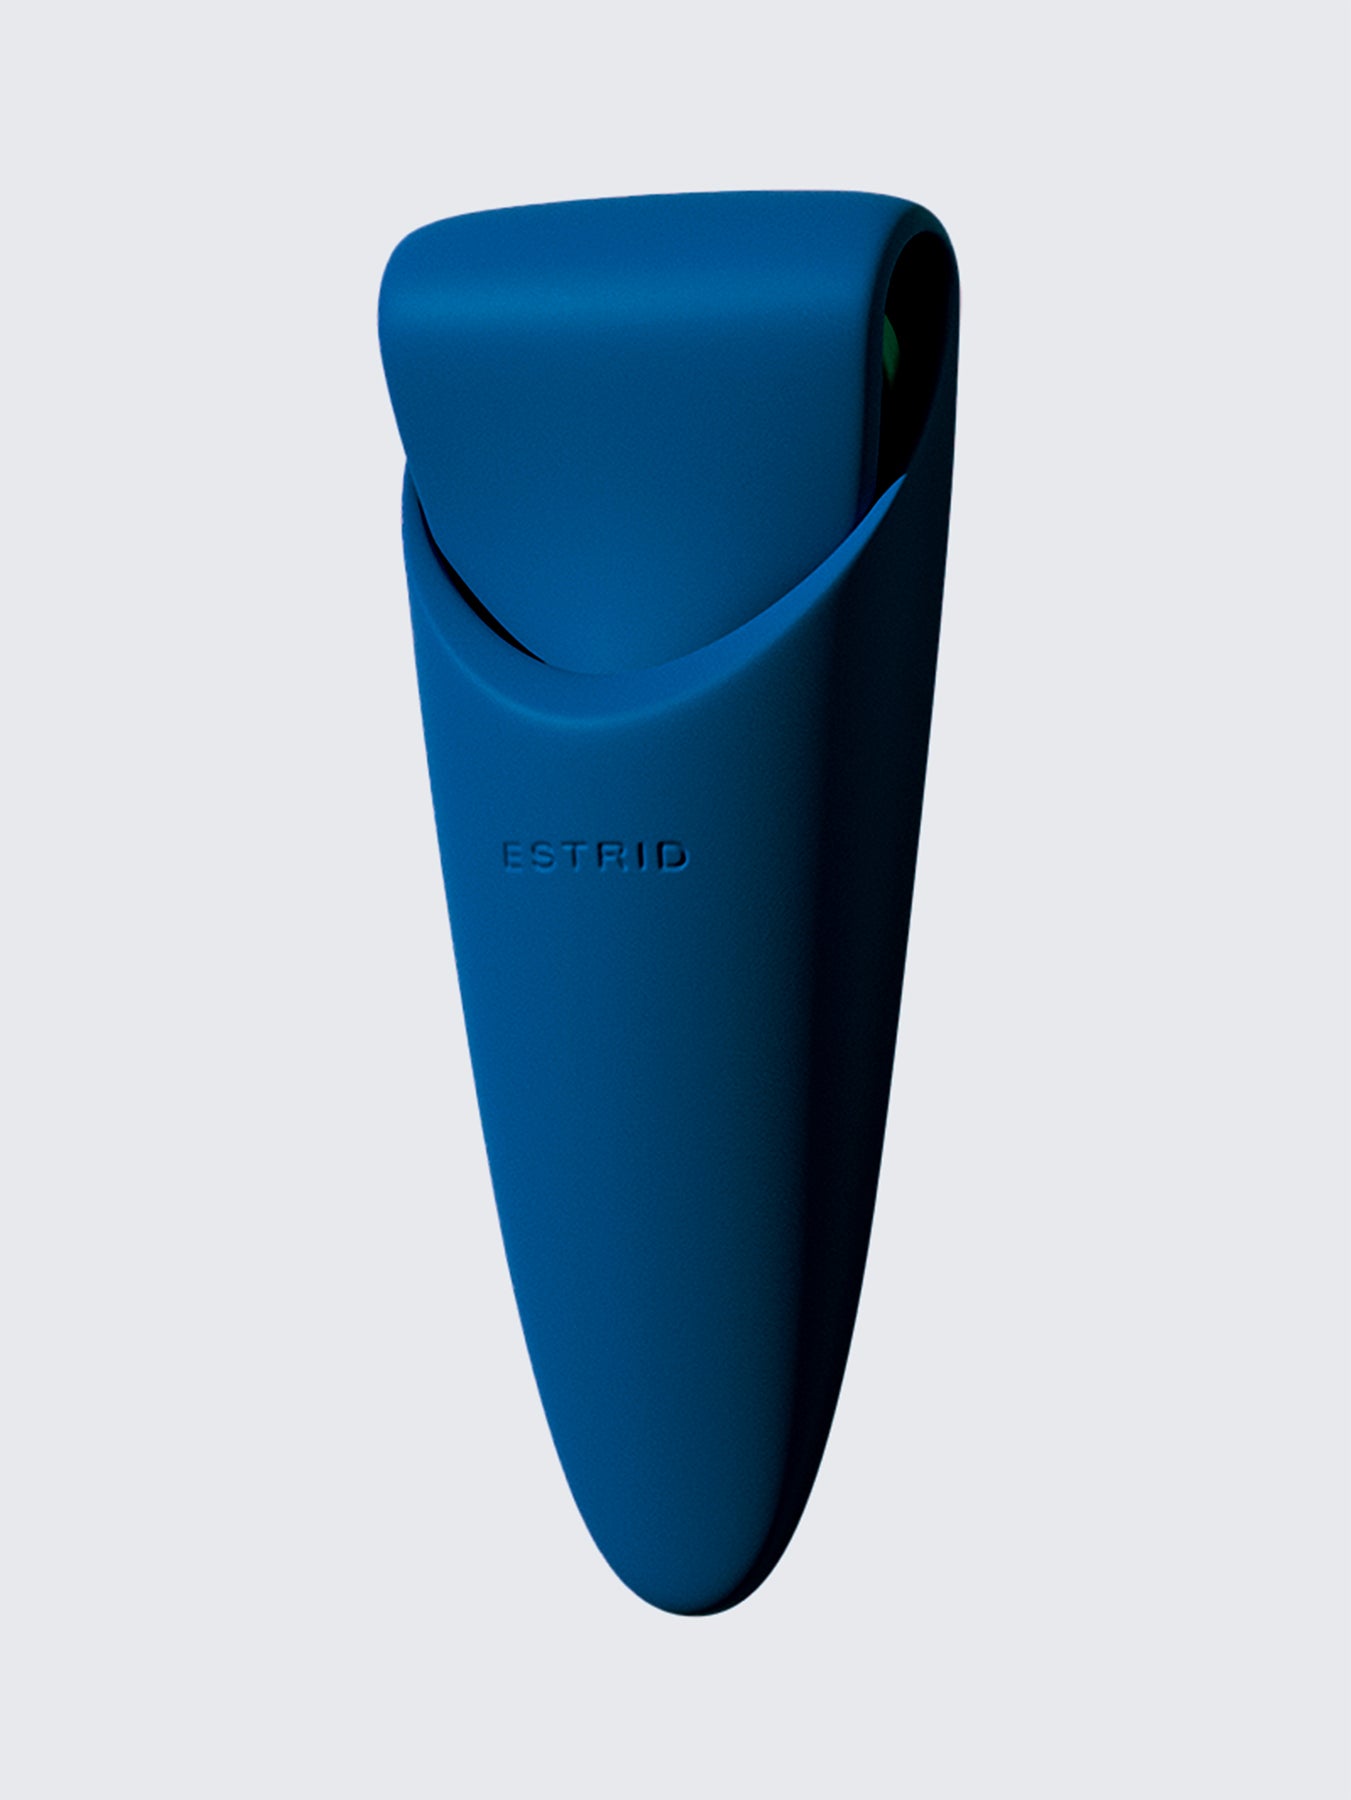
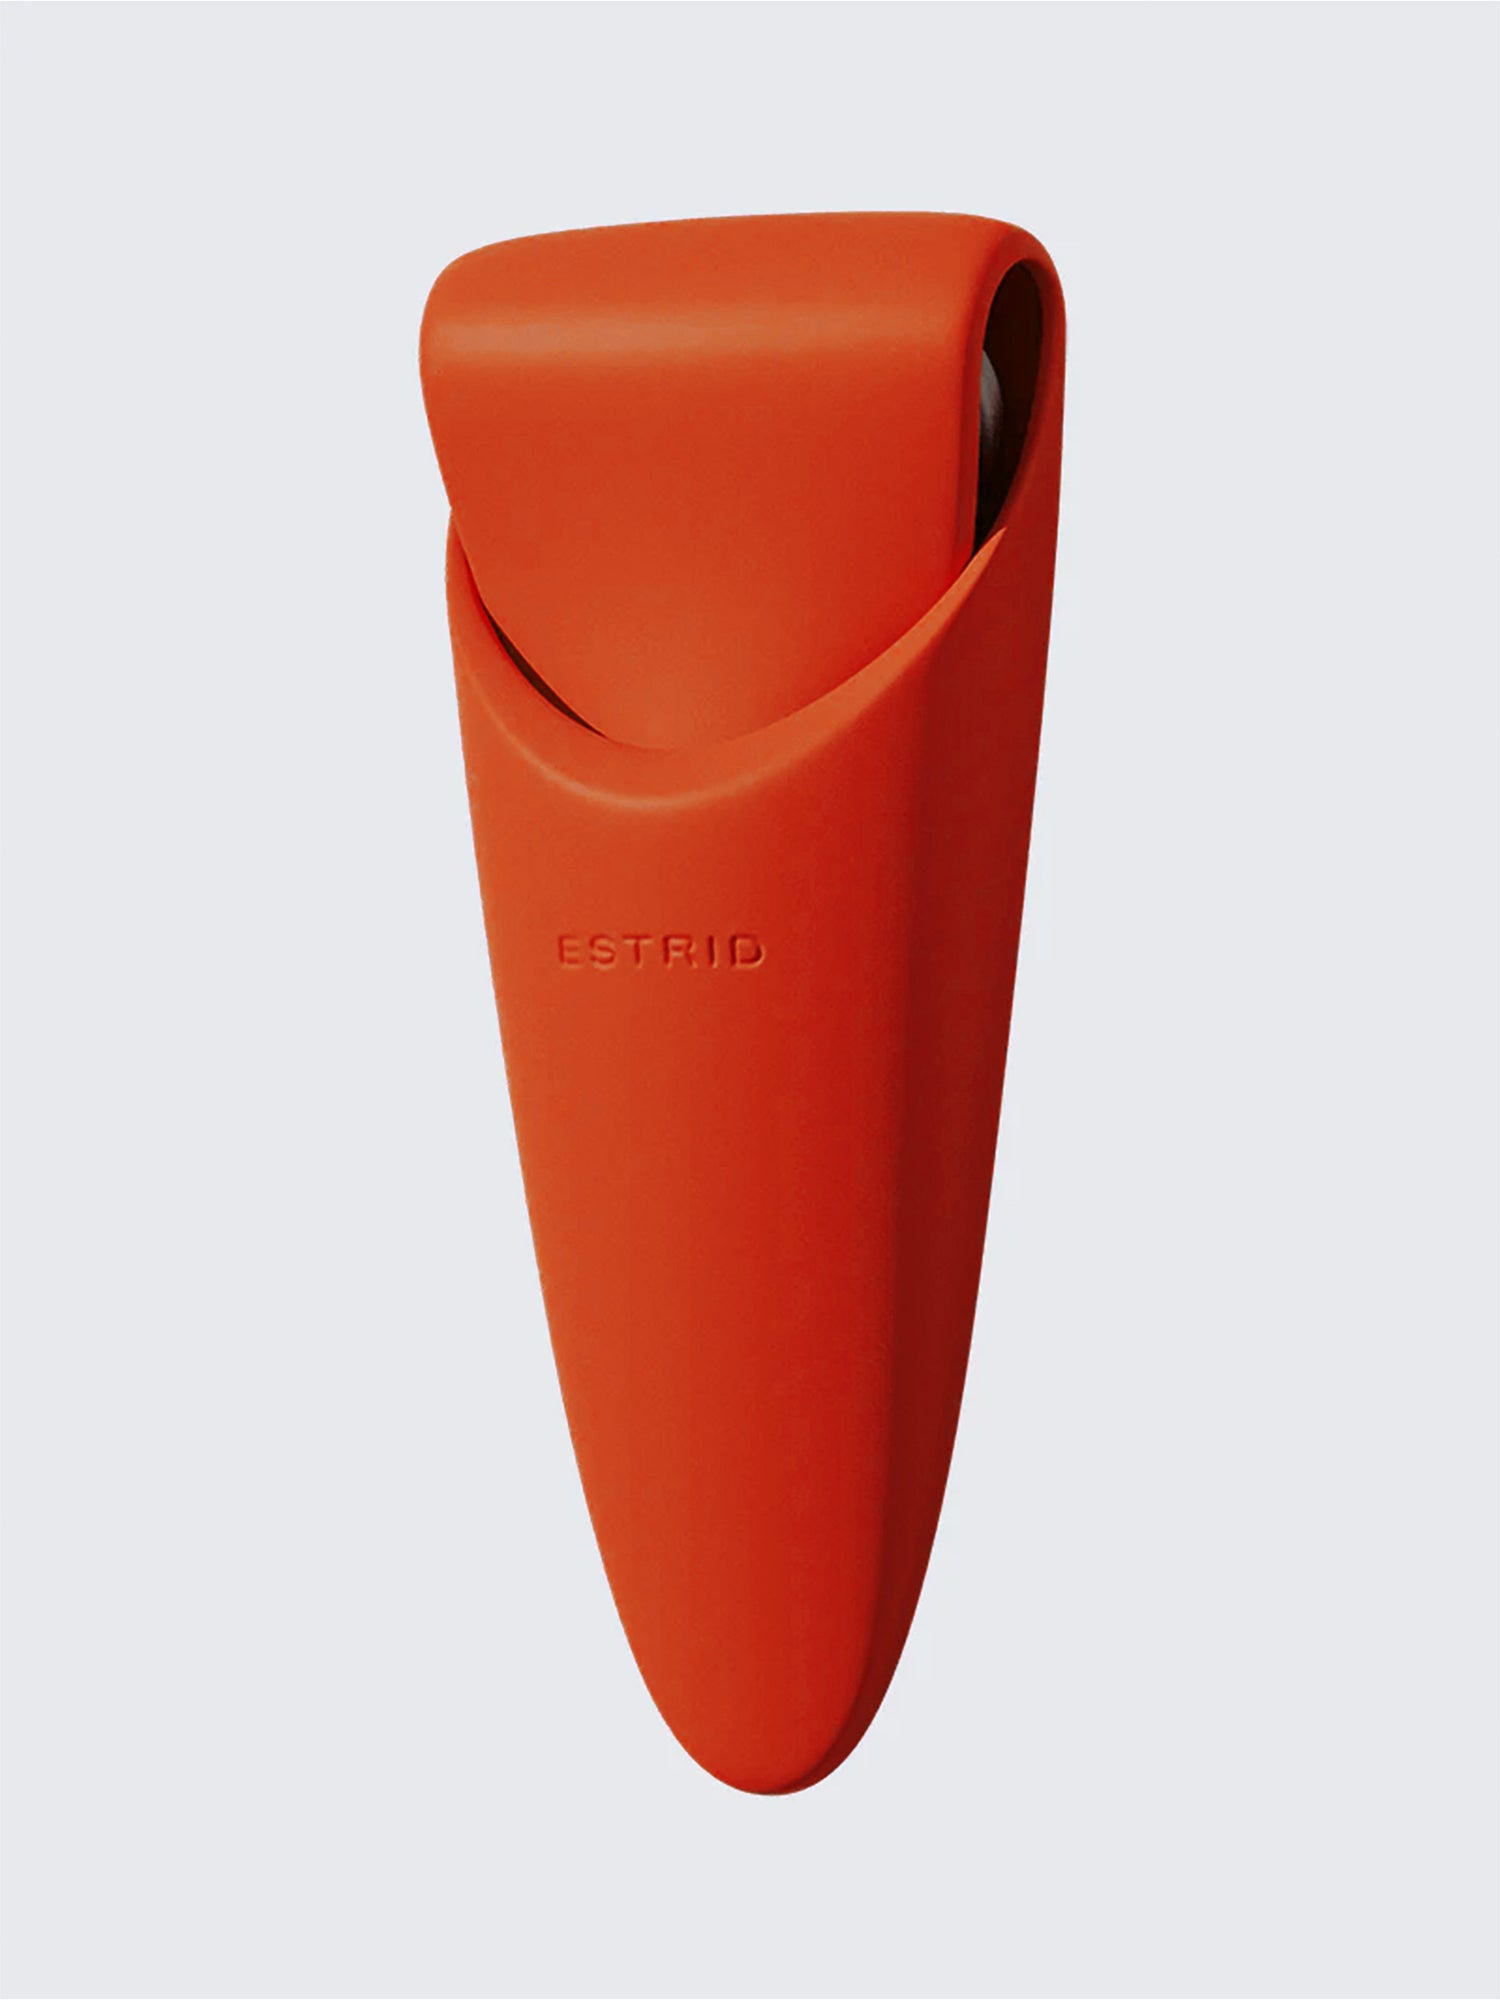
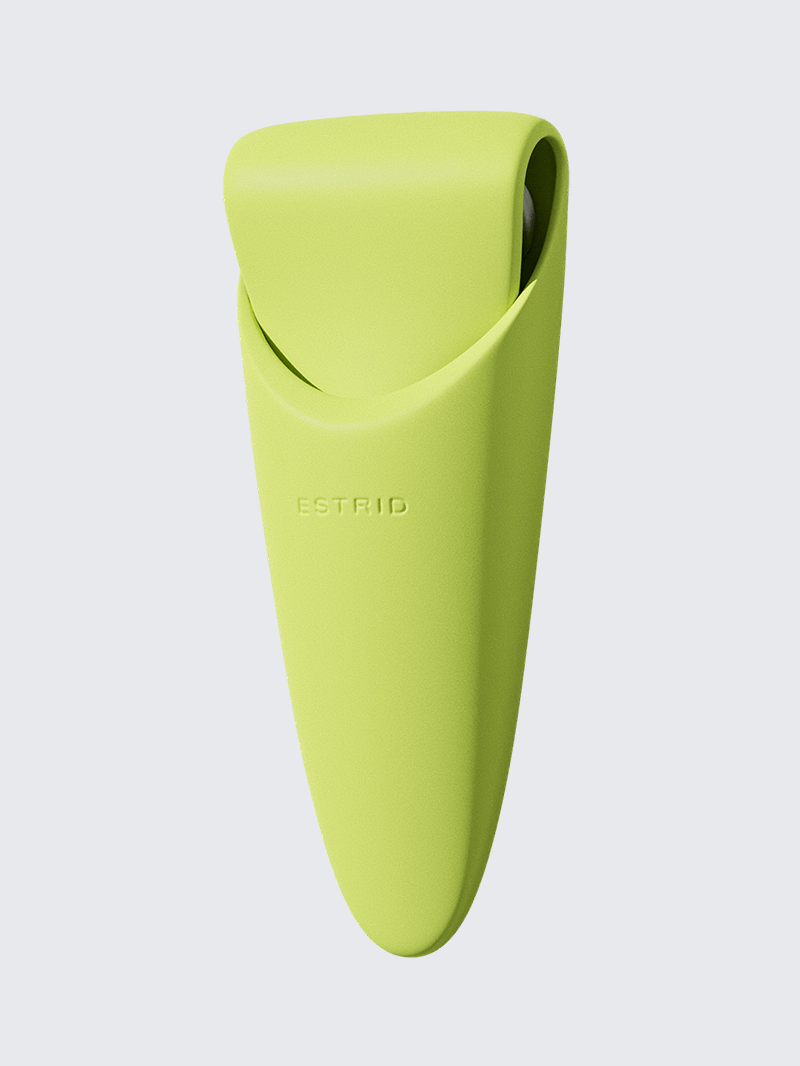
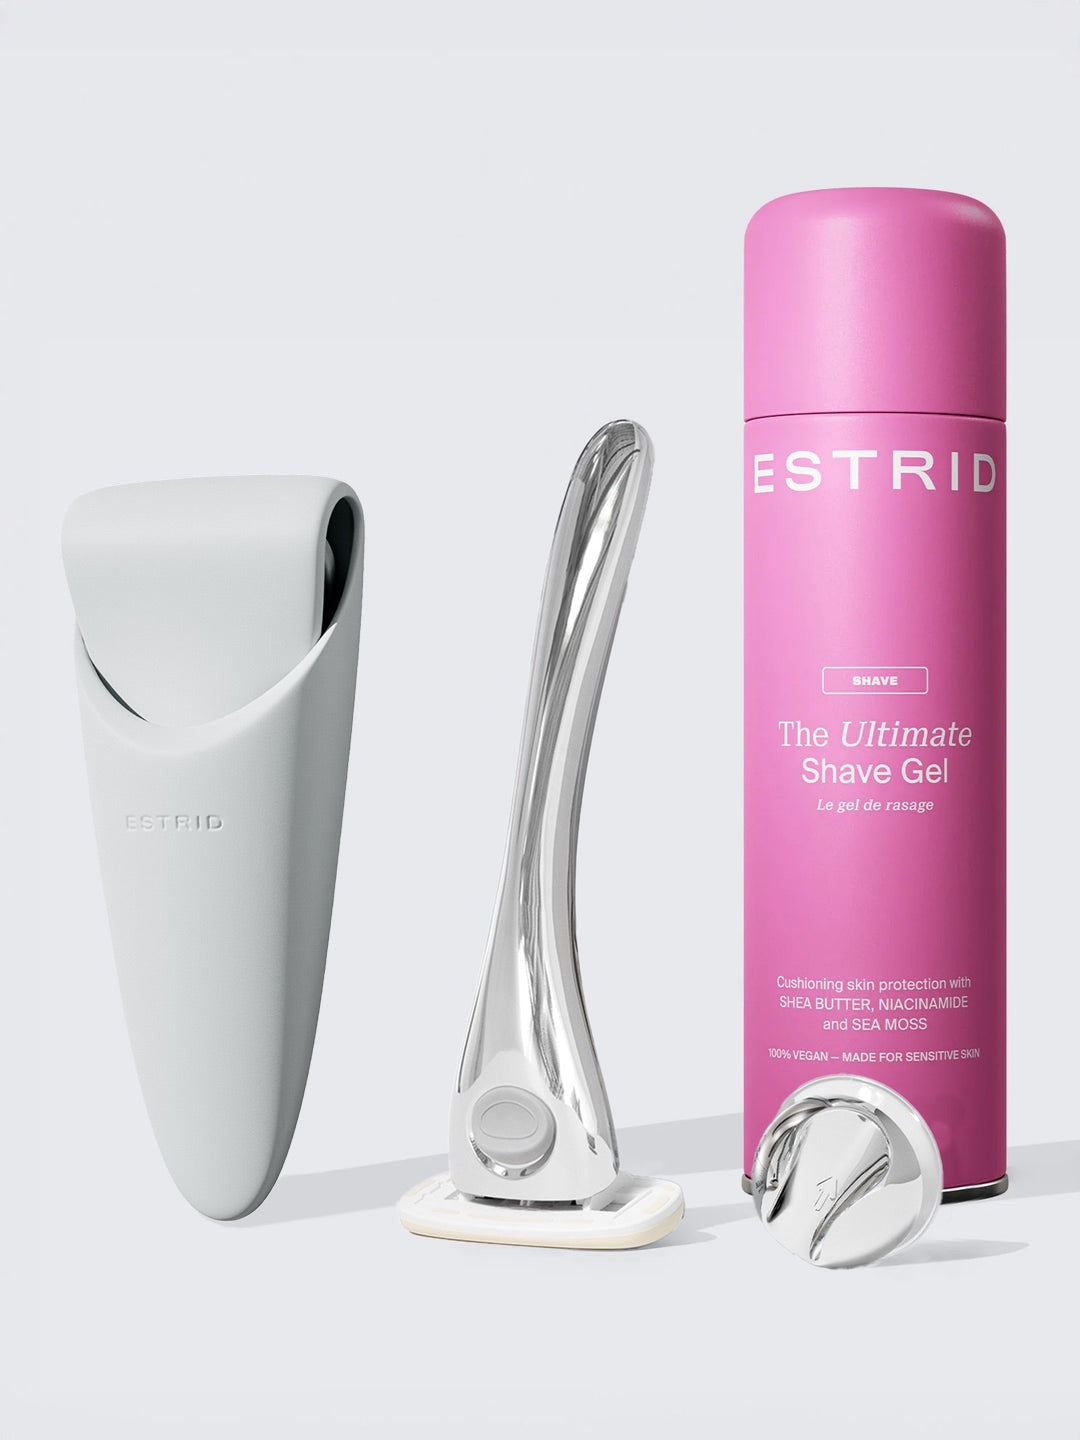
Maybe you’re bored of fuzzy stray hairs on your upper lip or maybe you just fancy experimenting with fun new hair removal tools you may have been intro’d to on Tiktok. Dermaplaning and waxing are two super effective techniques to achieve a smooth and hair-free upper lip. In this comprehensive guide, we will take you through the step-by-step process of dermaplaning and waxing for a velvety-smooth upper lip.
Before starting any hair removal, it is crucial to prepare your skin properly. Start by cleansing your face with a gentle cleanser to remove any dirt, oil, or makeup. Pat your skin dry with a clean towel.
How to remove upper lip hair by dermaplaning
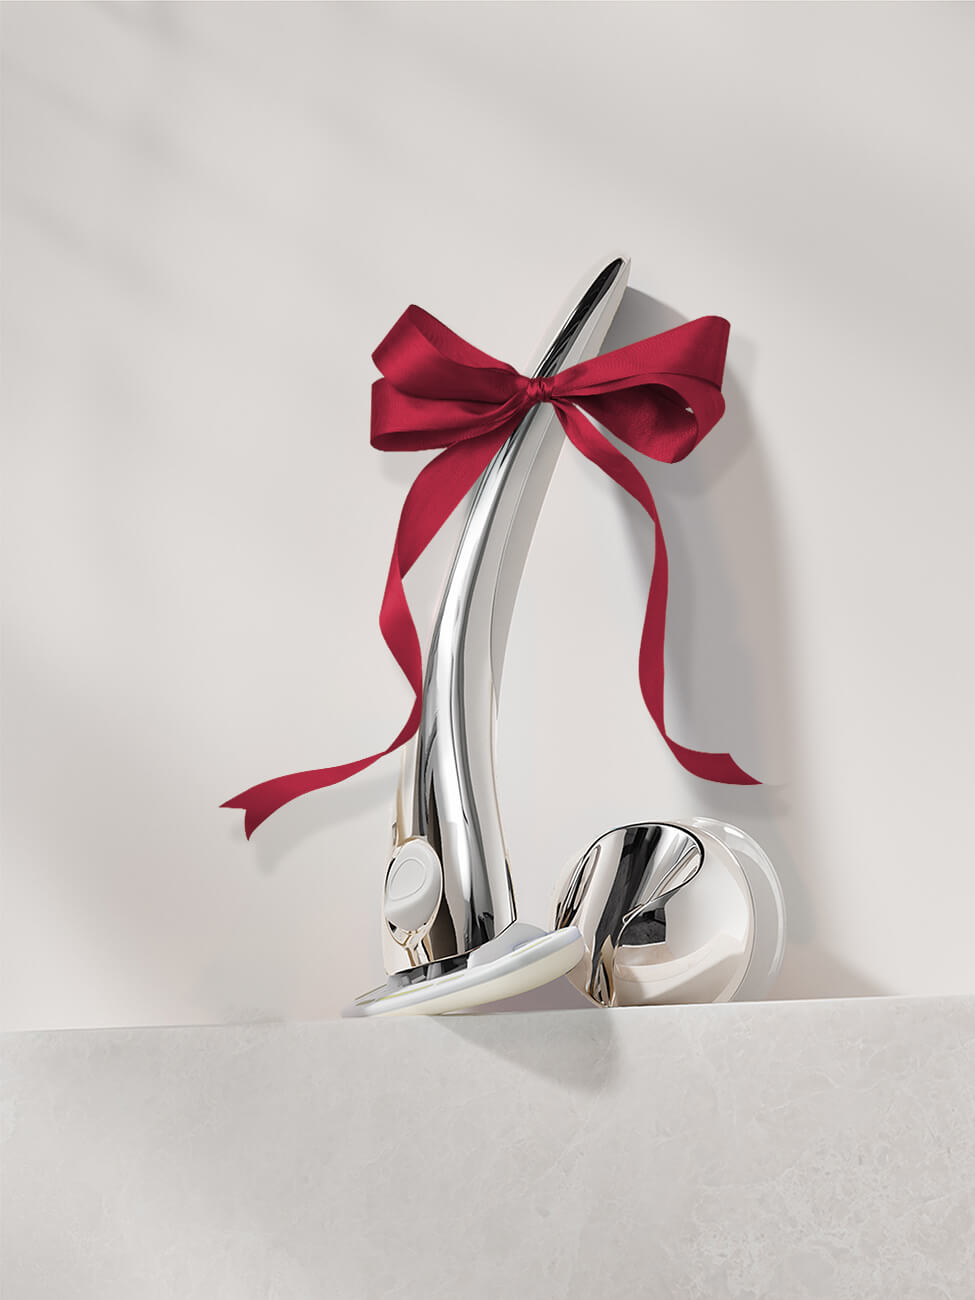
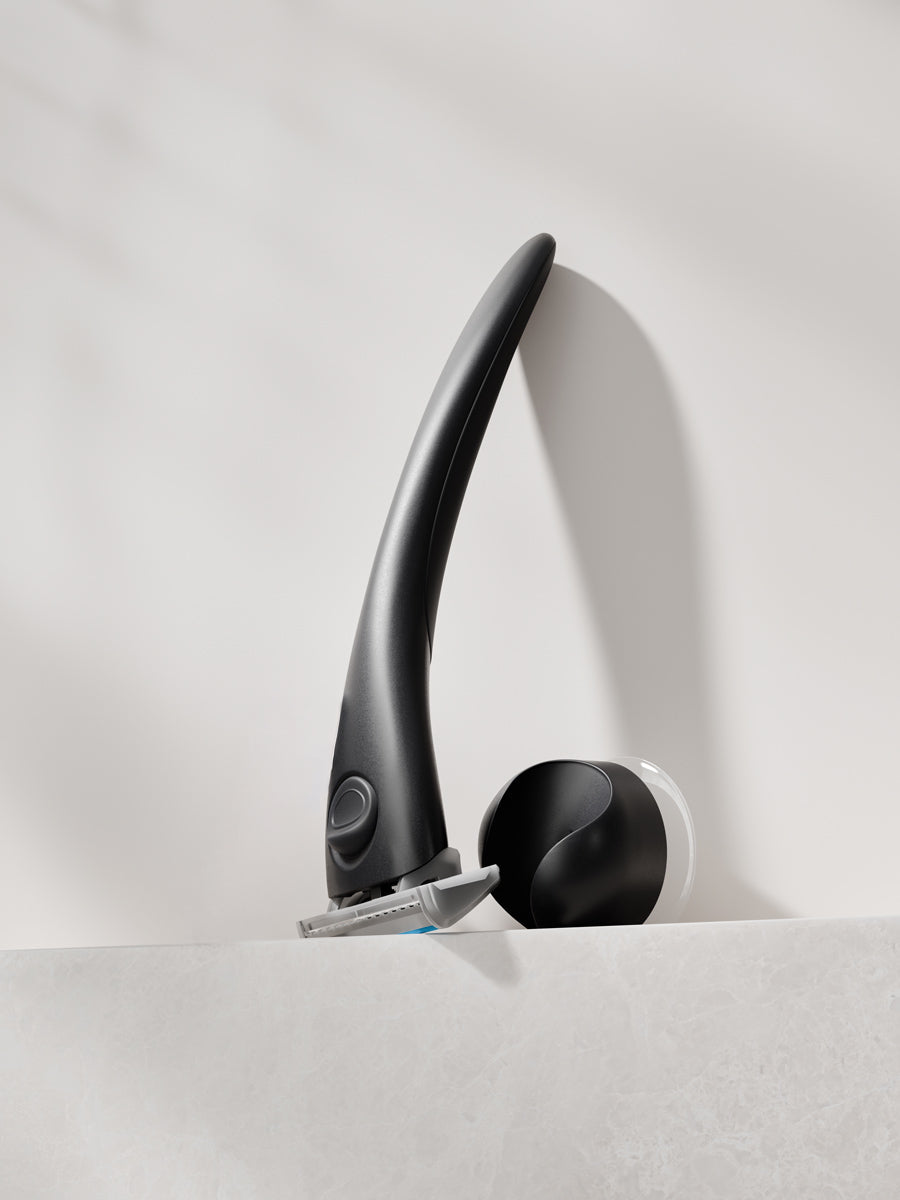
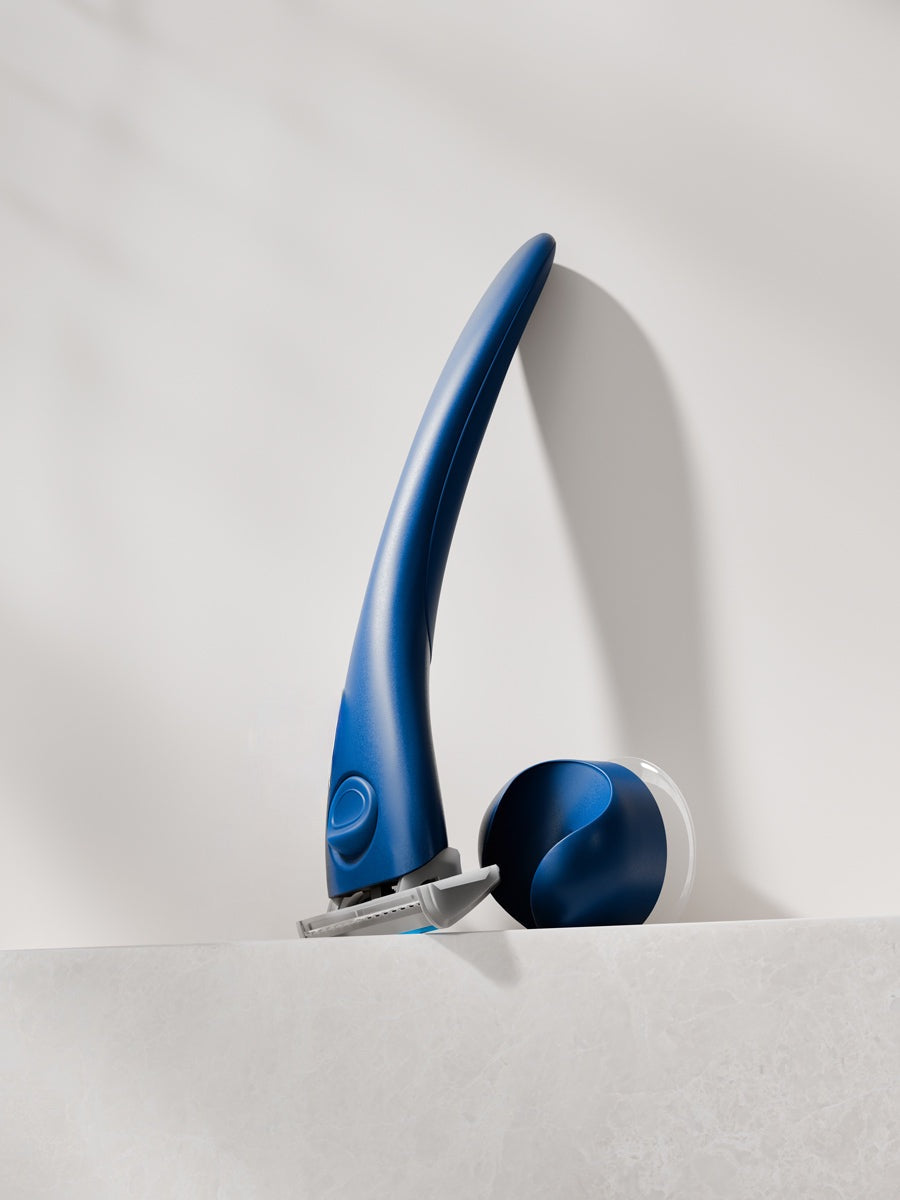
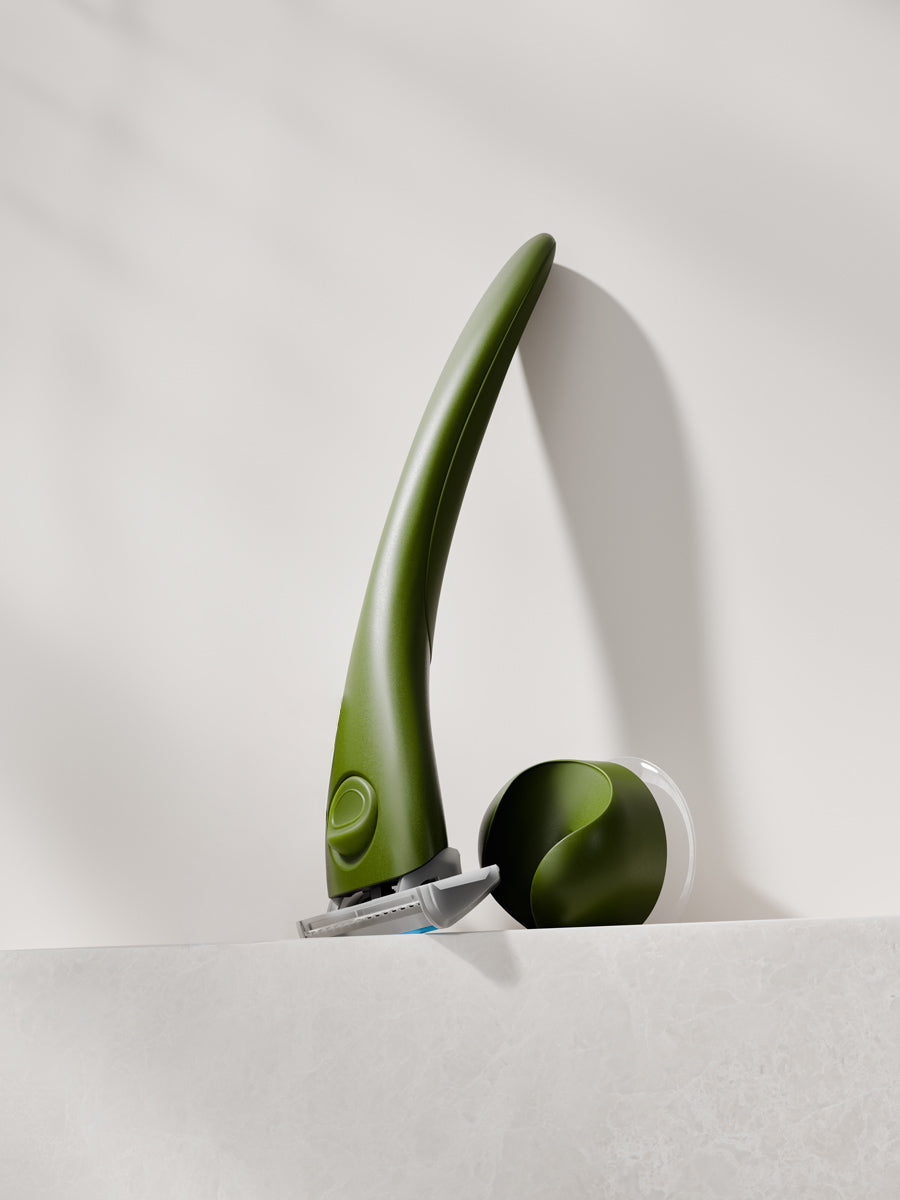
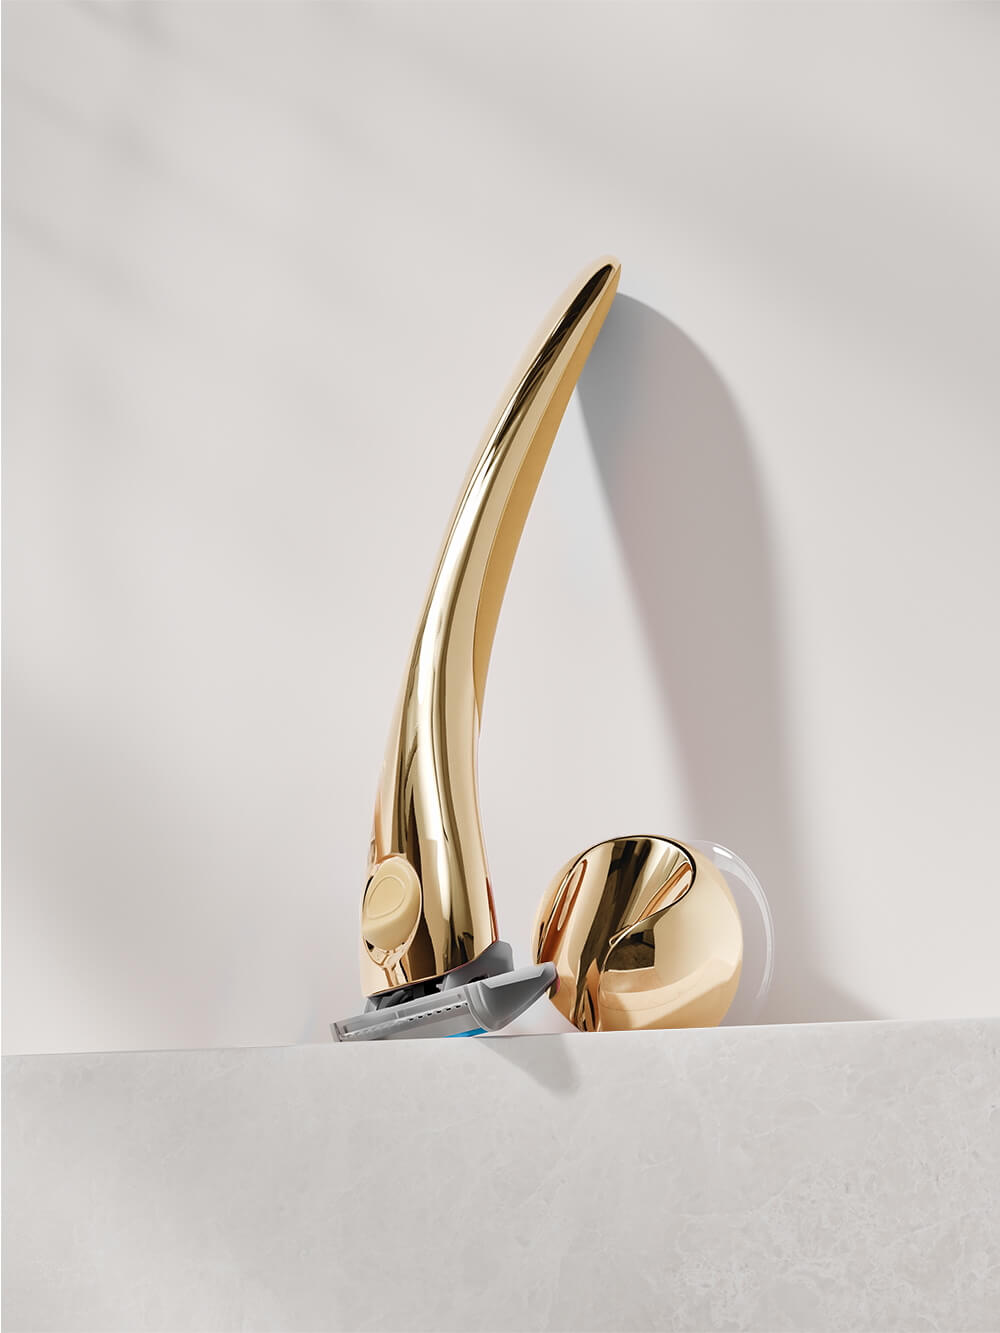
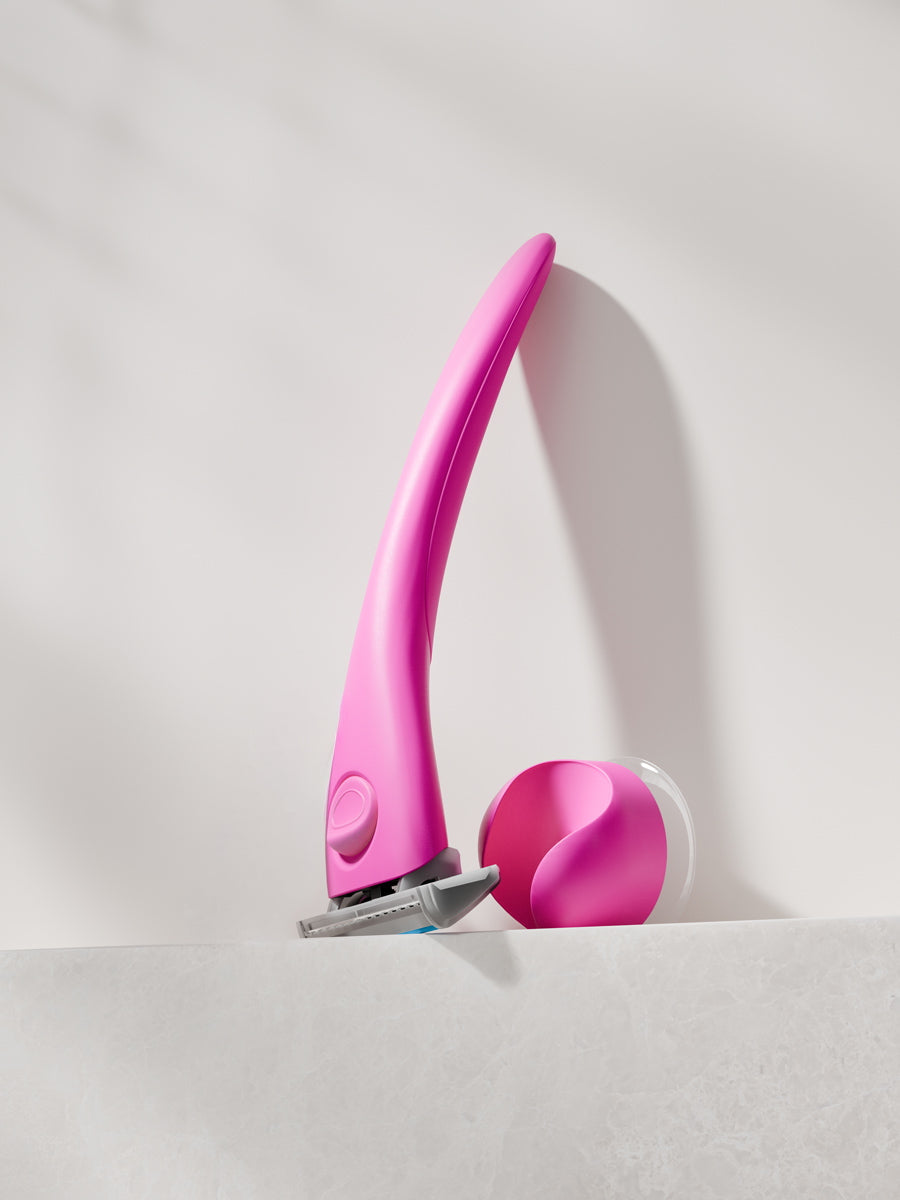
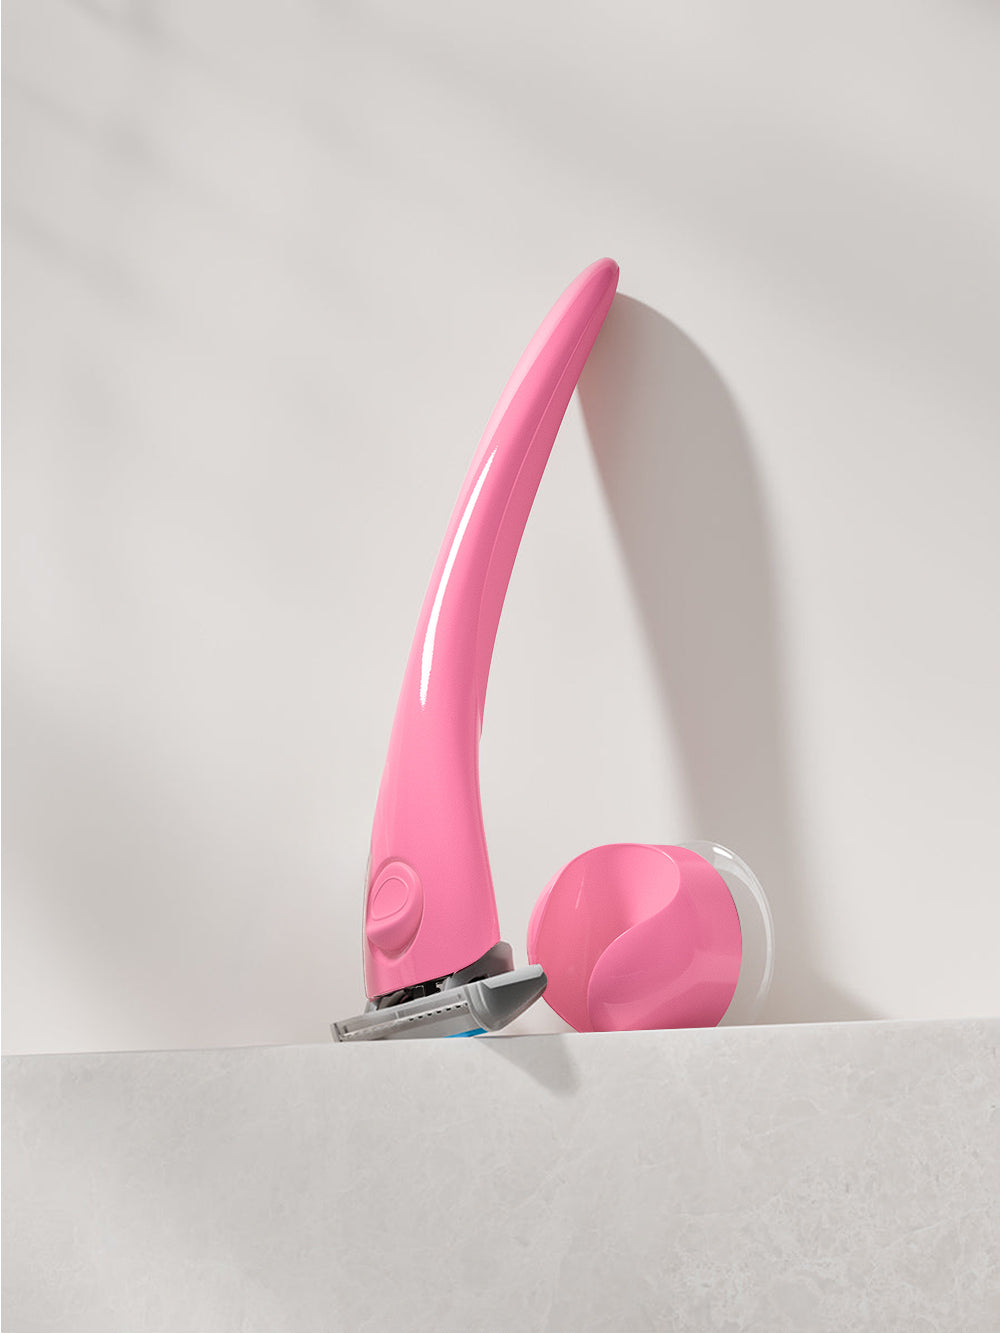
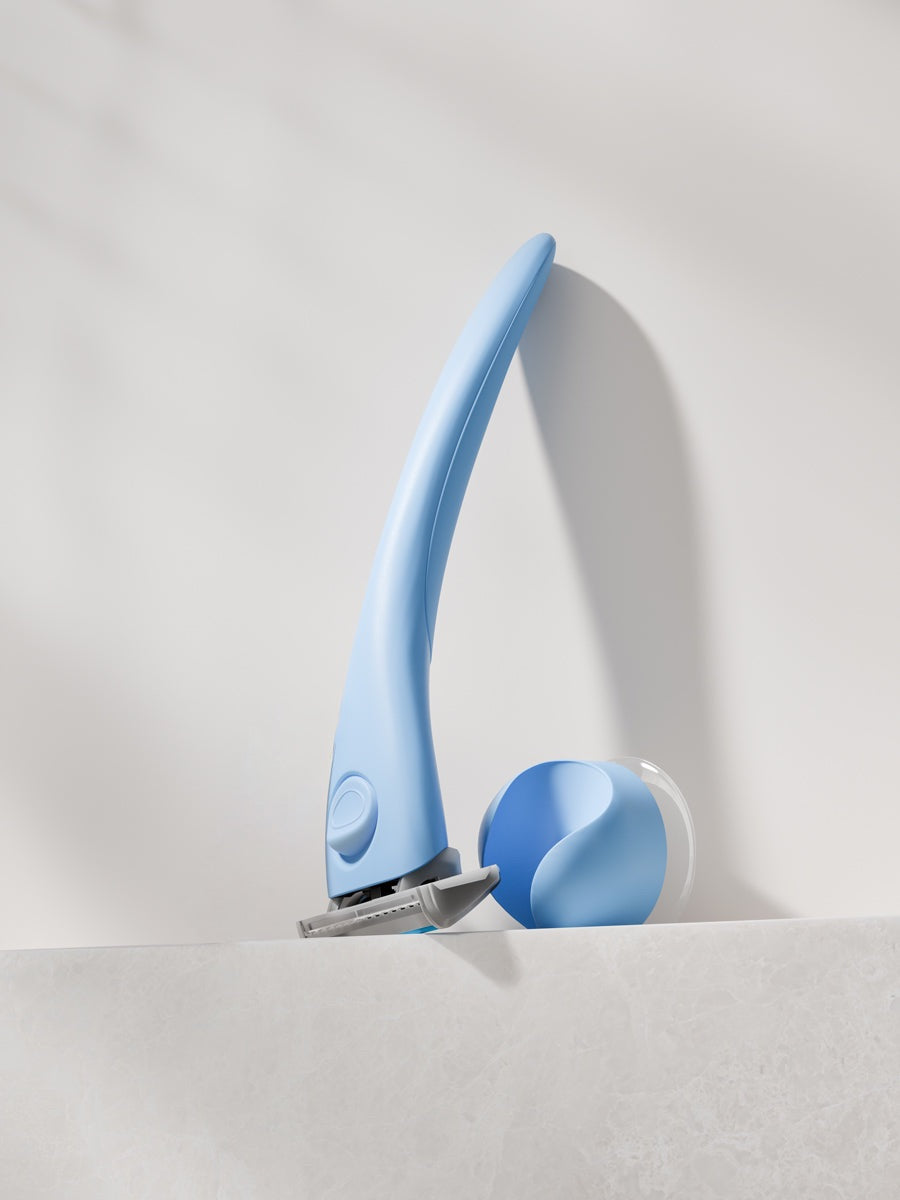
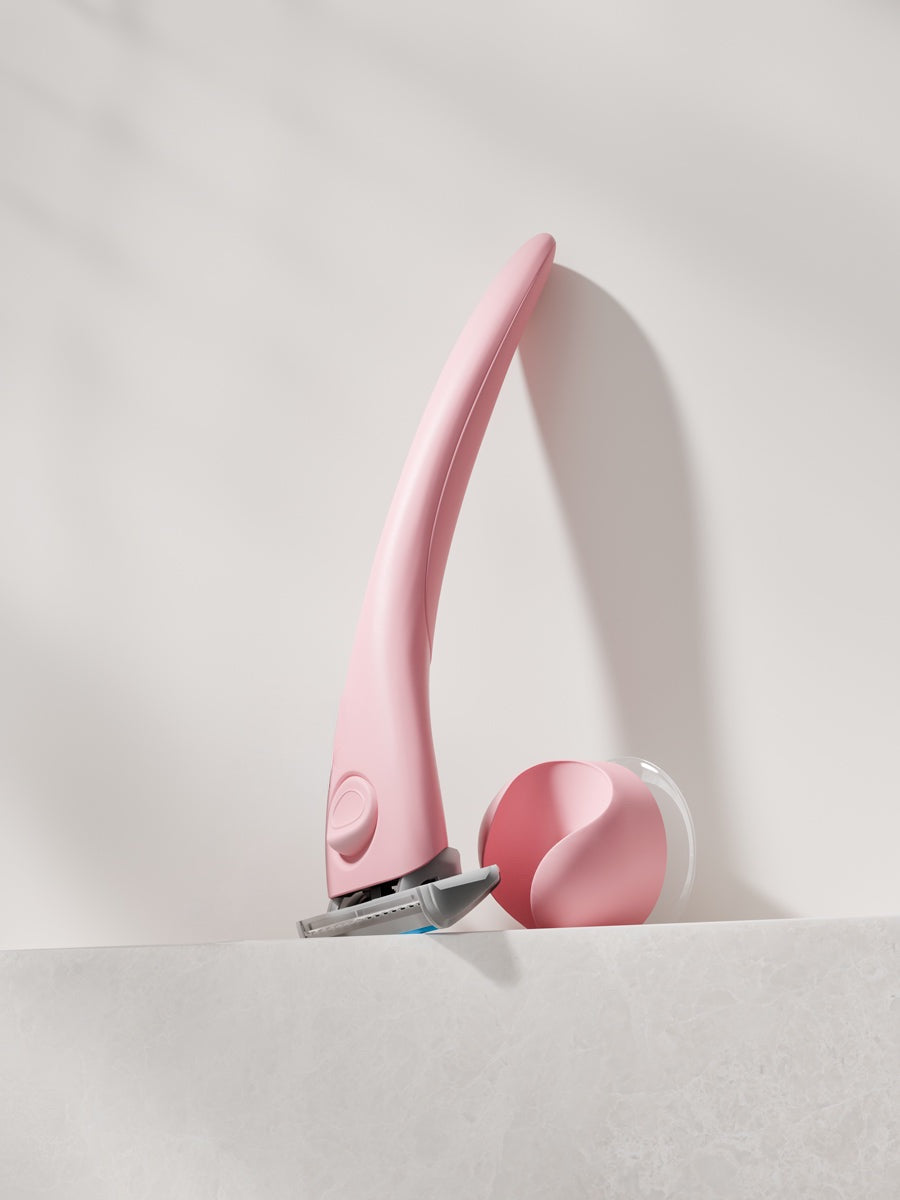
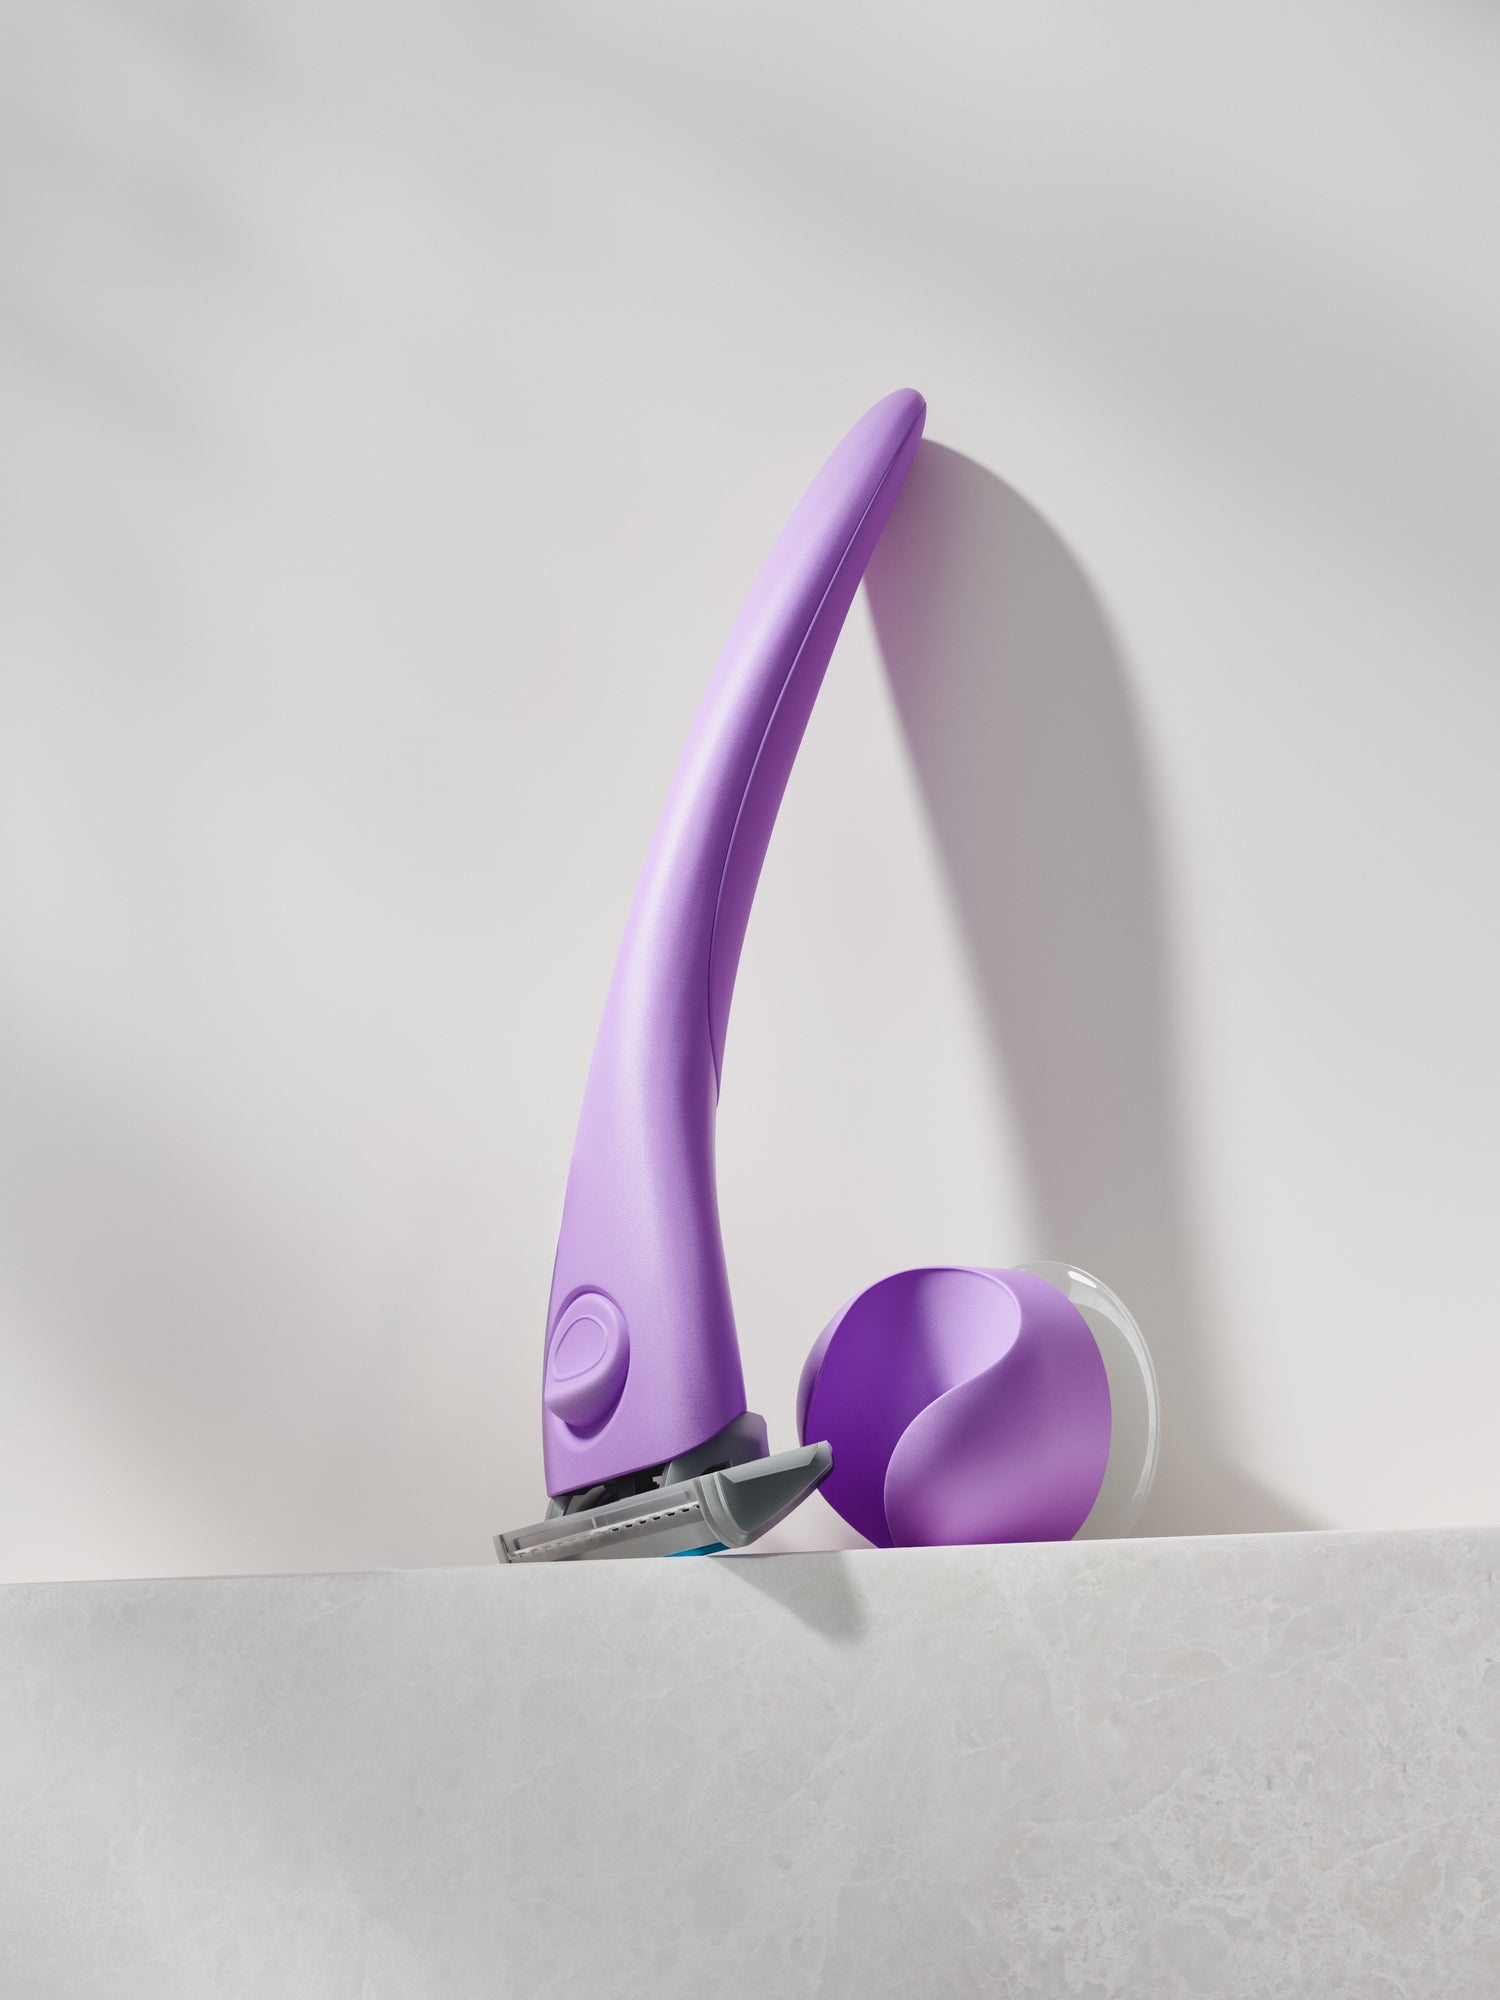
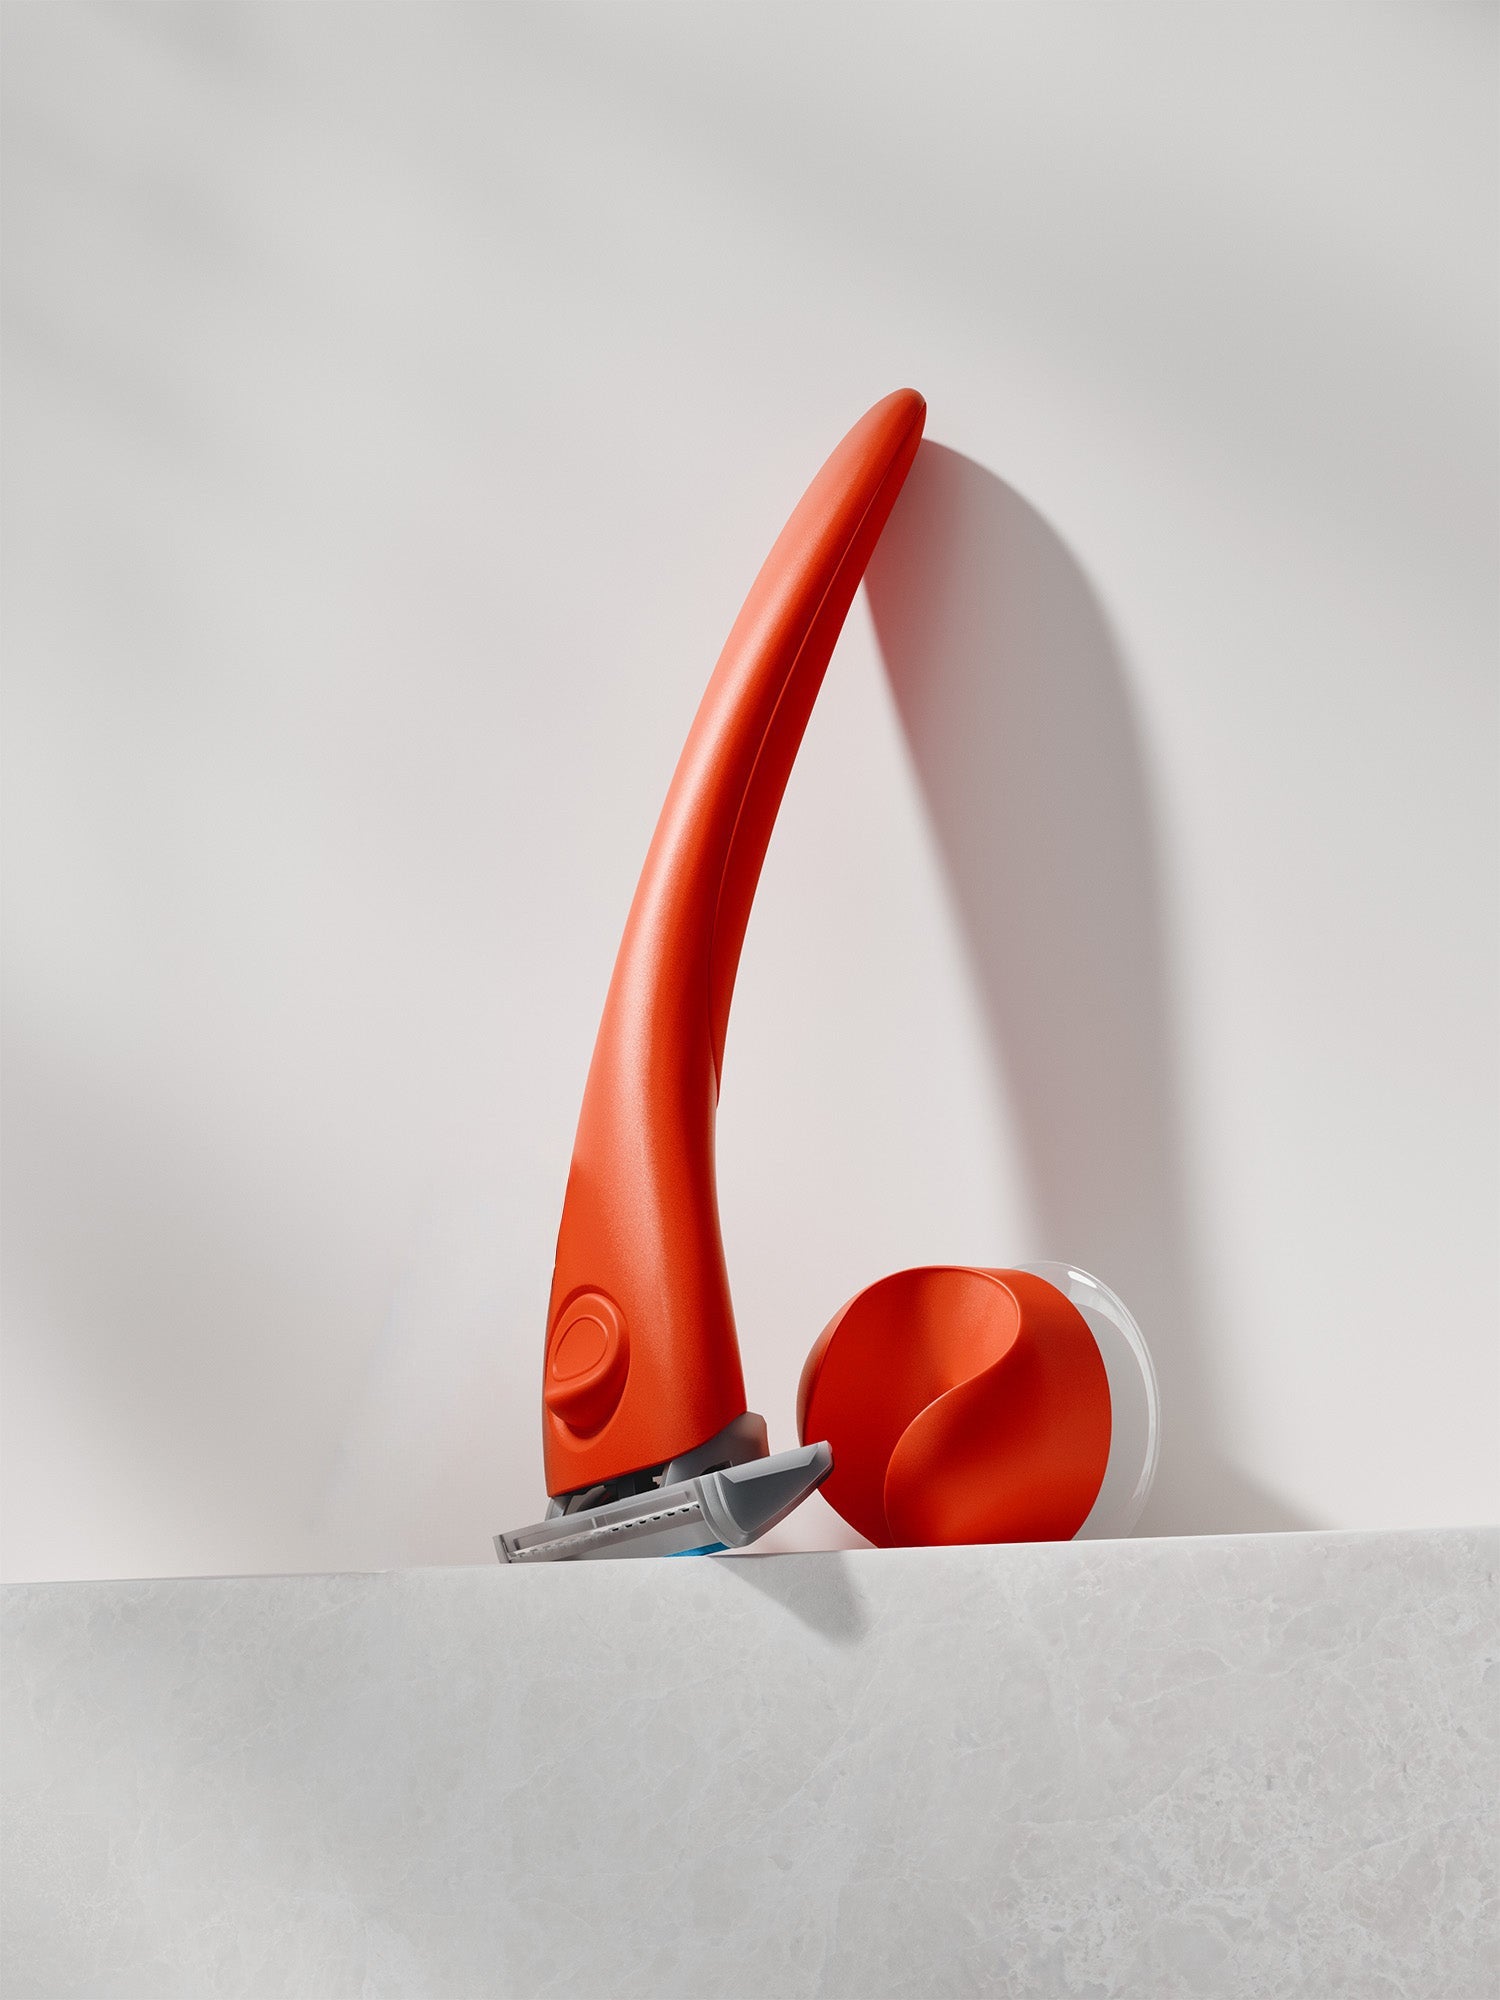
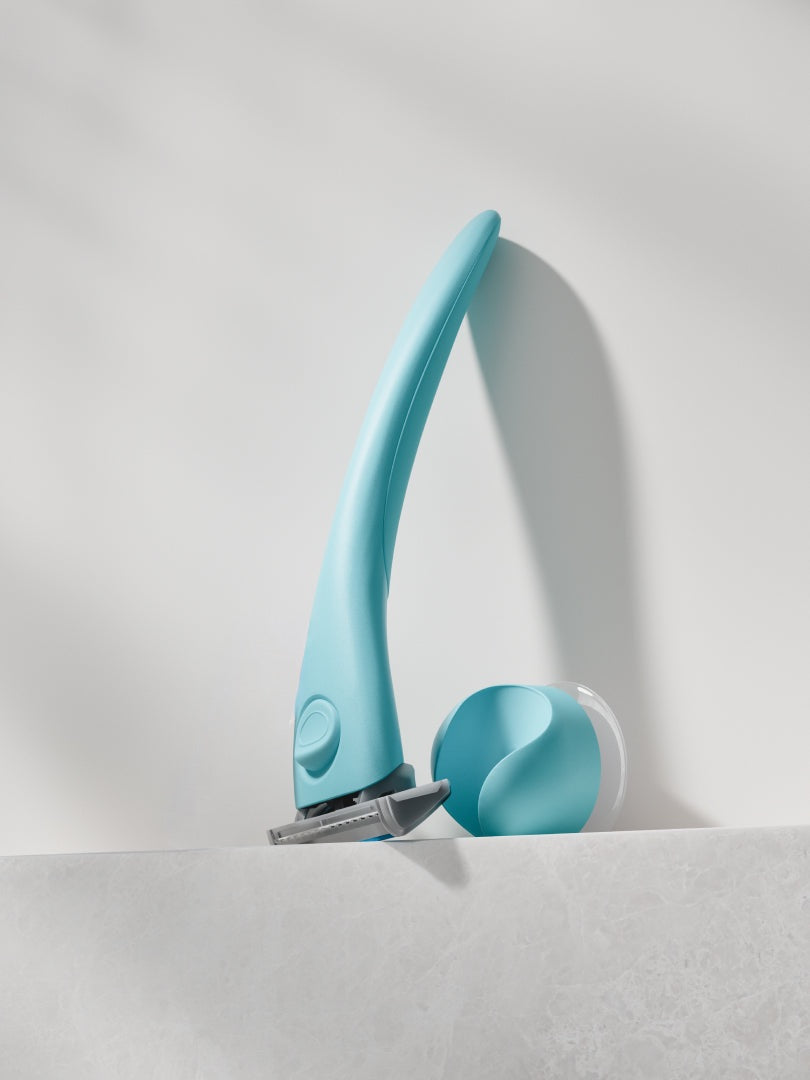
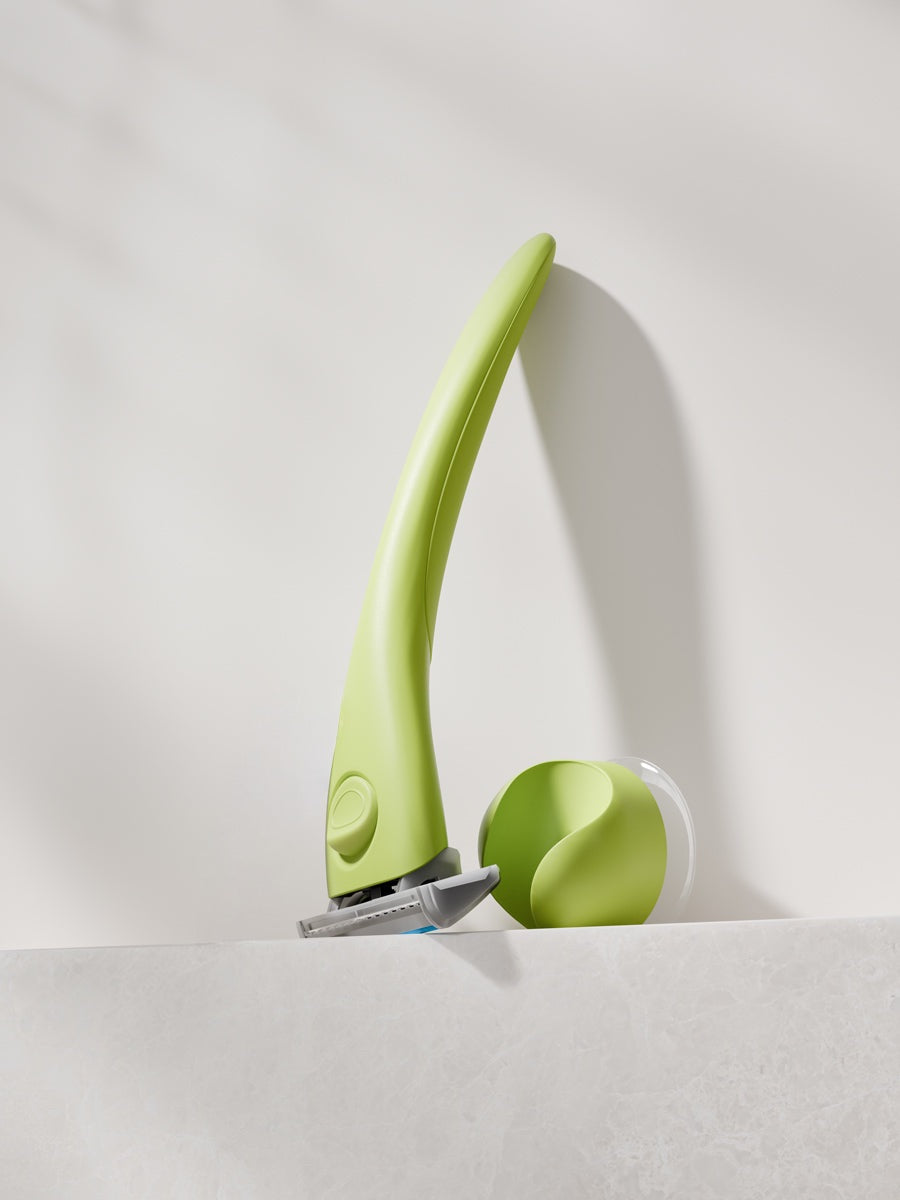
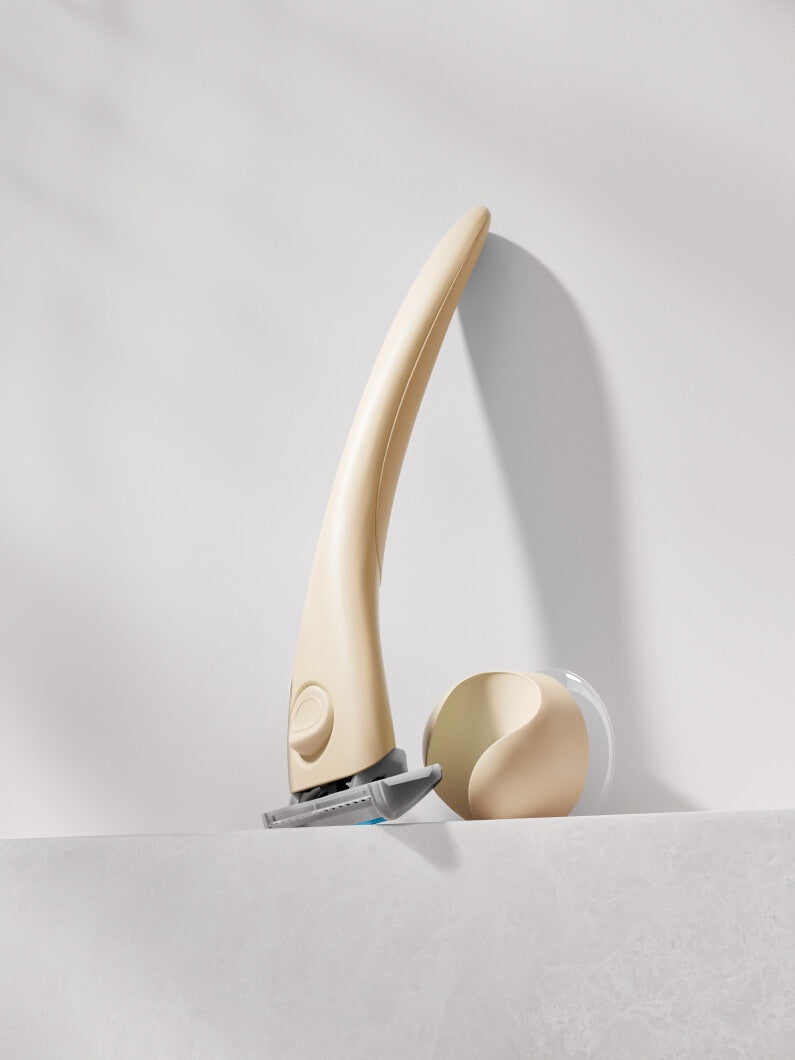
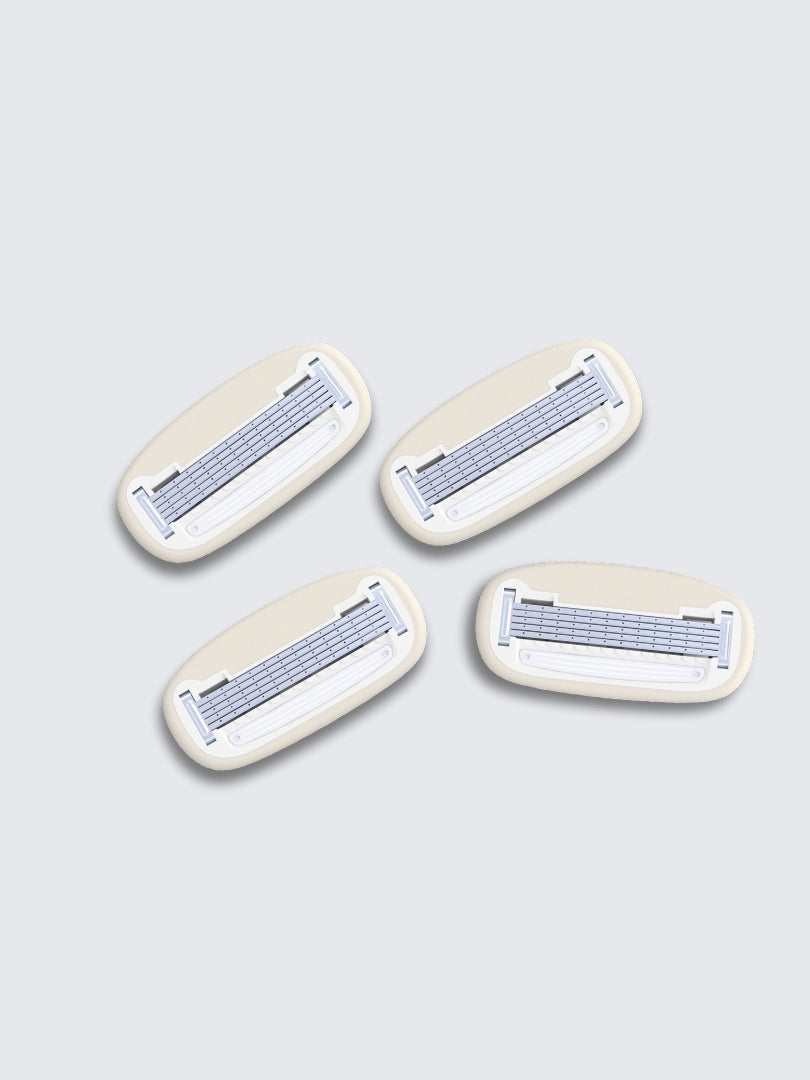
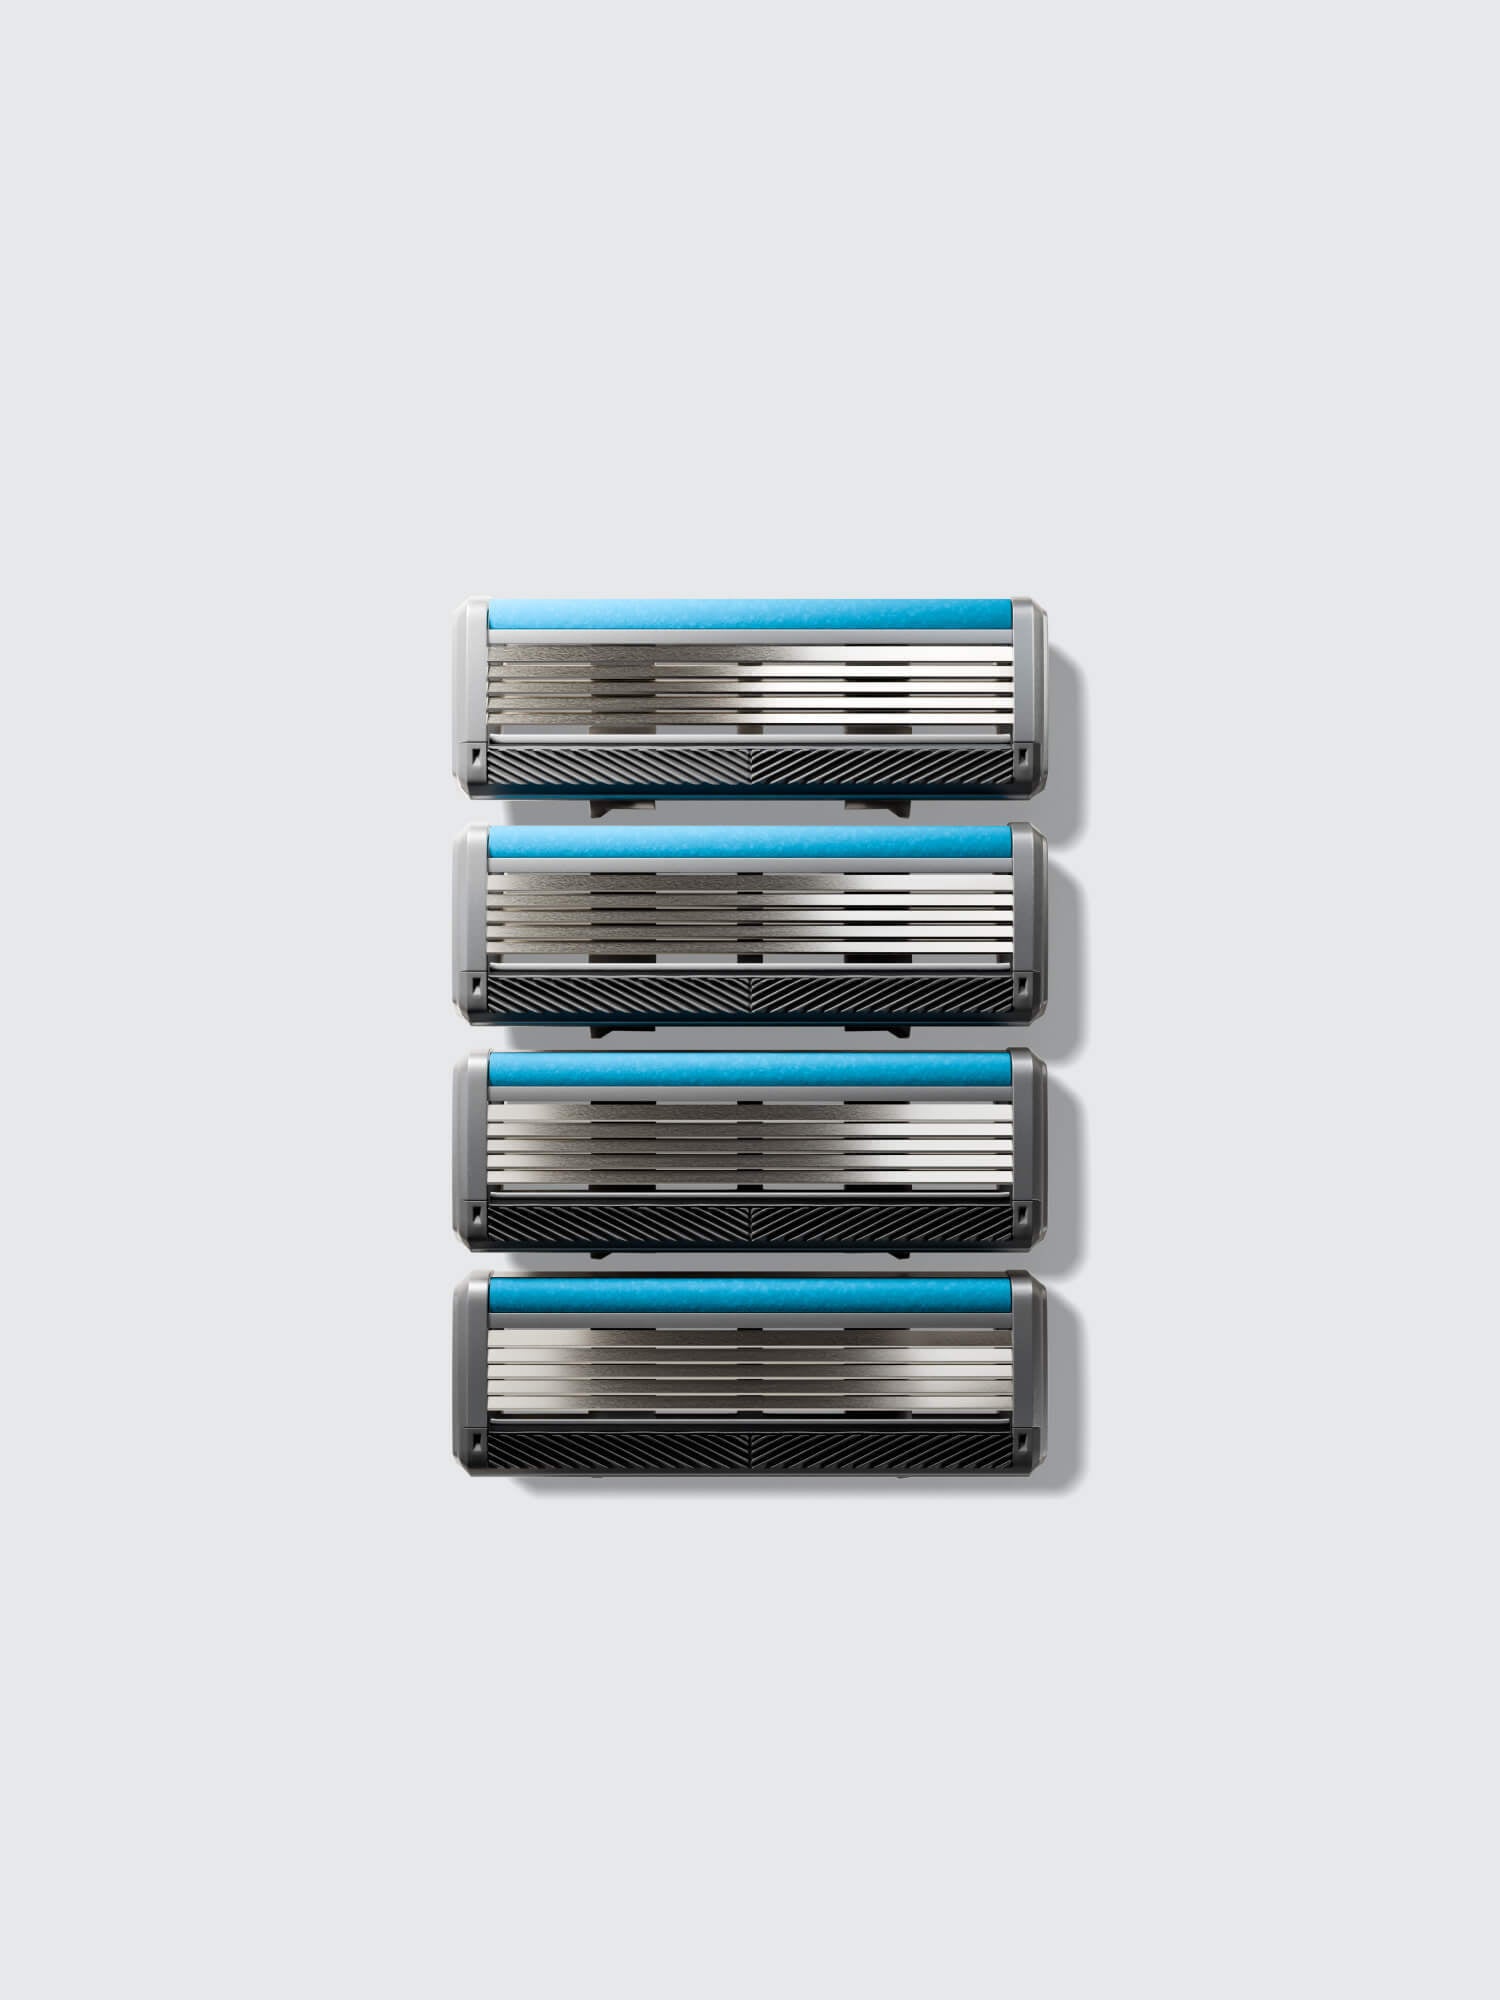
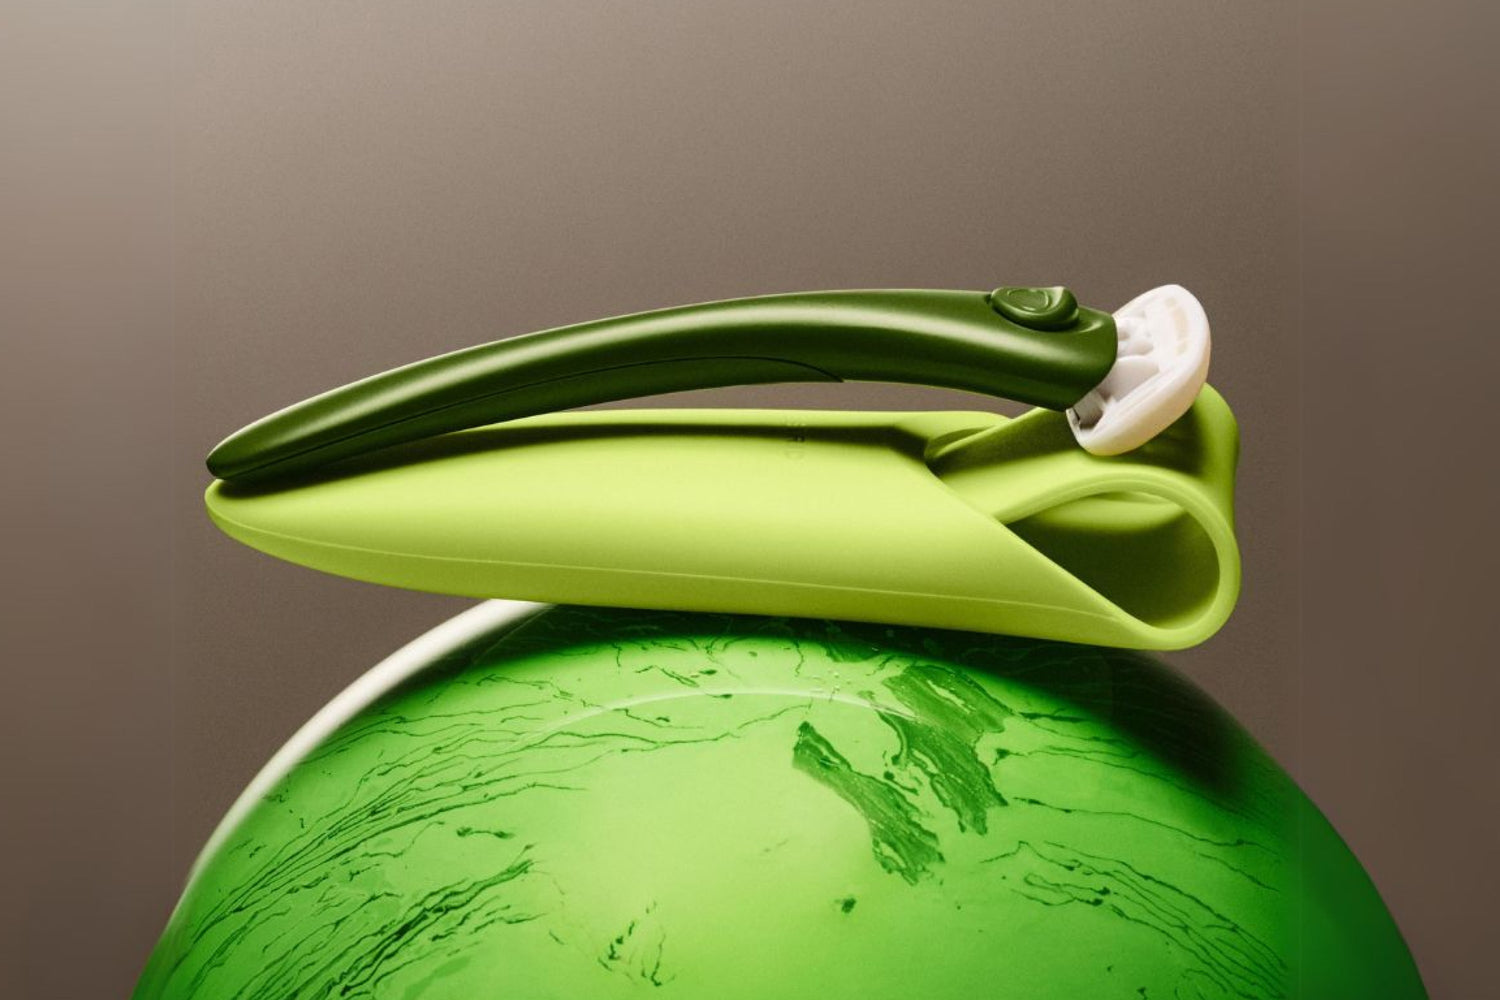
Dermaplaning involves using a sharp, single blade like our Precision Razor to exfoliate and remove peach fuzz from the surface of your skin simultaneously.
Step 1: Glide the blade gently
Step 2: Go easy on the pressure
Step 3: Cleanse the area afterwards
Step 1: Glide the blade gently
Hold the blade at a 45-degree angle: and gently glide it over your upper lip in short, downward strokes. You can do this step dry or with a little facial oil.
Step 2: Go easy on the pressure
Avoid applying excessive pressure to prevent irritation or cuts. The goal is to remove the vellus hair (fine fuzzy hair) and dead skin cells.
Step 3: Cleanse the area afterwards
Continue dermaplaning until you have treated the entire upper lip area, ensuring an even exfoliation. Once finished, cleanse your face again lightly to remove any excess residue, hair or debris.

How to remove upper lip hair by waxing
Waxing is a speedy solution for an overall simple hair removal trick but it can be a little more on the painful side! For a more comfortable waxing experience, it's advisable to take a brief break from prescription and non-prescription retinol skincare for 2-5 days before waxing. Retinoid products can make the skin more sensitive, so giving your skin a rest can help minimise any potential upset.
Now, let's walk through the steps for using our Face Wax Kits specifically for the upper lip:
Step 1: Seperate the wax strips
Step 2: Press the strip onto the skin
Step 3: Pull quickly and closely
Step 4: Repeat
Step 5: Calm the skin
Step 1: Seperate the wax strips
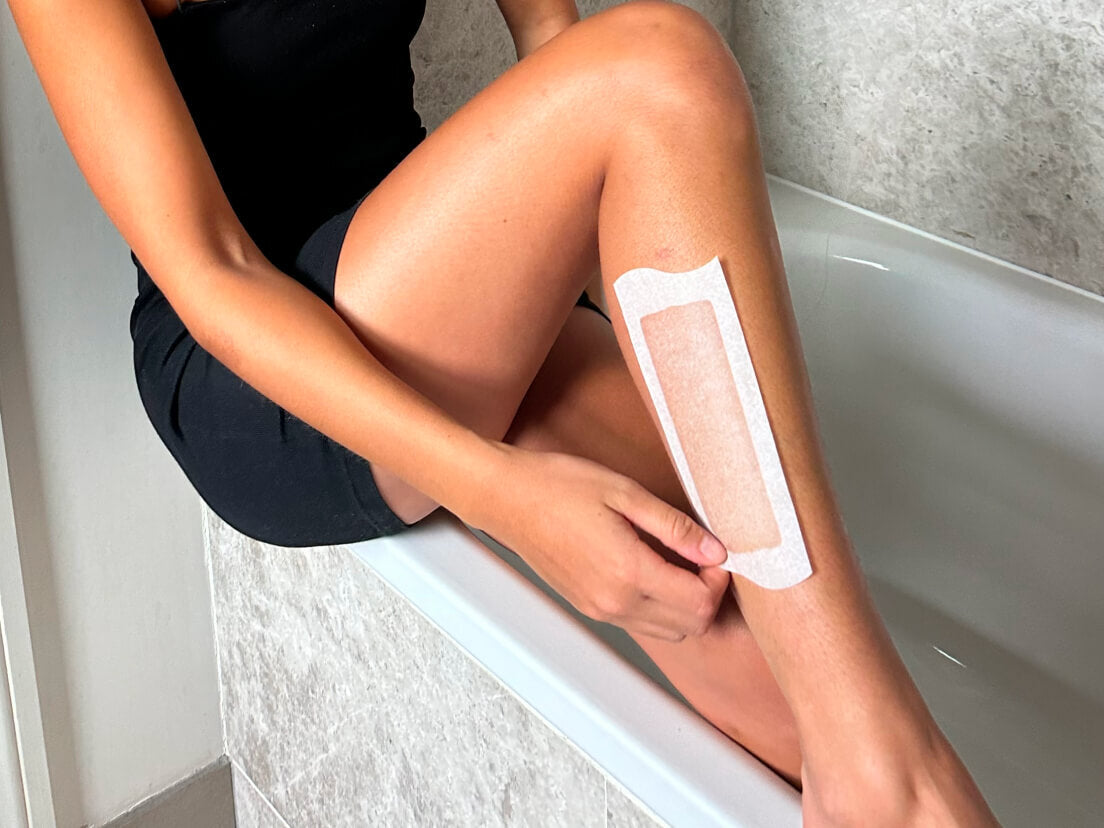
Separating the wax strips ensures the wax is evenly distributed on both sides. You don't need to warm the strips by rubbing them between your hands because our soft gel wax is ready to use straight out of the pack.
Step 2: Press the strip onto the skin
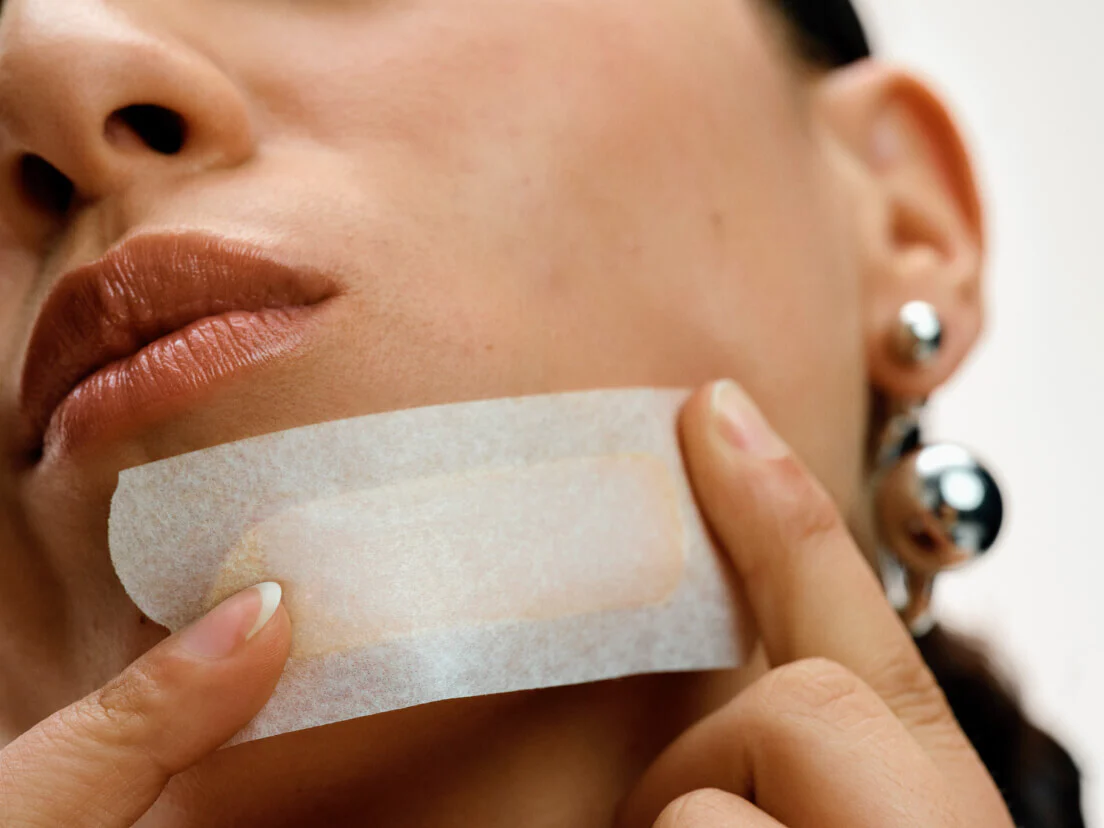
Place the strip on your upper lip, following the natural angle of your lip line. Press the strip firmly onto the skin, making sure it sticks well. Gently massage the strip with the heel of your hand to enhance its grip.

Step 3: Pull the strip quickly and closely
Hold your skin taut with one hand, and with your other hand, quickly and closely pull the strip away from the skin in one swift motion. This helps to minimise any pain and make sure it removes as much hair as possible in one swipe.
Step 4: Repeat
Repeat the above steps following the same technique 1-2 times. You should achieve a fuzz-free result that can last up to 28 days.
Step 5: Calm the skin
Once finished, apply a soothing post-waxing oil or lotion to calm the skin and reduce any potential redness or irritation. Don’t forget your SPF.
Now, you’ve finished tweaking your upper lip. It's essential that you stay out of the sun for a little while as your skin is super sensitive. Apply a gentle moisturiser and take a break from any harsh chemical skincare products. Hopefully, this blog post has helped you figure out the perfect hair removal style that works for you and your upper lip.
